You want to create a more welcoming and comfortable addition to your home. In cold climates, the living room can become dark and dreary. A window bench is an excellent addition for creating a warm, inviting space in your home. I’ll walk you through the steps of building this bench from start to finish!
Now there was work to be done, a window seat to be built, how to build a window seat with hinged lid, diy window bench with storage, and no more distractions from the task at hand. Check out my other blog posts here: The Best Tools for Building a Bench How To Build Privacy Screening Porch Photo Gallery

How to build a window bench
Building a window bench is a great way to add storage and seating to your home. There are a number of designs for window benches, but one of the most popular is this one that has a hinged lid and storage underneath. The lid supports itself and can also be used as additional seating when flipped up.
This DIY project is easy enough for beginners, yet offers enough challenges to keep more advanced builders engaged. If you have access to power tools, they’ll make the job go faster and easier — but you can do it with hand tools too!
A window bench is a great place to store your blankets, pillows and other comfy items. You can make a window bench with storage using materials you have on hand in just a few hours.
To build a window bench with storage, start by measuring the width and length of the window seat you want to build. Then cut two 2x4s to that length, making sure they are long enough to go from front to back on both sides of your window. Use these 2x4s as the frame for your bench seat.
Next, measure and cut two pieces of plywood or OSB (oriented strand board) to fit inside the frame you just built. Attach them together with wood screws or nails at the corners and along each seam. This gives you a sturdy surface for attaching upholstery fabric later.
Make sure your plywood sits flush against both sides of the 2x4s so that it doesn’t stick out when it’s attached to the wall above your window seat.
Use decking screws or construction adhesive to attach the plywood to one side of each 2×4, then attach them together with more decking screws or construction adhesive on top of those pieces of wood so that you end up with one large
A window bench is an excellent space-saving solution for small apartments. It can be as simple or as elaborate as you want it to be. The following steps show how to make a basic window seat with storage.
1. Cut the plywood pieces according to the dimensions given in the diagram.
2. Assemble the frame using wood glue and screws, following the diagram for placement of the plywood pieces. Use a clamp to hold the joints together while the glue dries.
3. Attach one side piece to the back panel using 1 1/4″ pocket hole screws from below. The pocket holes will be cut later so do not drill them yet!
Whether you’re looking for a place to sit and relax or a way to add storage, this DIY window bench is perfect! The lid can be opened for extra storage space or closed for privacy. This project is simple enough for any beginner and will provide years of enjoyment.
Make sure that you have the proper tools before starting your project. The tools needed include:
Measuring tape
Pencil
Circular saw (or jigsaw)
Drill with drill bit set and Phillips head bit
Wood glue
Finishing nails
How to Build a Window Bench
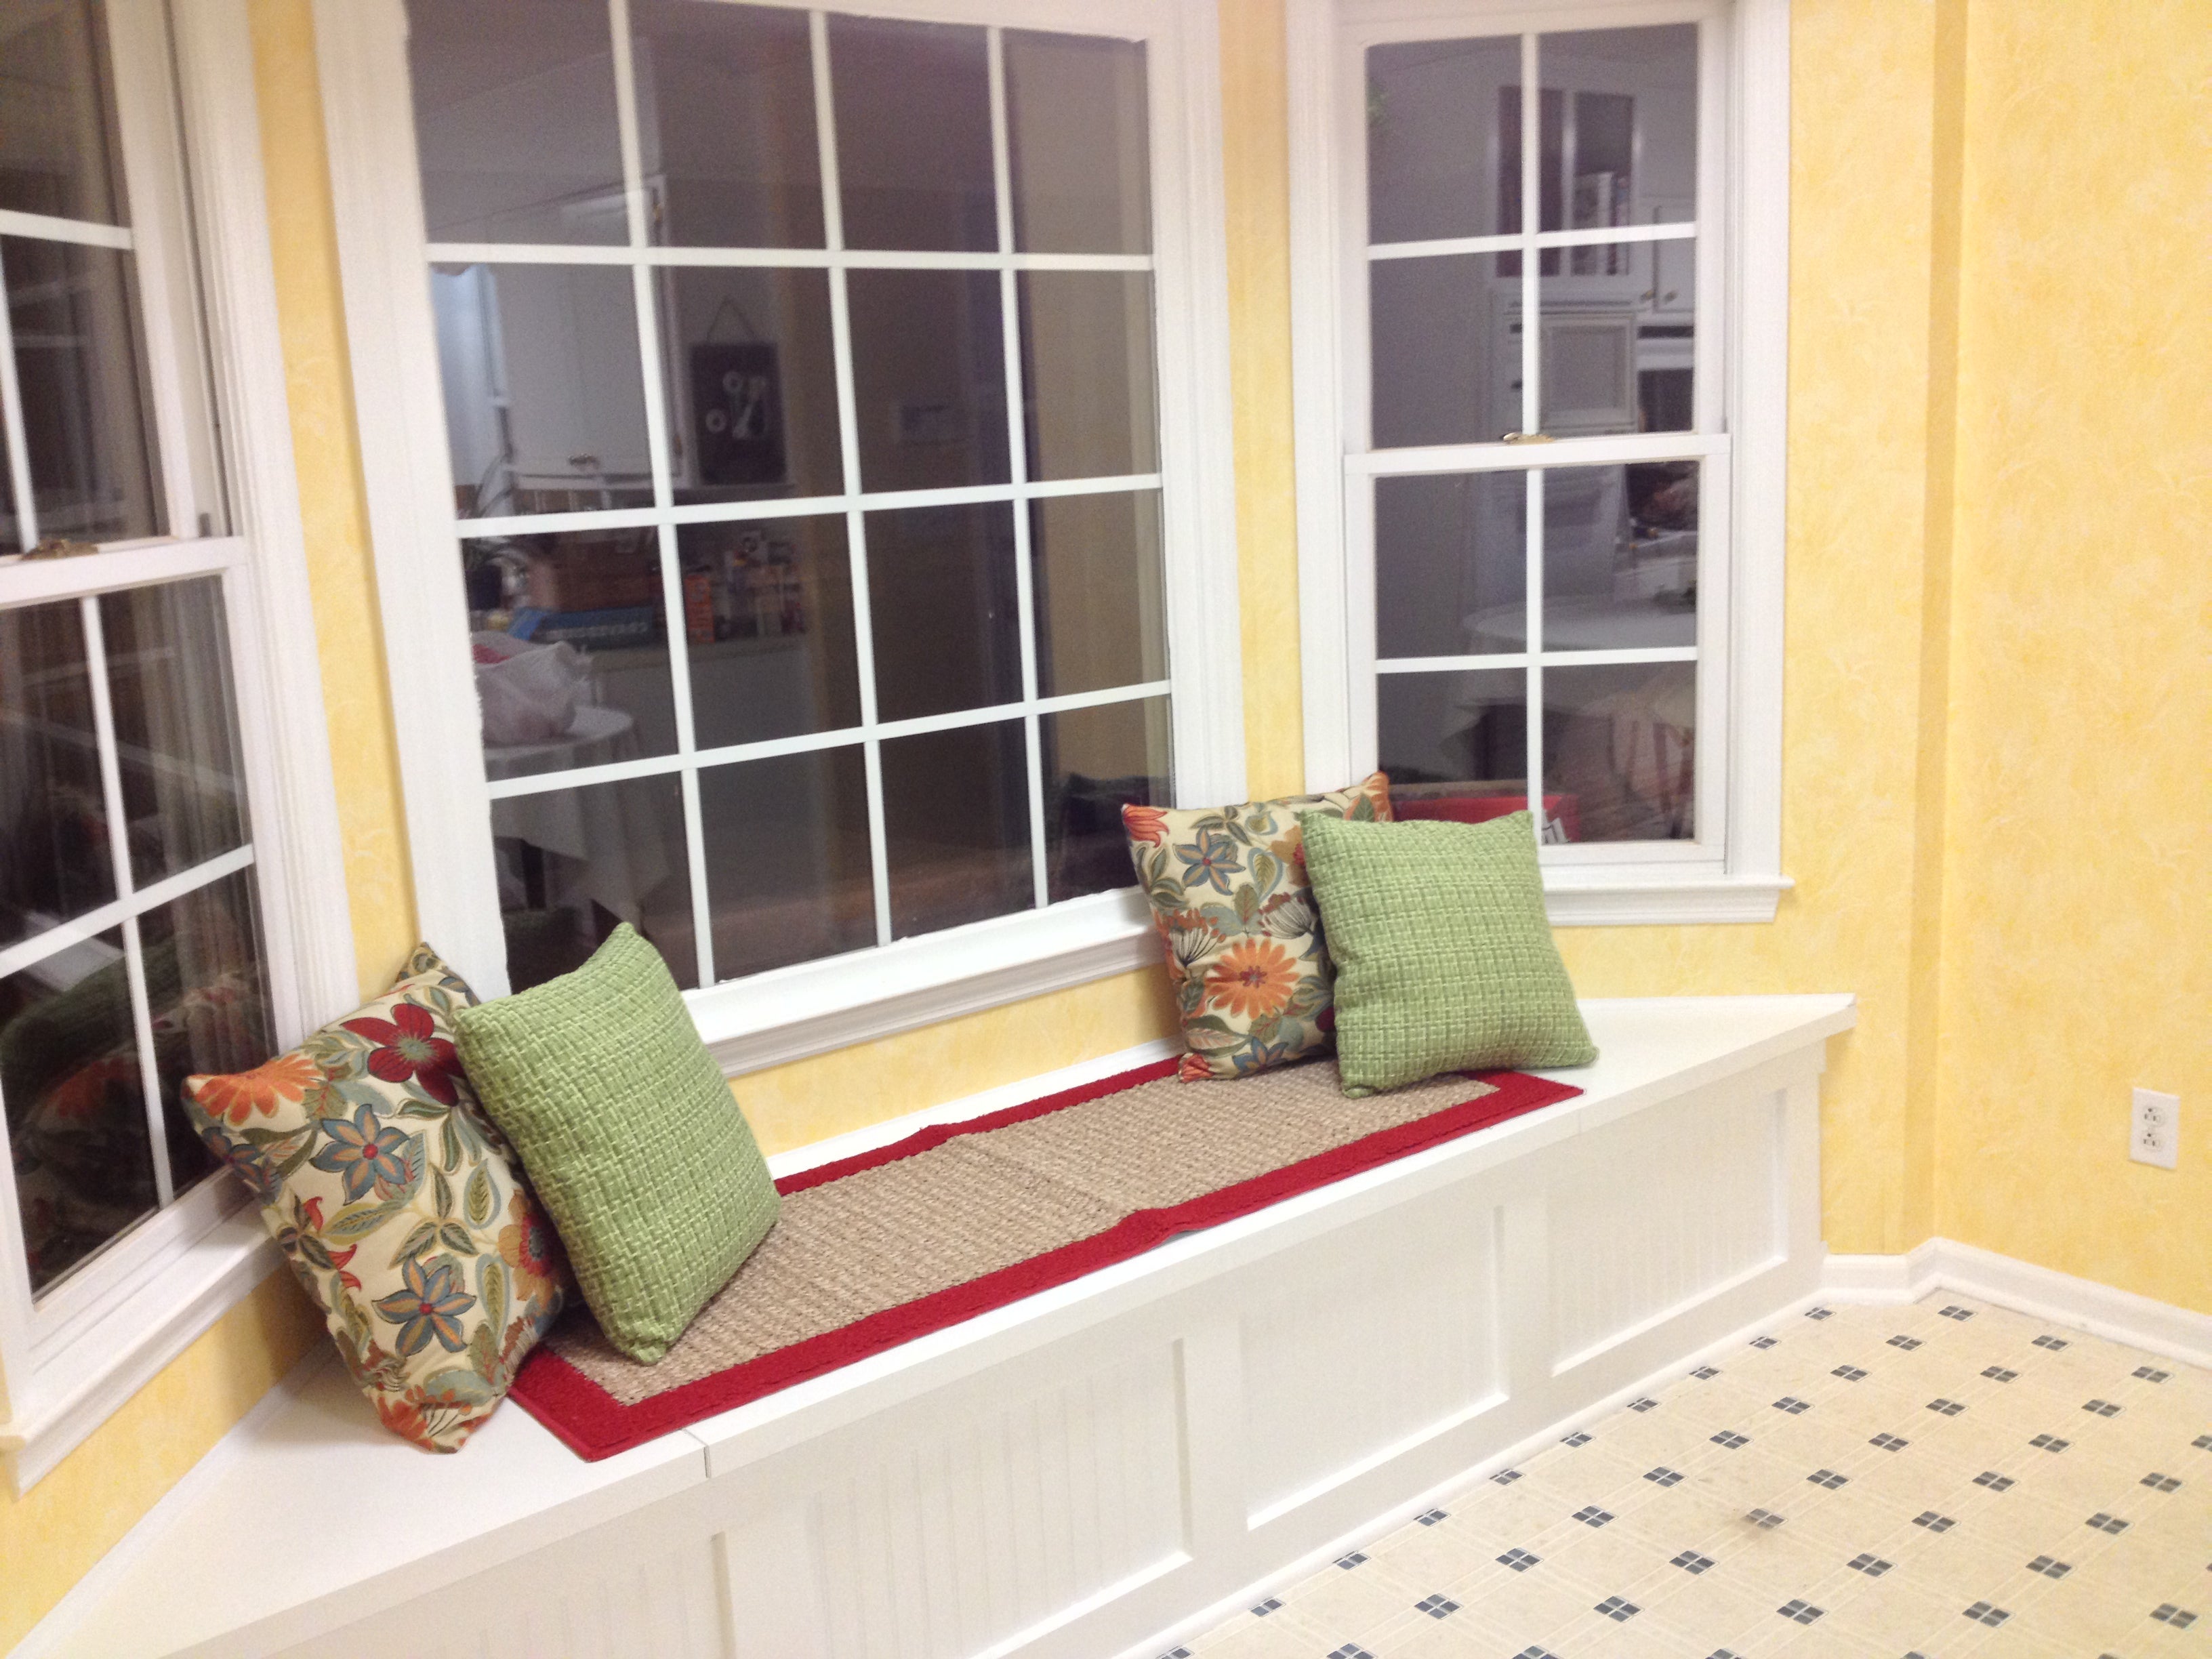
A window bench is a great way to add extra seating and storage to your home. It’s also an easy DIY project that doesn’t require any new tools or materials. Here’s how to build a window bench like the one in the photo above:
1. Measure and mark the length of each board. There are two boards that run the length of the bench — one on top and one on bottom — so measure and mark them both with a tape measure, pencil, and level. Pre-drill holes with a drill-driver bit in each location where you’ll be attaching screws, then attach your first board using wood screws (drive them into the pre-drilled holes).
2. Attach another board across the bottom of your window seat frame (it should be flush with the front edge). Use wood screws to secure it along its entire length.
3. Add side panels along both sides of your bench frame using 1x4s cut to length (you can do this by cutting two pieces per side panel or four if you want thicker walls on your window seat). Attach these pieces using wood screws through pre-drilled holes — make sure they’re aligned with each other before driving in any screws!

How to build a window seat with hinged lid
A window seat is a great space to have in your home. It’s a place to sit and relax, and it’s also a great place to hide those annoying things you don’t want in plain sight. The best part is that they’re fairly easy to make and will add value to your home.
How To Build A Window Seat With Hinged Lid
The first step when building a window seat with hinged lid is to measure the area where you want to build it. You want it to be big enough so that you can sit on it, but not so big that it takes up too much room in your house or apartment. If you have one already built in your house, measure it and use those measurements for your new window seat project.
Once you have all of your measurements, start measuring them out on wood planks or sheets of plywood and cut them with a circular saw or jigsaw if needed. Then sand down any rough edges on all of the pieces using sandpaper or an electric sander until everything looks smooth and even across all surfaces.
Once all of your pieces are ready for assembly, it’s time for gluing! Apply wood glue onto both sides of each piece of wood that you’re
A window seat with a hinged lid is a great way to add storage space to your room. This project is easy to make and can be customized to fit any size window.
If you want to know how to build a window seat with hinged lid, this article will show you how.
The first step is to decide on your dimensions. You will want enough space for a full size mattress or futon, but you also need enough room for storage or seating when not in use as a bed. The bench should be at least 50 inches wide, but the longer it is, the more stable it will be. For example, a 60 inch bench will have more support than one that is 48 inches wide.
The next step is to cut the plywood for the top of your window seat. Use 1 by 4s for support pieces if needed and attach them with wood screws into the studs in your wall or ceiling. If you are building over an existing window frame, use some scrap 2x4s and attach them with brackets so they can hold up the weight of your plywood top while you screw it into place on top of them
A window seat with a hinged lid is a great place to hide toys or use as extra storage. The lid can be used as a bench or stool in the room. This DIY window seat project is easy to make and requires just a few tools.

Here’s how:
Prepare Your Window Seat Frame
First, cut two pieces of 1×4 lumber to fit along the edges of your window ledge. Then, attach these pieces with nails and wood glue. You can use another piece of 1×4 lumber to create a square frame in the middle of your base if you want more storage space. If not, leave it out and let it be open on one side.
Next, make four legs out of 2×2 lumber and attach them to each corner of your base using nails and wood glue. Make sure you keep them even with each other so your seat will sit level on top of them when you are done building it.
Build Your Storage Boxes
Now that your base is ready, it’s time to build up your storage boxes! First measure out how far apart you want them from each other and mark where they should go on top of your base frame using pencil lines so that they’ll be
The easiest way to add a window seat is to build one yourself.
A window seat can be built from a variety of materials, but the most common are wood and vinyl. The DIY network shows you how to build a diy window bench that you can store items in below.
The easiest way to add a window seat is to build one yourself. A DIY window bench can be made out of wood or vinyl, depending on your needs and preferences. The key is finding the right size and shape for your space, which may require some measuring and planning ahead of time. You’ll also need tools like power drills, saws and hammers (or other tools) depending on what type of material you’re using for your project.
I’ve been wanting to build a window seat for our living room for awhile now, but hadn’t found the perfect piece of furniture to use as the base. I wanted something that would be sturdy enough to hold storage and provide a place to sit down and relax.
I had my eye on this sofa IKEA hack from One Project Closer, but I wasn’t willing to pay $200+ for it. Then I saw this post from The Happy Housie on how she made her own version using an old twin bed frame! She used a twin bed frame because it was cheap, the right size, and easy to build with (no complicated cuts).
I immediately went out and bought one at Goodwill for $40 (they had several). It was missing some parts – like screws – so I had to improvise with some wood glue and screws from Home Depot (you can see them in this photo).
The first step was building a box around the frame using 2x4s (see diagram above). You will need some basic carpentry skills for this part (or ask someone who does), but it really isn’t that difficult if you take your time.