Building a shower curb can be a difficult thing to do. You have to make sure that your shower does not leak and be sure that it looks professional. The steps below will show you how to build a curb on concrete in the bathroom with brick.
Building a curb in your shower is one of the most satisfying things you can do as a DIYer. It’s cheap, it’s easy and can be done in an afternoon. Make sure you set aside at least an afternoon to build this project because it’s not a particularly difficult task, but it can be a lot of work.
How to build a shower curb on concrete floor
A shower curb can be built with bricks, stone or concrete. The type of material you choose is as much a matter of personal preference as anything else. If you want to build a curb that looks like professional work, consider using concrete.
Building a Shower Curb With Bricks
Bricks are the most popular choice for building a shower curb because they are easy to work with and inexpensive. They also come in many different colors so you can match them to your bathroom decorating scheme or even use them as the focal point of your bathroom design plan. Bricks can be laid without mortar by simply stacking them on top of each other. This method works best if there is a small amount of space between the wall and the floor where there is no plumbing or electrical wiring running through it. If there is no room for this, then mortar must be used so that the bricks stay together securely but leave enough room for any pipes or wires that need access into the wall behind them.

Stone is another popular material for building a curb because it is durable and gives off an elegant appearance when installed correctly. However, stone requires more maintenance than brick because it requires sealing every few years to avoid cracking or chipping due to
Building a shower curb is a fairly straightforward process, and you can use any kind of masonry block or brick you like. You’ll need to use waterproofing mortar, however, because if any water gets behind the blocks or bricks, it could cause damage to your floor.
The first step is to lay out the placement of your curb. Draw a line on the ground around the perimeter of where you want your curb to go. If it’s possible, make sure this line is level — if not, you’ll have to correct it later.
Next, dig out an area that’s slightly larger than what you’re going to build in and level it out with some extra dirt or wood shims if necessary. You can do this by hand but using a shovel will make things go faster since there will be more material removed than just digging out the base area itself.
Once this is done, pour some mortar into your forms and place them back over top of it until they’re filled up again with mortar in order to create a solid foundation for your new shower curb (or whatever else).
You can build a shower curb by using brick or stone. You can also use concrete blocks, which are known as “curbstones.”
In the past, people used to build their own curbs from wood, but this is not recommended. The wooden curbs tend to rot over time because of the moisture in the shower area.
There are two ways to build your curb. One way is to build it first and then pour your concrete floor. The other way is to pour your concrete floor first and then add the curb on top of it.
The second method may be more popular because it is easier to install after you have poured your concrete floor. However, it can be more expensive if you decide to add tile or other materials to cover up part of the curb after it has been built in place.
Shower Curb
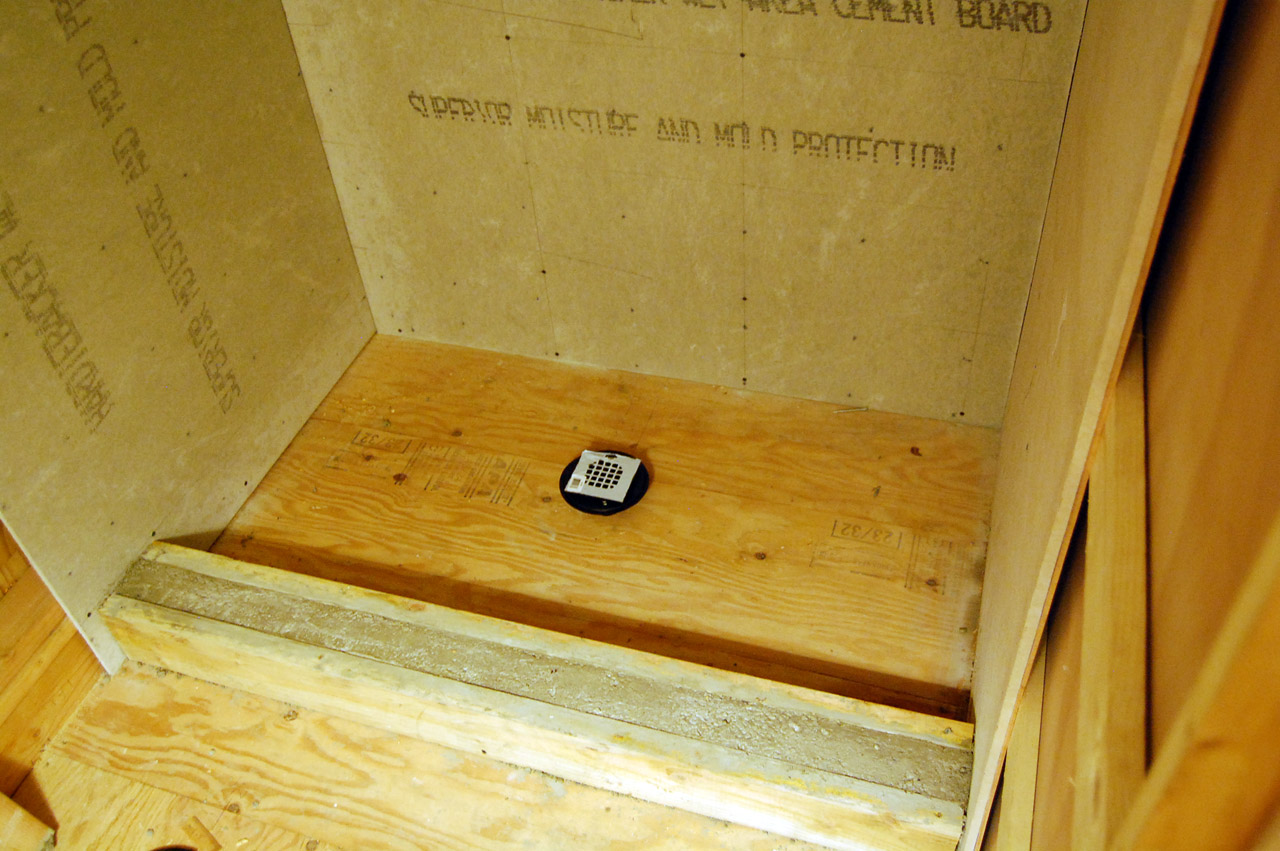
A shower curb is used in a shower to prevent water from flooding out of the shower. The curb is built on top of a concrete slab, which is usually poured after the walls are completed. The curb allows for the tile to be installed without having to worry about leaks or water damage. It also provides an attractive design element that can be used to complement your bathroom decor.
The first step in building a shower curb is installing the base for it. This can be done by pouring a slab at least 1/2″ thick and measuring out where the edge of the curb will go. Once this has been done, use a concrete saw to cut out this section so that you have room to install mortar later on. Next, you’ll need to clean away any dirt or dust from around your work area so that everything stays nice and neat looking when you’re done with construction.
A shower curb is used to keep water in the shower area and off of your bathroom floor. A curb is a great way to protect your investment, as it will help ensure that your tile or stone shower floor stays clean and in good condition.
A shower curb can be made from masonry materials such as bricks or concrete blocks. You can also use wood to create a beautiful wooden curb that matches the rest of your bathroom decor.
Materials Needed:
Brick or concrete block
Wood (for wooden slats)
Waterproofing a shower curb is a great way to protect your home from leaks and water damage. If you’re building a new shower, or if you’re remodeling your existing shower, adding a waterproof curb can help keep moisture away from the house. This will also prevent mold growth in the shower and bathroom.
Building a waterproof curb on your own can be done with little experience or training. All you need are some basic tools and supplies, along with some careful attention to detail as you work through each step of the process. Here’s how to build a waterproof shower curb from scratch:
Measure and mark off the area where you’ll be constructing your curb. This should be placed directly in front of the drain pipe that’s installed in the floor near where the wall meets the ceiling (if there isn’t already one). The pipe will be used as an anchor point for attaching the rest of your curb materials together so that they stay put even when wet.
Use concrete mix or mortar to create a base for your curb that’s at least 2 inches thick and extends out overtop of any existing tiles or grout lines on your wall surface by 1 inch all around. Make sure that this base is level before placing it down on top of any other surfaces such as carpet
Waterproofing a shower curb is a simple process that requires only a few tools and supplies.
Shower curbs are the walls of your shower, which also serve as water barriers. The shower curb prevents water from getting under the tile and mold or mildew from growing. Waterproofing your shower curb helps keep your home in top condition, so it’s important to waterproof your shower curb properly.
Step 1: Cut the Tile for the Shower Curb
Cutting tile for a shower curb is much like cutting any other tile. Use a tile saw to cut the tiles at 45 degrees. If there are any corners, cut them at 45 degrees as well. Once you have all of the pieces cut out, check them against each other to make sure they fit together correctly before you start installing them on your curb.
Step 2: Install Shower Wall Tiles
Apply thinset mortar onto each tile with a trowel and press it into place against another tile or mortar bedding area (this needs to be done before installing any tiles). Make sure all joints are completely filled with mortar and allow 24 hours for curing before installing any more tiles or grout.
A shower curb is a raised boundary that keeps water in the shower area and out of the rest of your home. A curb can be made of concrete, brick or stone, but it must have an adequate slope to prevent water from pooling on the surface.
Waterproofing a shower curb is important to keep moisture away from wood framing and drywall. If you’re building an outdoor shower, you’ll need a waterproofing membrane as well as a curb. You may also need waterproofing materials if you’re remodeling an existing shower into an outdoor version.
The key to waterproofing a shower curb is to understand how water moves through soil and what you can do to stop it. When rain falls on your roof and runs down the gutters, it flows into the downspouts, which direct the water toward the ground at a low angle so it doesn’t splash back up onto your house. If your gutters are clogged with leaves or debris, this can cause water to back up and run over your roof’s edge instead of draining away from it into downspouts. The same thing happens when you have standing water in your yard because leaves have blocked drainage pipes or tile drains around your house
Building a shower curb is an easy DIY project that will help protect your bathroom floor from moisture. A shower curb helps prevent water from escaping outside the shower pan and protects against leaks, which can damage your flooring and subfloor. It also provides a place to rest your feet while you bathe and helps make sure that your shower curtain stays in place.
Materials for Building a Shower Curb
You’ll need the following tools and materials:
Shovel or trowel
Brick mortar or mortar mix (for masonry)
Masonry sand (for masonry)
Waterproofing a curb is a very simple project that can be completed in a weekend. It’s important to waterproof the shower curb because water leaking through it can cause damage to the bathroom floor.
Plastic Curb Installation
1 Measure the length of your shower curb and then cut a piece of plastic to fit. The plastic should be long enough to overlap the top of the curb by an inch on each side.
2 Place the plastic on top of the curb and secure it with duct tape on all four sides. The duct tape should overlap itself by at least half an inch on each side.
3 Cut holes in the plastic where pipes or other objects will go through it, then place them through their respective holes and secure them in place with more duct tape underneath so they stay put when you pull out the tape over them. This will keep water from leaking through these holes when you shower or bathe.