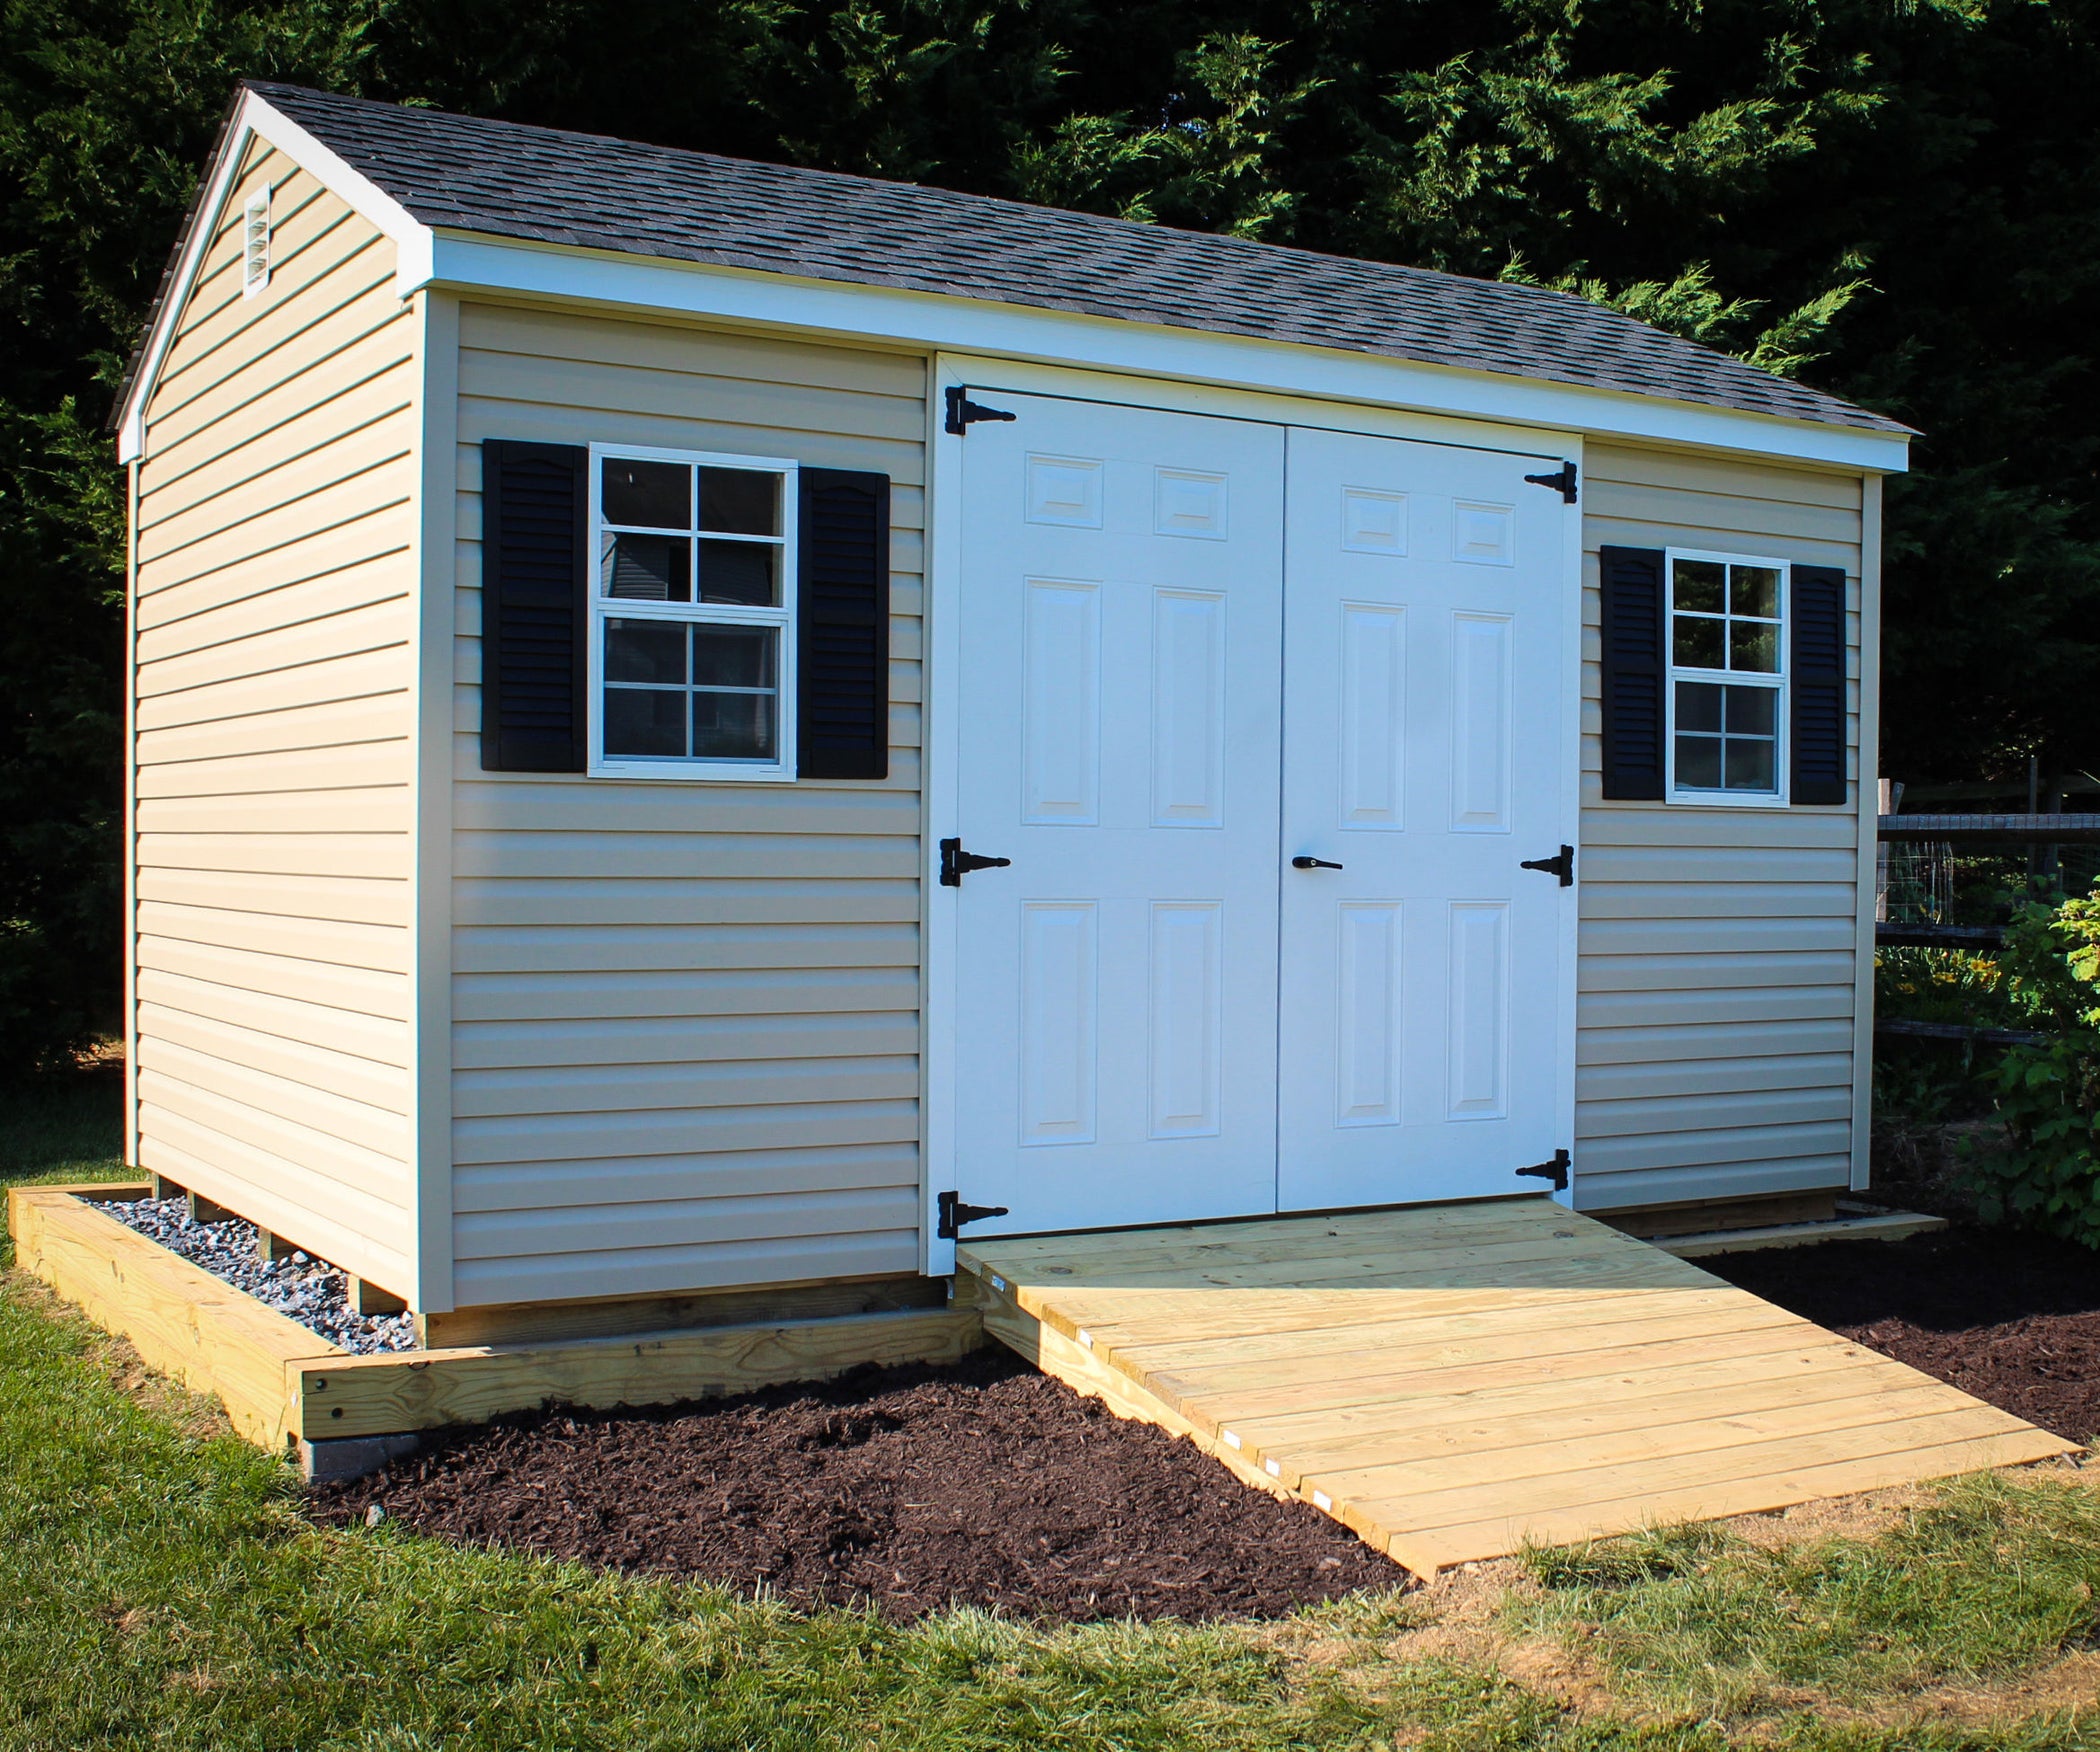
The storage shed is a great idea; it works as a place to store all sorts of stuff. You can also temporarily put in things that need protection, for instance, in case of major weather problems. In order for you to feel safe having expensive things in a storage shed, there are some steps you can take. One is to build a ramp because you do not want to have the relatives of your grandfather’s badminton racket falling through the door.
If you want to build a storage shed in your yard there are several things you need to do before actually building the shed. You’ll need to assemble all the planks and tools that you’ll use during the building process as well as find a place to store them. You could go out and purchase a trailer or have a friend help you with the project. If you’re not sure what kind of ramps to use, keep reading for some helpful tips;how to build a ramp for a storage shed,how to make a ramp for storage shed,making a ramp for a shed and how to build a ramp for my storage building.

How to build a ramp for a storage shed
Making a ramp for your storage building is a fairly easy project that anyone can do. The main thing to remember is that the ramp should be as steep as possible, while still being safe and easy to use. The other important thing is that it needs to be wide enough for your lawn mower and other lawn equipment to get up and down safely.
A good rule of thumb for determining the slope of your ramp is to make it twice as high as it is long. So if you have a 10 foot long shed, then cut your 2×6 boards into 20″ long pieces and nail them together in a straight line on top of each other. This will give you a nice 8′ high ramp with an angle of 35 degrees from one end to the other, which is perfect for most lawn mowers and carts with wheels on them.
You’ll also want to make sure that you have enough room between your shed door and the edge of the building so that it doesn’t hit when opening up or closing shut again after using your ramp. You can measure how far off center you want it (from right to left) by measuring from where the door hits the ground when closed all the way up through the middle of your door frame (or just measure it yourself.
how to make a ramp for storage shed
A shed ramp can help you access your shed without having to step over the threshold. The easiest way to build a ramp is by using 2×6 lumber. Cut the boards to length and lay them on top of the ground. Secure them in place with 3-inch deck screws. When you have installed the first row, cut another row and add it to the bottom of the first row. Continue adding rows until you reach your desired height.
When you have finished attaching all of the boards, measure from one end of your ramp to find where you need to place your door frame. Place one piece at each end of your door frame and secure them into place with 3-inch deck screws. Attach another piece on each side of each end piece so that they are flush with the ends and make sure both sides are even with each other. This will create a stable base for your door frame so that it does not shift when opening or closing it.
The last step is installing your shed door onto this base frame by attaching hinges to both sides and then attaching a latch for added security
There are many reasons why you would want a ramp for your storage shed. For example, if you have a shed that is in the back yard, it can be difficult to get items in and out of the shed because you have to go around the house. A ramp will allow you to roll things up and down in a straight line.
Another reason is that it makes it easier for children to get into the shed when they are playing with their toys. It will also help keep your lawn free from marks from where kids drag toys around on it.
There are two ways you can go about building your own storage shed ramp: You can build it yourself or hire someone else to do it for you. If you build it yourself, then all you need are some basic tools and materials that you can buy at any local hardware store or home improvement store. If hiring someone else, then just ask them how much they charge to build this type of structure for you.
making a ramp for a shed
When you need to get equipment into the shed, a ramp can be the perfect solution. Ramps are also useful for helping people with mobility issues get in and out of their shed.
Building a ramp is something you can do yourself with relative ease. Here is how:
Measure the distance between the ground and the door of your shed. This will tell you how long your shed ramp needs to be. Use 2x6s for the sides of your ramp and 2x4s for its top and bottom supports. Measure and cut each support board to length so that it fits exactly between two posts on the side of your shed door frame. Make sure all corners are square; use a framing square if necessary. Attach each support board using galvanized nails or screws through pilot holes drilled through both pieces at least every 12 inches or so along each edge where they meet at 90 degree angles.
Create a frame using 2x4s cut into lengths equal to half the height of your door opening. Attach these boards together using galvanized nails or screws through pilot holes drilled through both pieces at least every 12 inches or so along each edge where they meet at 90 degree angles.

how to build a ramp for my storage building
Building a ramp for your storage building is easy to do and can be built in a weekend.
The first thing you need to do is measure the length of your storage shed and cut your lumber to size.
Use 2 x 6 boards for the frame of the ramp and 2 x 4 boards for the decking. The height of the ramp should be 1/3 of the height of your storage shed. For example, if your shed is 8 feet tall, then make the ramp 3 feet high.
Make sure that all boards are cut exactly to size so that they fit together snugly. You can use a circular saw or a table saw to do this task.
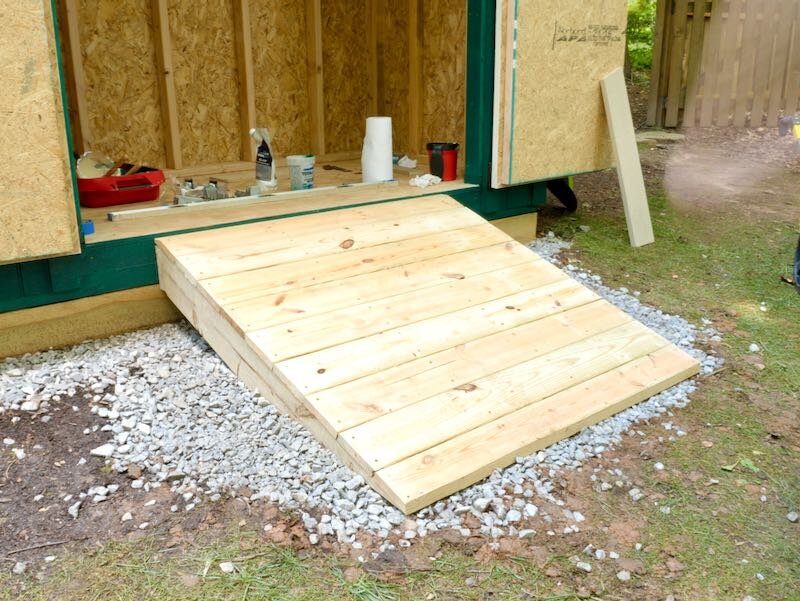
Assemble the frame by attaching each piece with two galvanized nails on each side of each joint (see photo above). Once you have assembled all pieces of lumber, attach them to each other with either screws or nails at every seam.
Now it’s time to build your decking out of 2 x 4s or other material that provides traction for people walking on it (see photo below). You can either nail or screw these boards into place depending on what kind of material you choose for decking materials.