Building a gate for a picket fence is a common DIY project for someone who has built fences and gates before. Posts are driven into the ground on either side of the gate opening, and the space between the posts is filled with masonry or another material to build the gate. There are two different types of gates—swinging and sliding—and each type requires different hardware to build. Sliding gates use either a torsion spring or counterweight system to slide the gate in and out of its opening, while swinging gates use hinges.
Picket fences are great. They go well with all home styles, costs hundred times less than brick walls, and they increase your home’s property value by several thousand dollars over brick walls. But I don’t really care about that (the part about increasing property value). I care about the fence itself: It’s neat, orderly, pretty, how to build a picket fence how to install a fence gate and it lets you see through to the other side of the yard which is an important thing for privacy. I don’t mind the look of a picket fence. In fact, I think it’s the most charming style in modern fencing.
How to build a gate for a picket fence
Building a fence is a major task, but building a gate can be even more daunting. The first step is choosing the right kind of gate. There are two basic types: swinging gates and sliding gates. Swinging gates are hinged at the top, while sliding gates are hinged along one side. Both can be made out of wood or metal, and there are many different kinds of hardware available for each type.
If you’re going to build your own gate, you’ll need to know how to install it properly. This will ensure that it swings smoothly and stays in place without sticking or squeaking.
Measure the opening where you want the gate to go and mark it on either side of the opening with painter’s tape or chalk; this will help you make sure that your measurements are accurate when building your gate. Take care not to measure too closely between posts because they may be set farther apart than what is required by standard building codes; this will ensure that your gate is wide enough for people to walk through comfortably without hitting their heads on any posts or beams along the way.
Measure from post-to-post across the opening to determine how long each picket needs to be cut at
Installing a picket fence is a simple project that you can do yourself. You will need a few tools and materials to complete the job, but with these tips you can build a fence that looks great and lasts for years.
How to Build a Picket Fence
Step 1: Set up your fence posts
Step 2: Install your first line of pickets
Step 3: Install your gate posts and gate hardware
Step 4: Add additional lines of pickets if desired
A picket fence is a classic addition to any property. It’s also a great way to add privacy, as well as a decorative element to your home.
The first step in building a picket fence is choosing the right materials. You’ll need wood, nails and other hardware. The size of your yard will determine how much wood you need — but most fences are built with 3-by-6-inch boards.
You don’t need any special tools to build a picket fence; just some basic carpentry skills and common household tools like hammers, saws and screwdrivers.
To build a picket fence, start by measuring the area where you want to install it. Then measure down from the ground and mark where each post should go with masking tape or string tied around them at ground level.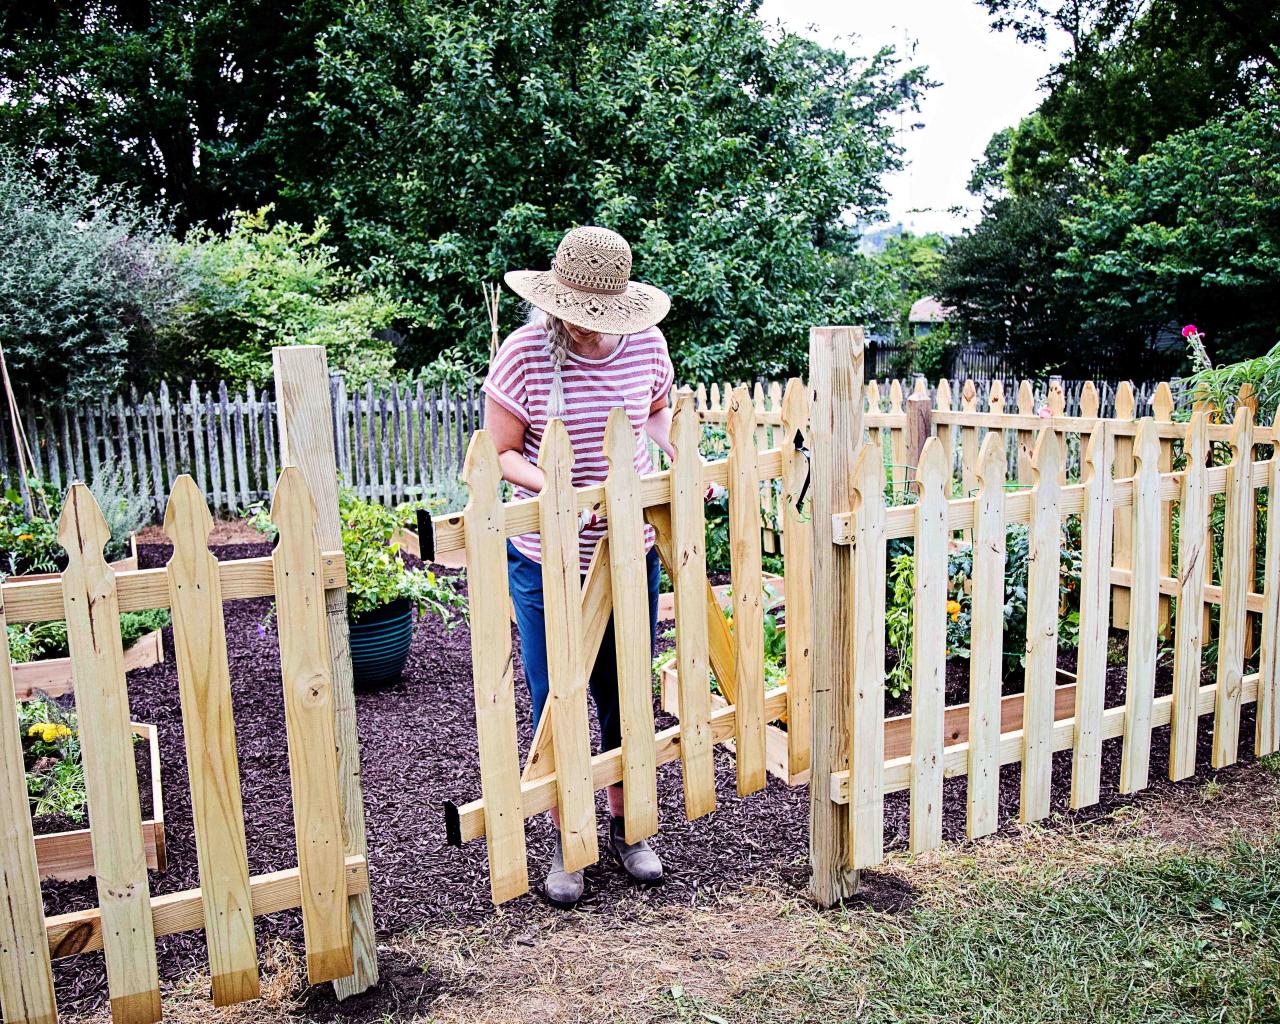
Dig holes for each post using an auger bit attachment on your drill/driver tool, then set them in place using concrete anchors (if applicable). Next, attach the posts together using lag screws or bolts depending on how strong you want your gate to be (you can get by without bolting if you’re building a small gate).
After attaching all of your posts together, cut lengths of 2×4 lumber into 2-foot sections
Here are some tips for building a gate for your picket fence.
1.Measure the height of the gate and make sure it’s tall enough for your needs.
2.Cut two 2x4s to length, then screw them together to form two T-shaped pieces. This will be the base of the gate frame.
3.Cut four more 2x4s to length, then screw them to each side of the T-shaped frame so it makes an H shape with two boards at each end of the top bar and two in between them (see image).
4.Use a level to make sure that all four vertical pieces are even, and then drill pilot holes through both sides of every vertical piece into their respective horizontal pieces at 1in intervals, using a countersink bit so you don’t split them on the inside edges when driving in screws from below (if you don’t have a countersink bit, drill holes about 1/8in deep with a spade bit, then use an awl or screwdriver handle to push out the center portion).
5.Screw together all four of your vertical pieces into one solid unit using 3in decking screws or galvanized nails; predrill if using
Building a picket fence gate is a relatively simple project that can be completed in a weekend.
It’s important to use the right materials and follow proper construction techniques so that your gate will last for years to come.
Here’s how to build a picket fence gate:
Materials:
Picket fence posts, rails and pickets (lumber)
Gate hinges and latch (lumber)