Google Domains is a domain name registrar, created by Google LLC. It was released in May 2019 as an alternative to GoDaddy and other domain name providers.
Google Domains has a simple interface and easy-to-use features that make it easy for you to register, renew, transfer or park your domains.
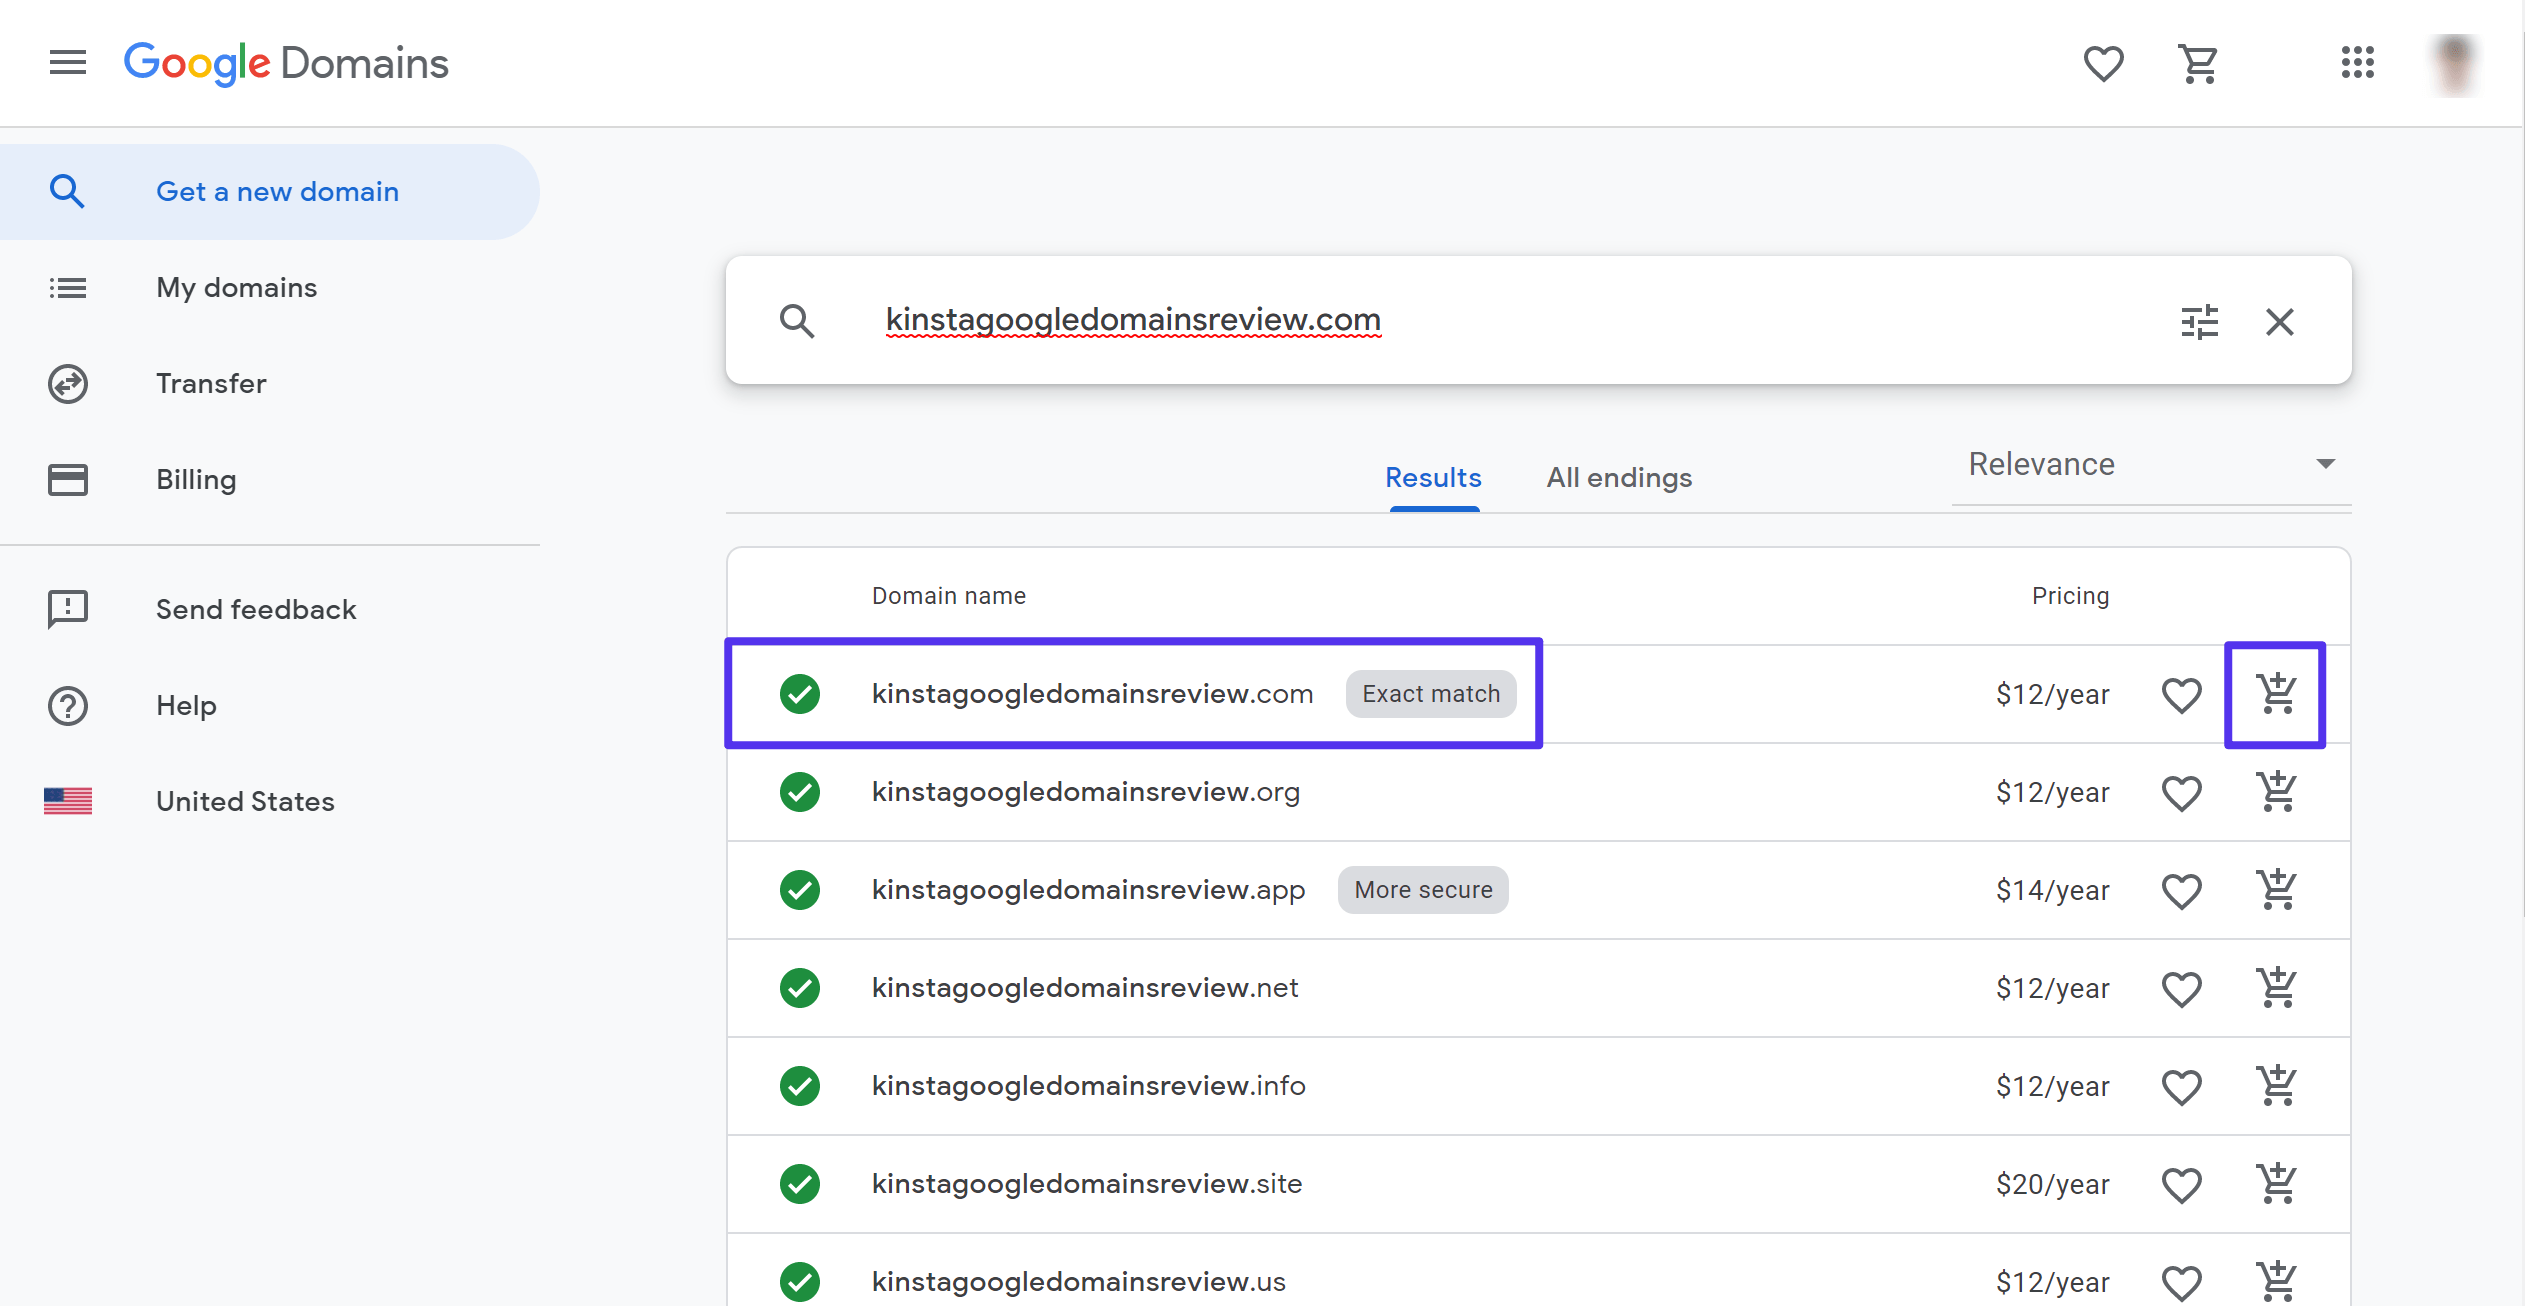
The service supports all major top-level domains (TLDs), including .com and .org, and offers free Whois privacy protection when you register a domain name.
Using WordPress With Google Domains
Connecting your domain name with your web hosting can be done in a few simple steps. This will allow you to begin using your website as soon as possible.
Google Domains Free Hosting Review
Google Domains is Google’s free domain registrar and web hosting service that provides simple, secure and reliable domains. With Google Domains you can purchase any of our domains and get a personalized email address at gmail.com:
The Google Domains website has a Getting Started guide that you can follow to set up your domain. The steps are similar to those outlined below:
Connecting your domain to hosting
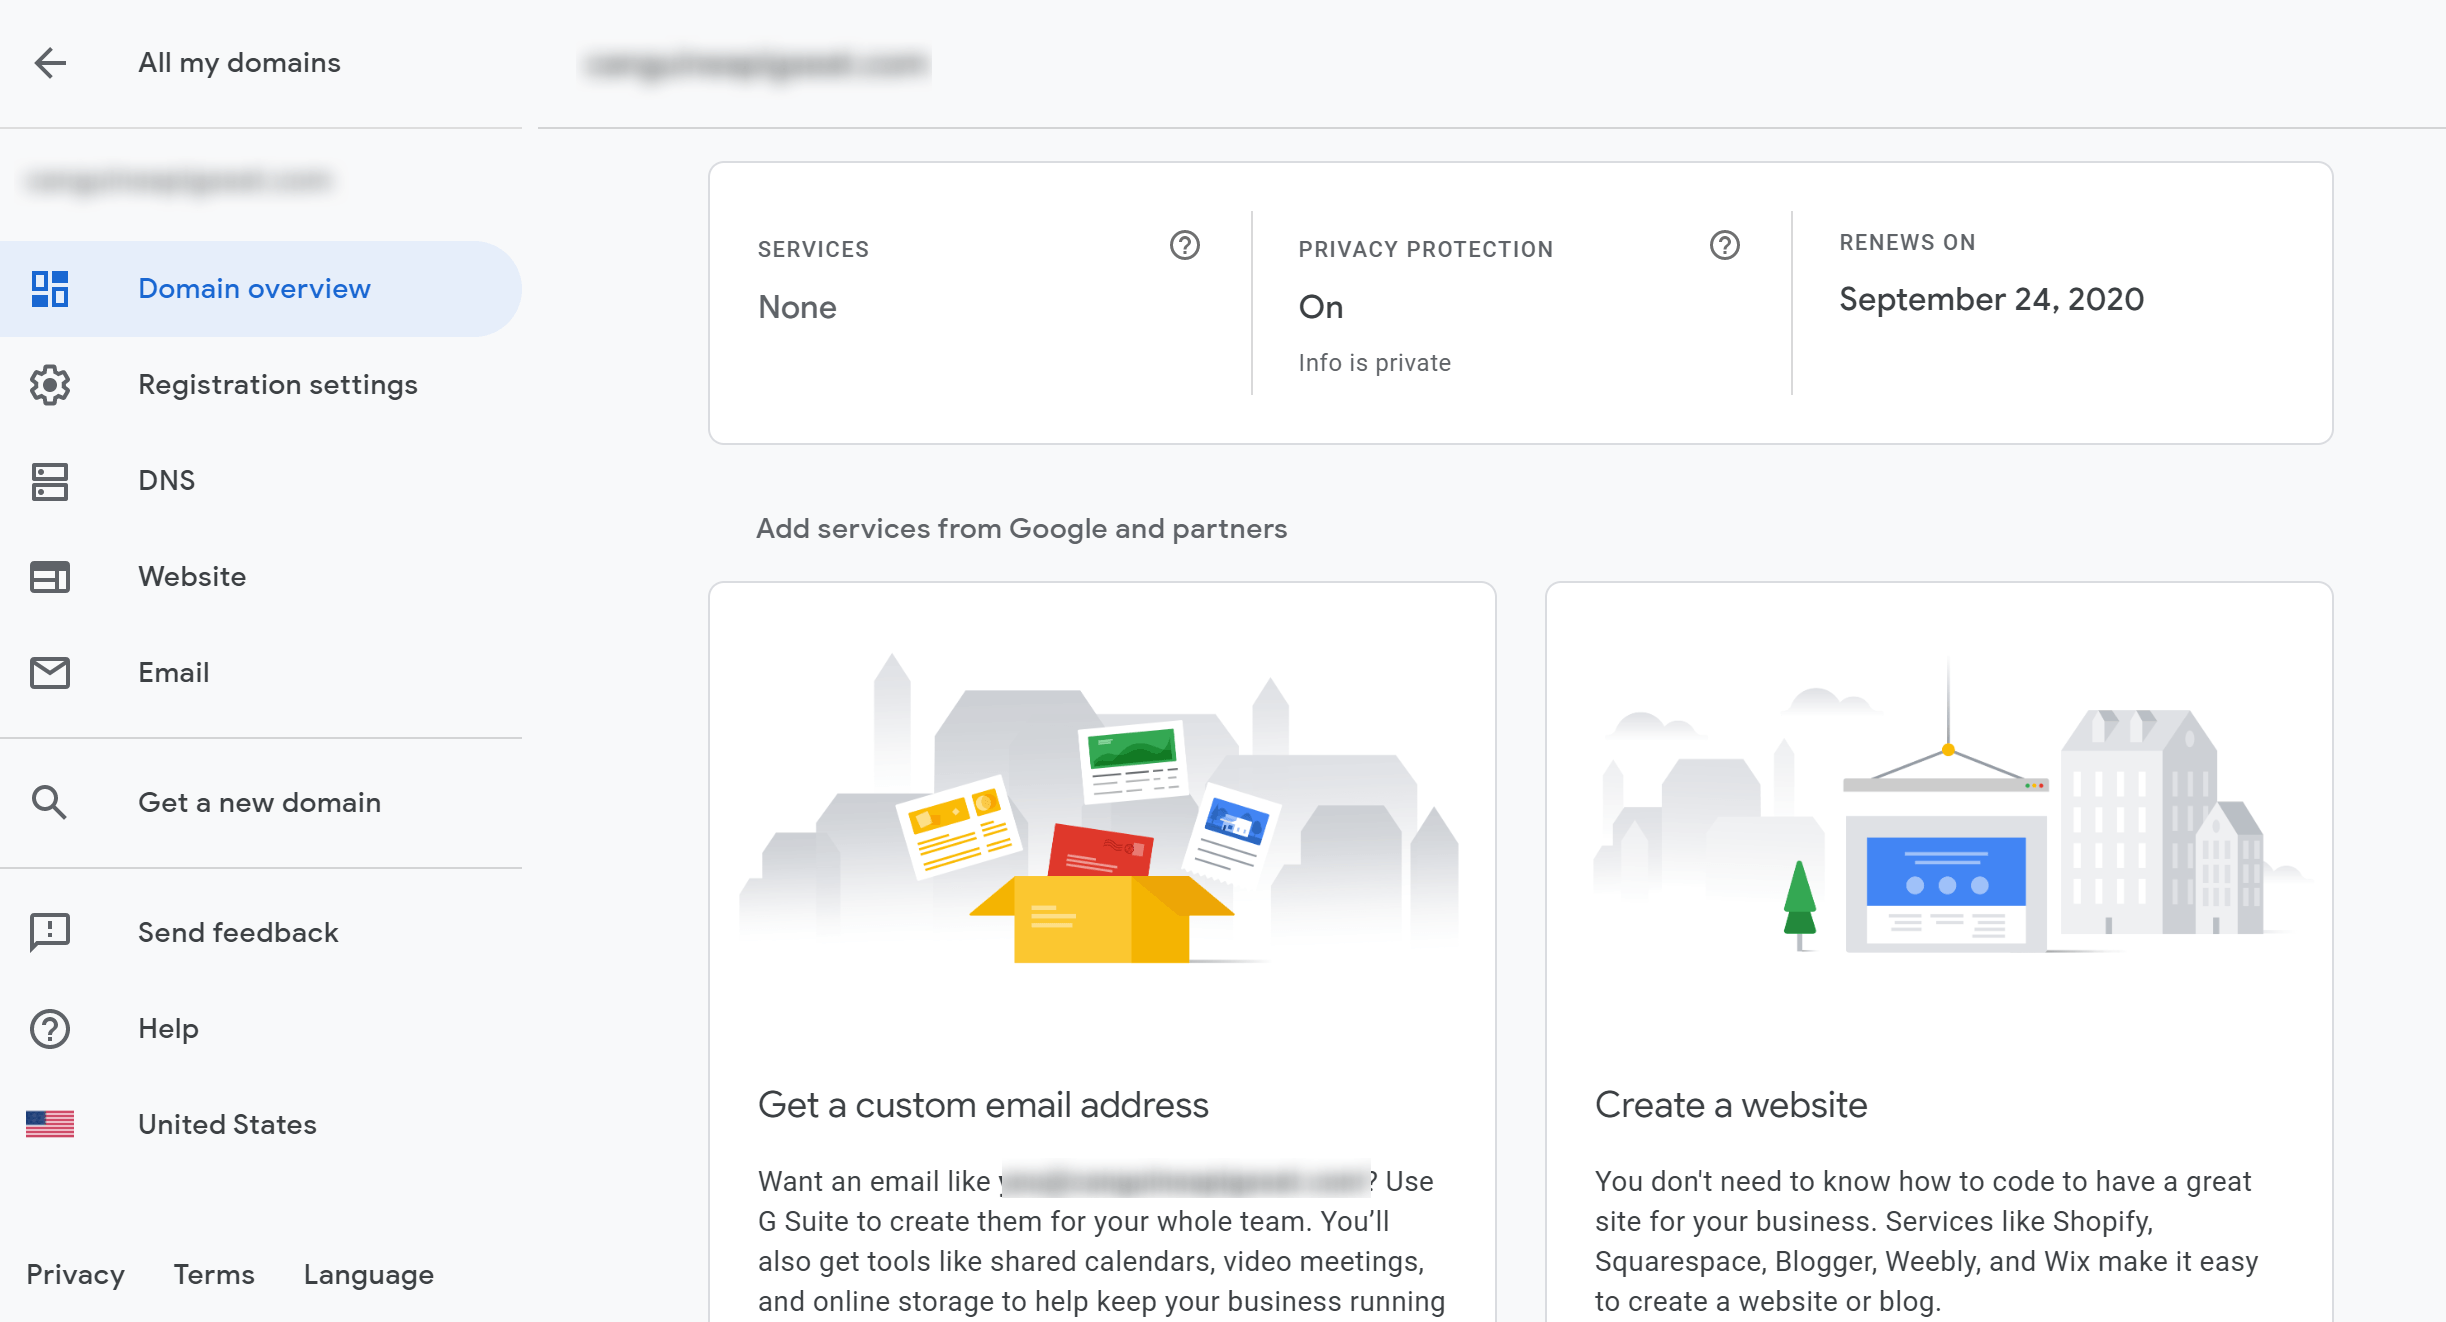
Log in to your Google Account and select the Domain Settings option from the menu.
On the Domain Settings page, you will see a list of domains registered under your account. Click on Configure next to the domain name you want to configure.
On the Configure Your Domain page, click Connect next to Hosting.
On the Configure Your Hosting page, select a plan and click Confirm.
The first step to getting started with your Google Web Hosting is to navigate to the Domain Management page where you can view a list of all of your domains.
Once there, click on the domain that you want to use with your website. You will then be taken to a page where you can change the name servers associated with your domain.
Changing Your Domain Name Servers
To change your name servers, click on “Change” under “Name Servers” and then type in the following information:
Primary DNS: 8.8.8.8 (Google’s primary server)
Secondary DNS: 8.8.4.4 (Google’s secondary server)
How to Connect Your Domain to Google Domains
1. Sign in to your Google account, then click Create a new website.
2. Choose a website address for your new site (for example, “example.com”). You can purchase one from Google or use another domain that you own.
3. Click Next, then choose the type of website you want to create. If you’re unsure which option is best, select Personal blog and enter some basic information about your blog. This helps us suggest appropriate settings for your site so it’s ready to go when you’re done with this tutorial.
4. Select Yes, I want my site to always be secure by default, and click Next to continue setting up your account and website settings.
Step 1: Connecting your Domain to Hosting
If you don’t already have a domain, you can purchase one from Google Domains. If you do, skip to Step 2.
Step 2: Sign in to Google Cloud Platform
If you’re new to GCP, follow these steps to sign up:
Go to https://cloud.google.com/free/.
Enter the basic information requested and click Create Account. After the account is created, you’ll receive an email with your username and password. You can also find this information by logging in at https://console.developers.google.com/project/_/ext_auth/google-oauth2/apiui/credential?return_type=code&client_id=749585443688&response_mode=form_post&state=sta00Rf9JQv4GgMb8YpOwBOq3HKqS1aIWZ8%3D&scope=https://www.googleapis
Connecting your domain to your hosting account is a simple process.
Once you’ve registered your domain name, you’ll need to:
– Log into the Google Domains control panel.
– Select the domain name that you want to connect to your hosting account.
– Click Manage DNS settings.
– Click Add a new record type and select A record from the dropdown menu.
– Enter the IP address of the server where you installed WordPress on in the Value field and click Save Changes.
Google’s web hosting service, Google Domains, is a great place to set up your first website. You can create an unlimited number of websites and use any of our free tools to make your site easy to edit, manage and update.
You can also connect your domain name to your website using DNS propagation time, which is the amount of time it takes for the new DNS settings to propagate across the web.
DNS propagation is a process that takes place when you change your domain name’s settings. When you change the DNS settings on your domain name, it takes time for this information to reach all DNS servers around the world — especially if you are using a premium DNS service like Cloudflare or Amazon Route 53. This process can take up to 48 hours before all of your visitors see the new version of your website.
1. Connect your domain to your hosting account.
2. Sign in to your Google Search Console account, and select the site you want to verify from the list on the left.
3. Click Search Traffic > Verification > Manual Actions > Safe Browsing Status.
4. Click Verify this website, then follow the steps to complete the verification process
The Google Search Console (GSC) is a free resource that helps you monitor and diagnose issues with your site. The GSC allows you to view your site’s performance, including search traffic and crawl errors, as well as receive alerts when something goes wrong.
In this article, we’ll walk through how to connect your WordPress blog or website to the GSC so you can start using the tool to monitor your site’s performance.
To get started, follow these steps:
1. To begin, log in to your WordPress dashboard and click on Plugins > Add New. Select Install Now and then Activate when prompted by the plugin installer
2. Next, visit https://www.googleapis.com/webmasters/tools/home?platform=wp&sandbox=true and sign in using the same Google Account you used for your website
3. Once logged in, click on Search Console > Add Property at the top right of the page
4. Now enter the URL of your website or blog and press Enter
Connecting your domain to Google Cloud Platform
Connect your domain to GCP by following these steps:
1- Go to the Domain Management page in your Google Cloud Platform Console.
2- Under “Domain settings,” click Manage DNS for this domain.
3- Click Show more options and then select Custom nameservers from the dropdown menu.
4- Copy the nameserver IP addresses into a text editor (for example, Notepad on Windows or TextEdit on Mac). These are the IP addresses for ns1 and ns2. For example: 192.0.2.1 and 192.0.2.2.
Good post. I learn something totally new and challenging
on websites I stumbleupon on a daily basis. It will always be helpful to read articles from other writers and practice
something from other sites.