Wood valances can be a tricky project and shouldn’t be taken lightly — or should they? Maybe all you really need to build a wood valance is a little inspiration and the right tools.
Do you know what wood valance is, diy wood valance ideas, how do i make a valance? If you are thinking it’s just a name for the non-existent type of window blind, you thought wrong. This article will cover what exactly is a wood valance, when does it make sense to use one and point out the common mistakes made by DIY enthusiasts.

How to build a wood valance
Wooden valances are the perfect solution for adding style and personality to any room in your home. They can be made from any type of wood and painted or stained in any color you want. You can also paint them with chalkboard paint and use them as a chalkboard too! Or you can cover them with fabric or even wallpaper to create something unique and beautiful. The possibilities are endless when it comes to wood window treatments!
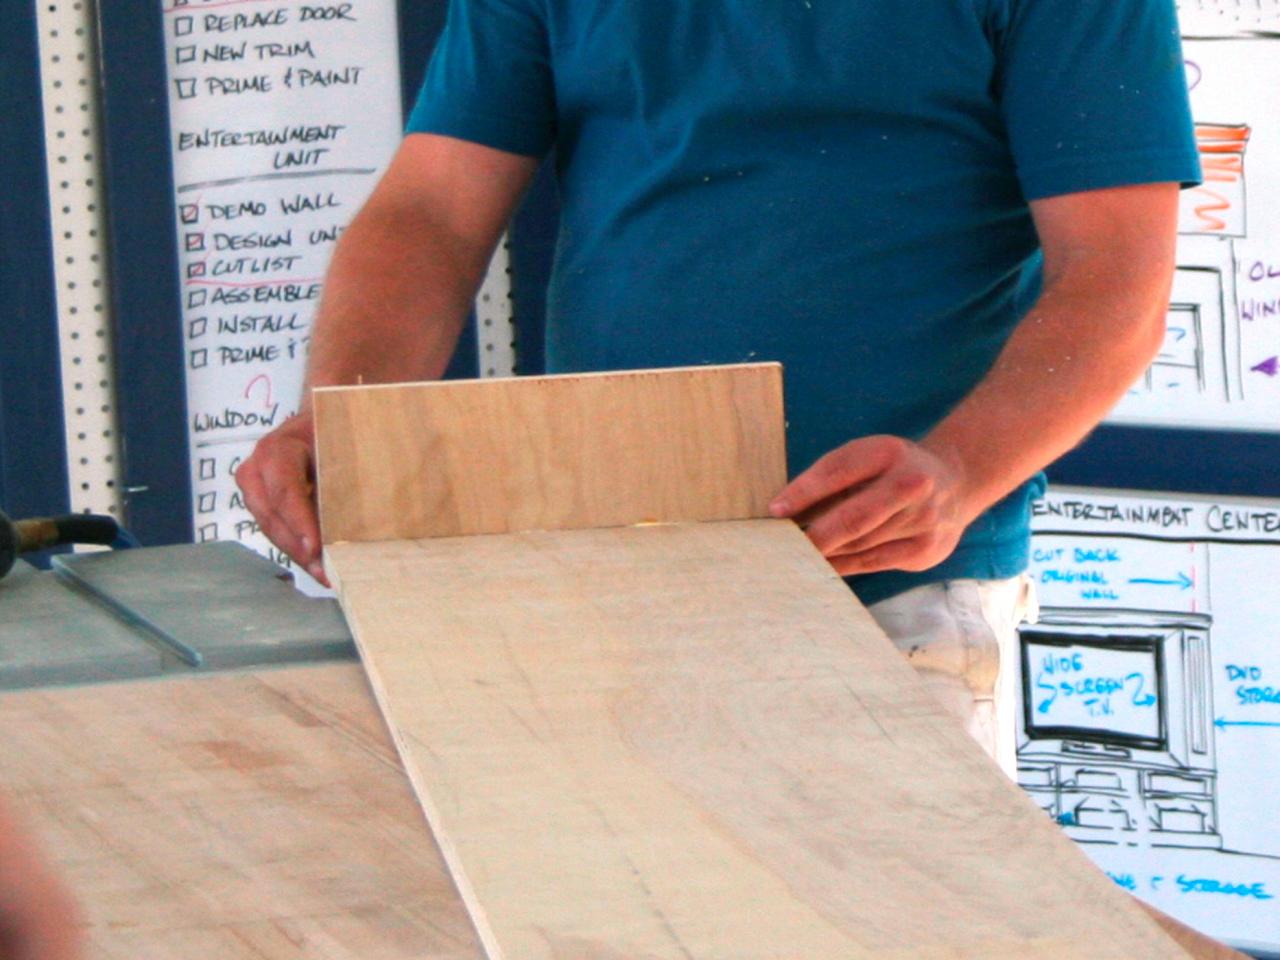
Measure the length and width of the window that you want to cover and cut your boards accordingly (make sure they’re longer than the window because they’ll hang over). Cut the rabbet at each end of each board so that they will fit together nicely once they’re put together. You’ll need four pieces of wood total – two pieces that will go on top (the “rails”) and two pieces that will go on bottom (the “valances”). Make sure all four pieces are uniform in size, as well as thickness, so that they look good together when finished!
DIY wood valance ideas
1. How to Make a Wood Valance
2. How to Make Wood Valances for Curtains
3. How to Make a Wood Valance for Curtains
4. DIY Wood Valances & Curtain Panels
5. How to Build a Wooden Valance for Curtains (with Pictures)
Wood valances are a great way to add some style to your windows. They come in a variety of shapes and sizes, so you can choose the one that best fits your window.
Here are some ideas for building your own wood valance:
1. Buy Wood Valances Online
2. Make Your Own Wood Valance
3. Install Wood Valances on an Existing Window
The wood valance features a lower angled top rail, which is made of a composite material with a wood-like finish. The valances are available in your choice of three styles and finishes. The basic style has a simple 2-1/2″ crown molding profile. The crown molding on the other two styles is more elaborate, with a 3″ crown and flat top edge.
The wood valance can be installed as an addition to your existing window treatments or used as standalone window treatments for large windows or sliding glass doors.
How to Build a Wood Valance
Building a wood valance is an easy project that can be completed in a weekend. They are excellent for use with windows that have crown molding or cornice boards, but you can also install them on plainer windows.
Materials:
1x4s or 2x4s (depending on your desired height)
1×6 or 2×6 boards (depending on your desired height)
1x2s (optional)
Wood trim molding (optional)
Diy wood valance ideas
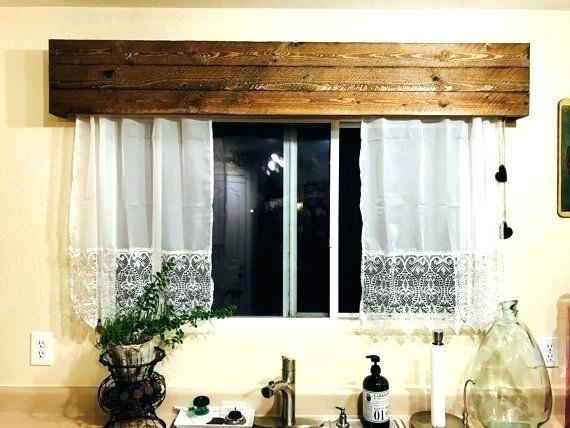
A wood valance is a great way to add style to your room and make it more inviting. A wood valance can also be used to hide items that you don’t want people to see. There are many ways to create a wood valance, but they all have one thing in common: they need to be sturdy and durable. If you are planning on making a wood valance of your own, here are some tips for making sure that yours is built right.
Choose Your Material
The first thing that you will need when choosing a material for your new wood valance is space. You want something that has plenty of room for displaying things and storing them as well. A good idea would be to find some old crates or boxes that have been long forgotten about in storage rooms or garages. These may work perfectly for what you want since they already have holes for hanging items from them! You can also use other types of containers such as cardboard boxes or plastic bins if you will be needing additional storage space but don’t want to spend too much money on materials either!
Find What You Want To Display On The Wall
DIY wood valance ideas. This is a very simple DIY project and you can make it in minutes. The best thing about this project is that you can use any type of fabric, but if you want to make it more interesting you can use different fabrics for the top and bottom part.
In this tutorial we will show you how to make a valance with a nice wooden frame, with no sewing required! You just need some basic tools and materials (wooden boards, nails, some fabric pieces, staple gun and staples).
DIY Wood Valance Ideas
– First of all we need to measure our window size and mark where we want to put our wooden boards. Make sure that they are long enough so that they reach all the way down to the floor (you can also paint them in order to match your room’s color scheme).
– Take your board and place it on top of the window frame so that it covers both sides of the window. Mark where you need to nail them down (we recommend using at least 4 nails per board).
– Now cut your fabric into smaller pieces according to their length, width and height. Place them over each board as shown in photo below (the side without any holes should be facing towards
Making a simple valance is easy and inexpensive. You can make them with fabric or use wood. Here are some ideas to help you choose the right style for your window.
Need a quick, cheap and easy way to dress up your windows? Try making a valance! They are easy to make and can be made out of just about anything. The best part is that they are so cheap and easy to make that you can experiment with different styles until you find one that suits your taste.
If you have some wood lying around, then you have everything you need to make a valance for your home. There are many different ways to do this project depending on the style of valance that you want and how much time you want to spend on it.
There are some basic tools and materials needed for this project:
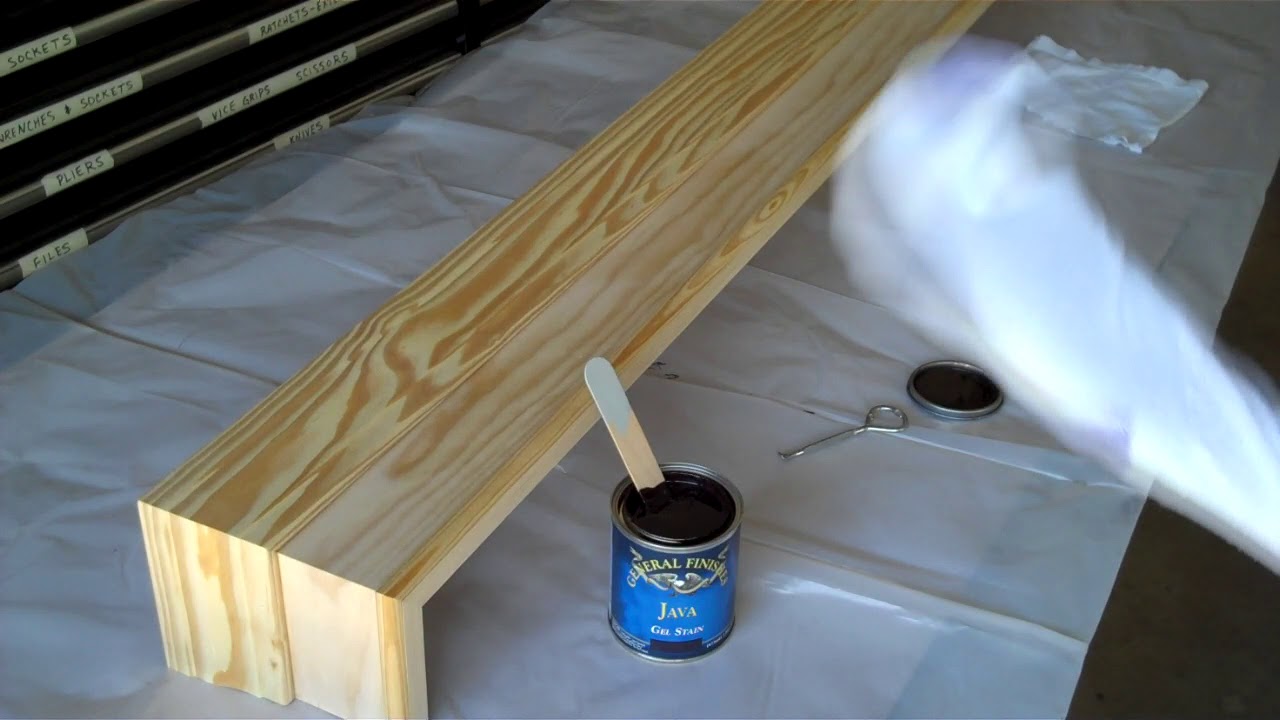
Wood (I used pine)
Nails (I used galvanized finish nails because they’re cheap)
How do I make a valance?
How to Make a Valance. A valance is a piece of fabric that hangs from the edge of your window, usually at the top. It can be plain or fancy, but it’s always meant to dress up the window and provide some privacy as well as shade from direct sunlight. You can make your own valance by following these simple steps:
Cut out two pieces of fabric that are about 2 to 4 inches larger than the width of your window (this will be for both sides). Hem one side of each piece and sew them together with right sides facing.
Sew the two pieces together along the top edge (just below where you sewed them together), making sure not to let out any extra length or width so that it still fits snugly against your window frame. If you have any extra fabric left over from step 2, trim it off now (but don’t throw it away yet).
Turn inside out and iron flat with steam on low heat setting – this will make sure there aren’t any creases in your new valance!
Measure how long you want your valance to hang down from the top corner of your window frame (where it will meet your ceiling) –
How do I make a valance?
A simple valance is just a piece of fabric, usually rectangular in shape, that hangs at the top of your window. You can use any kind of fabric, but it’s best to use something that doesn’t need to be ironed. You can also hang your valance from a rod or bring it all the way across your window and tie it back out of sight.
There are several ways to make a valance, depending on how much time and money you want to spend. You could start with a store-bought kit that includes everything you need for your project, like this one from Fabric.com. Or you could buy some fabric from a local sewing supply store and then follow these directions:
Cut two strips of fabric (or one long strip if you’re using only one color) that are at least 1 inch wider than the width of your window plus seam allowances on each side. If the fabric has selvage edges — those thick stripes running along either side of the fabric — cut those off before starting so they don’t show when you sew the pieces together.