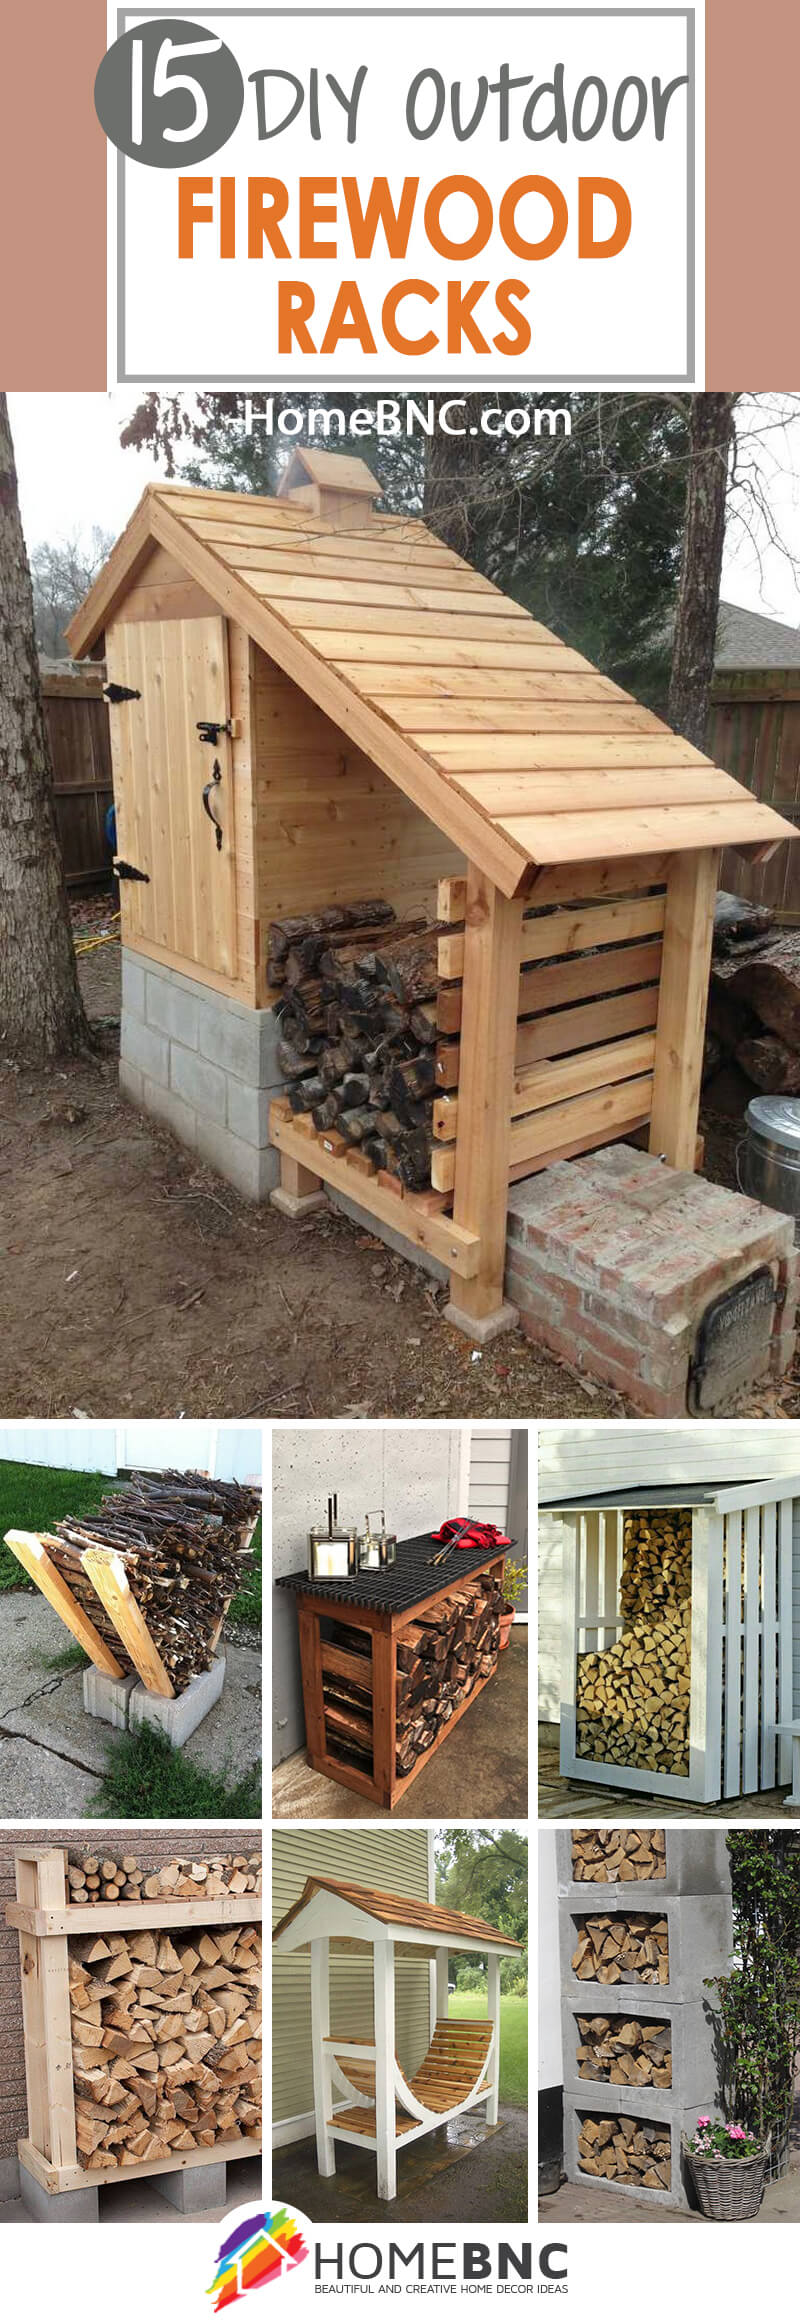
You have a shed and it is full of wooden items that are important for your yard. However, you’re starting to run out of room so you’ve decided it’s time to build a wood rack. Here’s what you’ll need and step by step instructions on how to build the structure.
Have you ever tried to build a wood rack, diy how to build a wood rack, how to build a shoe rack from wood? I’m sure most of you have. Often times, we tend to make the task more complex than it is. Okay, well maybe not always, but you get the point. This post details everything you need to know about building a wood rack whether it be for firewood, bird feeders or simply as an extra storage unit in your home.

How to build a wood rack
A wood rack is a great way to store your tools, sports equipment or even some of your kitchen appliances. Building one yourself is not only easy, but it will save you money as well. You can build a wood rack using 2x4s and plywood or 2x6s and plywood. Both will work well, but the 2x6s will be sturdier if you plan on storing heavy items on top of them.
Materials needed:
– Wood (2x4s or 2x6s) – enough for all the racks you want to build
– Plywood – 1/2″-3/4″ thick for the top, 1/2″ thick for the bottom (if needed)
How to build a shoe rack from wood
If you’re looking for an easy DIY project that’s also great for storage space, then consider building yourself a shoe rack out of wood. A shoe rack can be used in many places around your home — from the entryway hallway to underneath the bed! The best part about building one yourself is that it doesn’t require any tools besides your hands and a hammer!
A wood rack is a great way to store your kayak, canoe or other small watercraft. The rack will keep your boat safe from the elements, and it will also protect it from damage. You can build a kayak rack out of wood in just a few hours with the right tools and materials.
This project guide will show you how to build a two-car garage storage rack for your kayak or canoe using just one 2×6 board. The project guide also shows how to build an A-frame storage rack for multiple boats.
You can customize these plans by adding more racks or creating more A-frames to accommodate larger numbers of boats.
How to build a wood rack
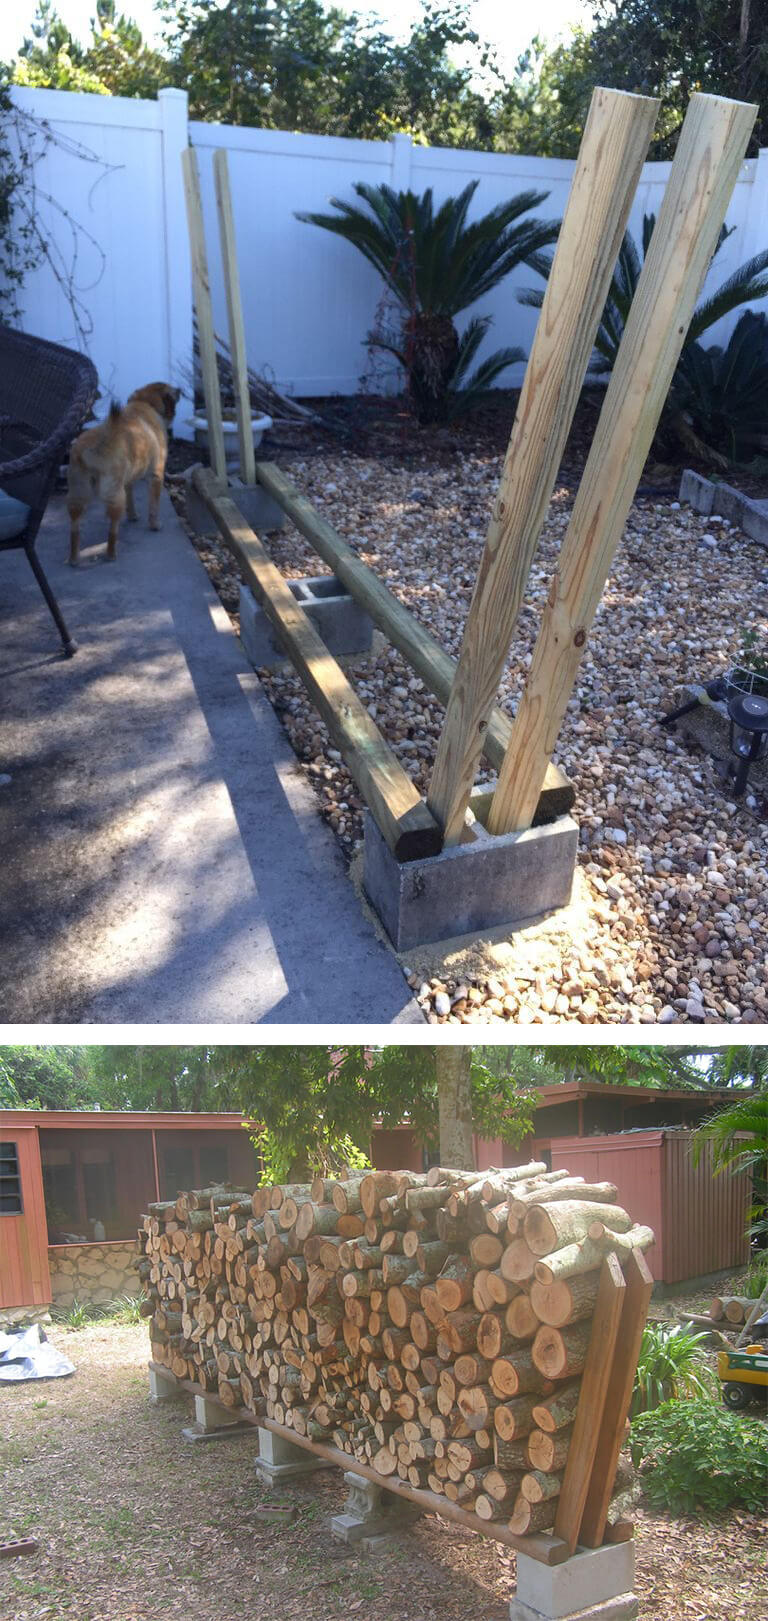
Racks are usually used to store items in a garage or basement. They can also be used to store items in a home, such as bicycles and kayaks. A wood rack can be made from both new and old wood. New wood is more expensive than old wood, but it lasts longer. Some people prefer new wood because they want to make sure their racks will last as long as possible. If you prefer old wood, you should use pressure-treated lumber so the rack will remain sturdy over time.
Step 1: Cut the Wood
Cut your first piece of 2×4 into two equal pieces using a saw. Use a circular saw or handsaw if possible; otherwise use an electric jigsaw or reciprocating saw with a fine tooth blade.
Step 2: Assemble the Pieces
Lay one end of each 2×4 flat on your workbench with the other end facing up at 90 degrees (perpendicular) with the length of each piece facing outward from one another forming an “L” shape. (This is where your car will go.) Attach them together with three 3″ galvanized screws into each end of each board using your drill/driver and screwdriver bit set (or impact driver).
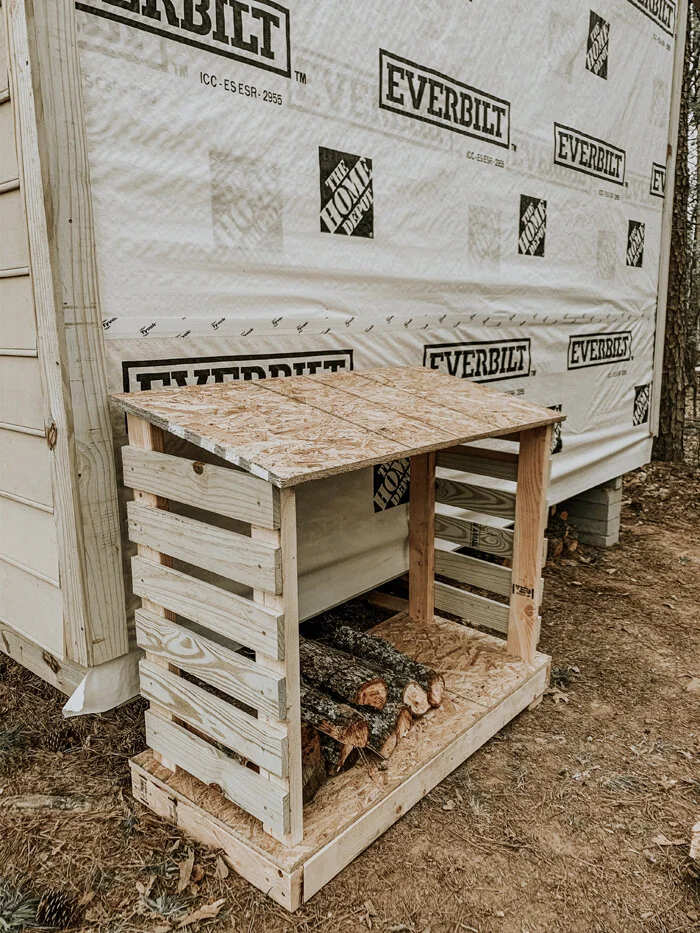
In this video I show how to build a wood rack. This is a simple and easy DIY project if you have some woodworking skills. The only tools you need are a saw and screw driver.
First, cut the 2x4s into 8 equal pieces. For example, if you want your rack to be 4 feet wide, then cut your 2x4s into two 4 foot pieces and four 3 foot pieces. Next, screw the two 4 foot pieces together like shown in the picture below. These two boards will form the base of our rack. Finally, screw on the three 3 foot pieces onto the sides of our base board as shown in the picture below.
This is what our rack should look like now:
Next we’re going to attach our cross supports onto each side of our base board using screws as shown below:
Now we can add our top boards onto each side using screws as shown below:
At this point we basically have a completed wood rack except for one thing – we need to create openings so that we can store items inside of it! To do this simply use a jigsaw or circular saw (or any other cutting tool) and cut out holes about 4-6 inches apart from one another
How to Build a Wood Rack
If you’re looking for a way to store your tools and other items, a wood rack might be the answer. A wood rack can be as simple as a single shelf for your tools or as complex as an entire wall of shelving with several shelves. There are many different types of racks available, which makes it easy to match your needs with the style of rack that meets them.
Steps for Building a Wood Rack:
1) Determine how many racks you need. This will help determine how much lumber you will need to buy.
2) Choose the type of wood you want to use for your rack. This can be anything from pine to oak or even cedar if you want something more durable or attractive than plain pine. The type of wood also determines what kind of finish is needed and how many coats should be applied.
3) Cut all pieces to their correct length. You can cut these by hand with a saw or use power tools like an electric jigsaw or circular saw if you have them available to save time and energy spent on cutting each piece separately by hand with a handsaw (which takes longer).
Diy how to build a wood rack
This article will tell you how to build a wood rack from scratch. You can use the rack for anything from holding tools in the garage, to storing your wine bottles.
This is an easy project that anyone can do at home. You can build a wood rack quickly, cheaply and without any special skills.
The design we are using here is relatively simple and easy to build. The only tool you need is a drill with a 1/2″ drill bit. This rack will hold up to 18 bottles of wine or 12 shoes depending on how many rows you want to make.
How to build a rack out of wood
A shoe rack is a great way to organize your shoes and keep them off the floor. Learn how to build a shoe rack with this DIY guide. A shoe rack is a great way to organize your shoes and keep them off the floor. Learn how to build a shoe rack with this DIY guide.
How to build a diy wood rack.
Here’s an easy project to build a wooden rack. This rack can be used for shoes, clothes, or anything else you want to display. It’s made out of 2x4s and 1x4s, so it’s very simple to build.
Materials:
2x4s (8) – cut the 2x4s into 10″ lengths
1x4s (12) – cut the 1x4s into 21″ lengths
1/2″ plywood (2) – cut this into 3′ x 4′ pieces
wood screws (1 lb box)
Materials you’ll need:
Wood – I used 2×4’s because they’re cheap and easy to find. You can also use 1×6’s or 1×8’s if you want a more finished look.
Nail gun – A pneumatic nail gun is ideal, but not required. A hammer and nails will work too if you don’t want to buy a tool.
Stain or paint – I used Minwax Wipe-On Poly in “Red Oak” to give it a little color. You could also leave it natural if you wanted to keep things simple.
Wood glue – This is optional, but it’ll make the rack stronger and more durable over time.
If you want to build a shoe rack for your home, the first thing you will need is a plan.
A good place to start is by looking at how other people have done it. You will be able to find lots of ideas on the Internet and in books.
The most important thing to remember when building a shoe rack is that it needs to be sturdy enough to hold all your shoes while they are being stored. If it isn’t strong enough, then it will collapse under the weight of your shoes and cause you problems when trying to get them back into their rightful place!
When planning out your own shoe rack, think about how many pairs of shoes you have – or could have – and then work out how much space each one needs. This will help determine how many shelves are needed as well as what size they should be so that they fit properly between each pair of shoes.