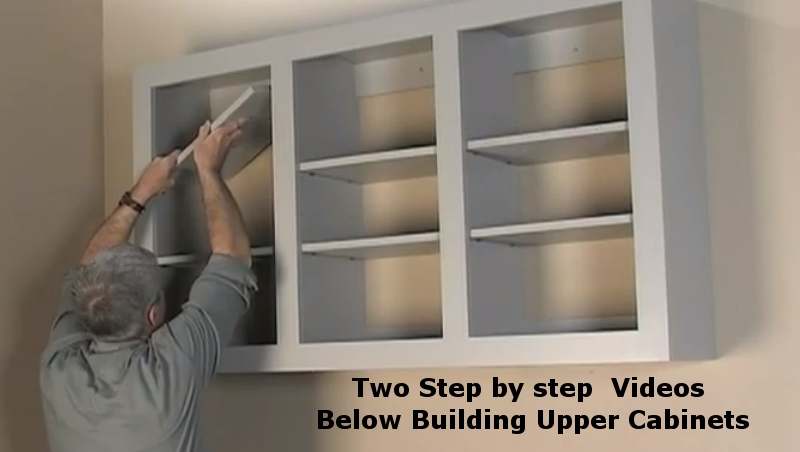
If you’ve ever built a wall unit, you realize it is more than just putting lumber and screws together. There are many ways to build a wall unit and it is important to choose the best way. This blog will guide you as you build your own wall unit.
Have you ever built a wall unit, how to build wall shelves without brackets, how to build a wall shelf out of wood? If you have, then maybe you already know how challenging it is to build one that actually looks nice and functions well. Well, figuring out how to build a wall unit can be done in two ways. You can either buy a pre-made wall unit and take it all apart in order to make changes or build the unit yourself.

How to build a wall unit
One of the most popular ways to add shelving to a room is to build a wall unit. Wall units are great because they can be customized to fit your space, are easy to install, and come in a variety of styles.
If you’re looking for an easy way to create extra storage and display space in your home, building a wall unit is a great option. Here’s how:
Step 1: Measure and cut the boards
Measure your wall height and width so you know what size boards will fit best. You can also measure the depth of your shelves if you want them deeper than the standard 12 inches. Then use this information to cut your boards at home using a table saw or circular saw (see below for more information).
Step 2: Attach the shelves
To attach each shelf board directly on top of one another without brackets, use pocket holes on each end (see below for more information). This will allow you to screw each board directly into its neighbor without worrying about screwing into an angle bracket or accidentally drilling through something important behind it (like electrical wires).
Step 3: Install vertical supports between shelves
In order to support our shelf system, we installed two wooden
How to build a wall unit
Wall units are very popular in the home decor. They can be used as shelf, cabinet or entertainment center. It is a great way to add style and function to your home. You may have seen some beautiful ones in magazines or online and wondered if you can make one yourself. Here are some tips on how to build a wall unit:
The first thing you should do when building a wall unit, is determine what size you want it. You want it to fit in your space so that it won’t overwhelm the room but still be large enough for all your needs. If you have space constraints, then consider using shelving units instead of cabinets because they take up less space than cabinets do but still give you storage and display options that are similar.
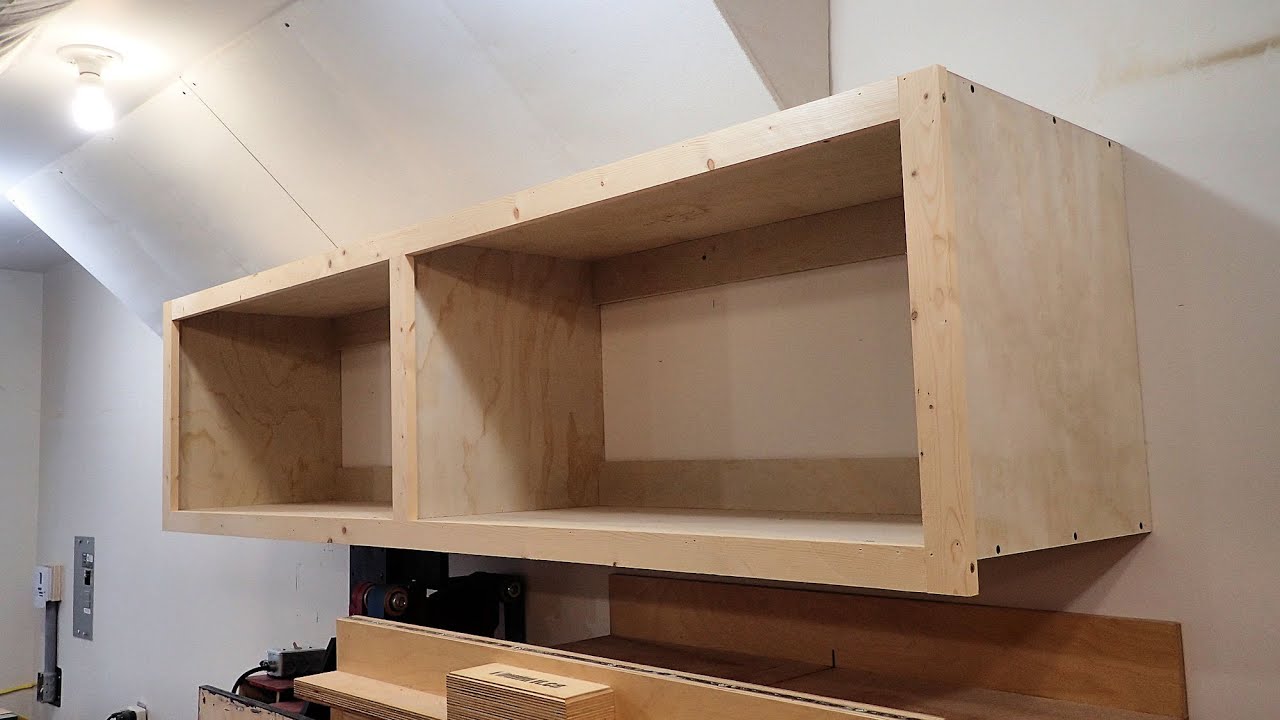
Next, decide what type of material you want for your shelves and furniture pieces such as wood or metal. For example, if you choose wood, then you can stain them different colors or paint them to match your room’s color scheme or even build them from scratch using plywood or mdf panels which are easy to work with and come in many styles and finishes already pre-cut for easy assembly like this picture here shows:

How to build a wall unit
Building a wall unit is a great way to add extra storage to your home. The best part about building your own wall unit is that you can customize it just the way you want. This DIY project is not difficult, but it does require some time and effort. You will want to make sure that you have all of the materials needed before starting on this project.
Materials Needed:
2×4’s or 2×6’s – These are used for the frame of your shelf unit. If you are building a large unit then you may need more than one piece of lumber per shelf. Make sure that each piece has at least one flat side so that they will go together smoothly.
Wood glue – Use wood glue to adhere all of your pieces together to create the frame of your shelf unit. Make sure that there is enough glue so that everything sticks together securely, but do not overdo it as you don’t want too much excess glue dripping down onto your finished product or seeping out from between boards as this could cause problems later on when painting or staining your finished product
How to build a wall unit
Wall units are the perfect way to create extra storage space in any room. They can be used for books, DVDs and CDs, or to display decorative items. If you are looking for an affordable way to add some style and functionality to your home, then this article is for you.
Building a wall unit is not as hard as it seems. You can use basic woodworking skills and tools to make a functional and stylish piece of furniture that will last for years. All you need is time, patience and the desire to do it yourself!
Choose your materials
The first thing you need to do before building your wall unit is choose your material. You can choose between solid wood or plywood with veneer on both sides. Solid wood will give you more durability but plywood will be more affordable and easier to work with. Plywood also has more options when it comes to color because it comes in various shades of light oak or dark oak depending on where you buy it from. You can also paint plywood if needed which makes it even more versatile than solid wood pieces since painting them does not affect their structural integrity in any way at all!
Step 1: Cut the 2x4s to size. Measure the area you want to cover with the wall unit and cut all of your 2x4s so they’re just a little bit longer than that. For example, if you’re building a wall unit that’s 3 feet wide and 4 feet high, cut each 2×4 to be about 3′-9″ long.
Step 2: Attach the first 2×4 to the wall. Using your stud finder, locate two studs on either side of your planned shelf location and mark them with painter’s tape or masking tape. These will be where you’ll attach your first 2×4, so make sure it’s level by using a level or other method of ensuring accuracy. Then use a drill/driver or hammer to drive three wood screws into each of those studs, through both sides of the 2×4.
Step 3: Attach another 2×4 to one end of your first board, making sure that it’s level with the other board. This is where things start getting tricky because you’ll have to make sure that this third piece is also level with its neighbors — meaning that if one side is slightly off from the other two pieces
How to build wall shelves without brackets
Building wall shelves without brackets isn’t difficult. The only thing you need is a drill, a saw and some screws. You can make these shelves out of wood or even metal. Here are the steps:
1. Cut the Boards
To build wall shelves without brackets, you first need to measure and cut the boards to size. The length of each board should be about three times its width, and each board should be at least 1/4 inch thick.
If you’re using wood, make sure it’s dry, as wet wood is more likely to warp as it dries out again.
2. Attach the Shelves With Screws
Once you have your boards cut and sanded smooth, use 2-inch long screws to attach them together with the ends flush and aligned side by side. If necessary, you can use wood glue or nails for added strength and rigidity before screwing them together.
How to Build Wall Shelves Without Brackets
If you want to build your own wall shelves, then this tutorial is for you. It will show you how easy it is to build a wall shelf without brackets. The instructions below will guide you through each step of the process.
What You Need:
Materials:
-Wooden boards
-Wood glue
Tools:
-Power drill with screws and screwdriver bit
A wall shelf doesn’t need to be big and bulky to add style and function to your home. With a few basic tools, you can create an attractive shelf that fits perfectly in any space. These instructions will show you how to build a simple yet elegant wall shelf using wood you probably have around the house.
1) Decide on the size of your shelf. You can make it as large or small as you want, but a standard size is about 12 inches by 12 inches. The depth of your shelf should be at least 4 inches less than the height of your tallest item that will go on it (for example, if you’re putting books on the shelf, make sure it’s deep enough for them).
2) Cut four pieces of wood so they are each 1 inch longer than the depth of your shelf plus 1 inch longer than its width (if your boards aren’t already this length).
3) Lay two pieces of wood flat on top of each other with one end flush against the other end and clamp them together so they don’t move around while you work on them later. Put something heavy on top like a book or two so they stay together while you cut them into their final shape
How to Build a Shelf That Won’t Fall Over
Whether you’re building a new kitchen or just want to upgrade your existing space, adding shelves can make it easier to store and display all of your stuff. But you don’t necessarily have to pay for expensive shelves that come pre-made in the store. You can build them yourself for less money and have more control over the design.
Building a shelf is easy with the right tools and materials. You just need some plywood, screws, nails, and brackets. The most important part is making sure the shelf will be sturdy enough to hold its load once it’s built — so follow these tips and you’ll be on your way to building a shelf that won’t fall over!
1. Measure Your Wall Space
The first thing you need to do is measure the wall space where you want your shelf. This will help guide your measurements when you go shopping for materials at home improvement stores like Home Depot or Lowe’s — provided they carry those materials in stock! If not, they might be able to order them for you instead.
2. Buy Materials
Once you know how much space you have available on your wall, head back out
A wall shelf is a great way to add storage and decorate your home. Installing them yourself is easy, and you can build a wall shelf with just a few tools.
You’ll need:
– Two 2x4s for the front rail (or two 2x4s and two 1x4s)
– One 2×2 for the back rail (or one 2×2 and one 1×2)
– Wood glue and finishing nails or screws (optional)
– Sandpaper, paint and stain (optional)