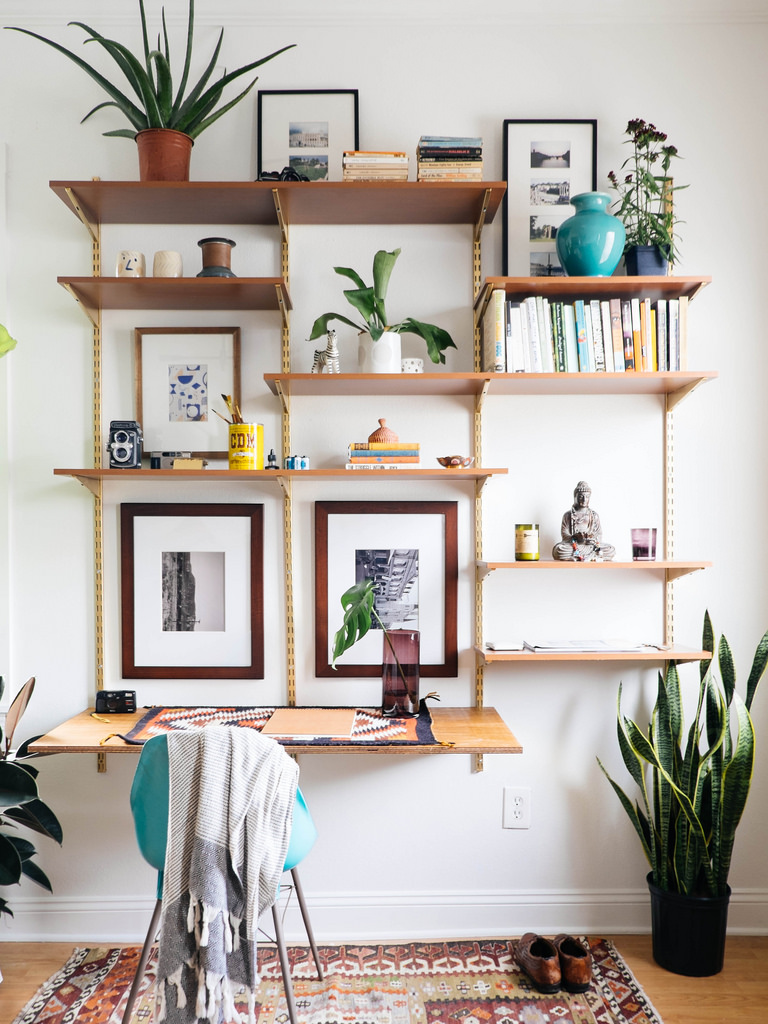
Wall-mounted shelves are a great way to make best use of wall space and also increase storage capacity. A wall-mounted bookshelf can include numerous compartments for storage of your items. Wall shelves are mountable on almost any wall provided you pick the right one. It’s also possible to build a wall mounted bookshelves using just a few simple tools and supplies.
How to build a wall mounted shelf, how to build a wall mounted corner shelf, how to build wall shelves? It looks easy, but you know it isn’t. You need to figure out which tools and materials you need. You also want to make measurements so the end result can be perfect.

How to build a wall mounted shelf
Here is a quick and easy DIY project for building a wall mounted corner shelf. This can be done in any size, but the one we have here is big enough for a small TV or as a shelf for your stereo equipment.
You can buy the wood at your local home improvement store or you can use scraps that you have laying around the garage or basement. You will need to cut the pieces of wood down to size before you begin building this project. The materials you will need include:
2″ x 4″ x 8′ boards (enough to make the length of your wall)
1″ x 2″ x 8′ boards (enough to make the length of your wall)
Wood glue
Screws (1-1/2″ long screws)
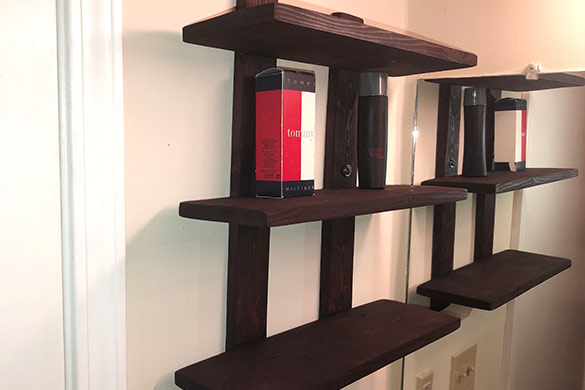
You can build these wall-mounted corner shelves yourself. These are not just a shelf, but an art piece as well.
The shelves are made of pine boards and the glass is framed with pine strips. The glass is secured using masonite and epoxy resin. The shelves are supported by two wooden legs at the bottom end, which are attached to the wall using lag bolts.
Materials Required:
1x 4′ x 8′ pine board
2x 1′ x 2′ pine board
2x 1/4″ plywood sheet (8″)
1x Glass pane (36″)
Wood glue, screws, nails, sandpaper, stain and polyurethane
We’ve all been there: that moment when you need a shelf, but all of the ones in the store are either too expensive or not quite what you want.
Fortunately, making your own wall mounted corner shelf is easy and inexpensive. All it takes is some basic woodworking tools, some good lumber, and a little bit of elbow grease.
You can build a wall mounted corner shelf in any size or shape desired. This project shows how to build one that fits snugly into an existing corner space and is made from pine boards stained gray.
Materials List:
3/4″ plywood cut into 3 parts: 2 x 1/2″ x 48″ (back panel) and 2 x 1/2″ x 27″ (sides)
1x4x8 pine board cut into 10 pieces: 4 @ 45 1/2″ long (legs) and 6 @ 22 1/2″ long (supports)
8d nails or screws for attaching legs to supports
If you’re looking for a quick shelf solution, this is it. It’s very easy to build and looks great in any room.
This project is about as simple as it gets for woodworking: just a few cuts and some screws and glue. If you can cut straight lines with a jigsaw or miter saw, then you have all the skills necessary to build this wall-mounted corner shelf.
To start, I needed to make my cuts for the top and bottom pieces and the front ledge. I used 1x4s because they are inexpensive and easy to find at most home centers.
1) Cut the top and bottom pieces to length at 48″ long each (3). These will be your two largest pieces of wood.
2) Cut two additional 1×4 boards into 16″ lengths each (4). These will become your front ledges, which will be screwed in between the two larger pieces of 1×4s at each end of the shelf unit. They should be flush with the top edge of your large pieces of wood when installed correctly (see photo below).
3) Now take one of your 48″ long 1×4 boards (1) and lay it down flat on your work surface so
To build a simple wall shelf, you’ll need a few tools and materials. The most important tool is a miter saw; it makes cutting the wood and creating the 45-degree angle where two pieces of wood meet much easier than using a handsaw or circular saw. You’ll also need some screws, nails or glue to hold everything together, as well as one or two power tools to help get things done faster and easier.
A lot of people like to use plywood for shelves because it’s strong and durable, but you can use any type of wood you want. If you’re going to paint your shelves, then they should be made from softwoods such as pine or fir because these woods are less likely to splinter when they’re being painted with multiple coats of paint.
You can buy precut lengths of wood at home improvement stores if you don’t want to cut them yourself, but this isn’t necessary if you have access to a miter saw.
.jpg)
How to build a wall mounted corner shelf
Building a wall mounted corner shelf is a great DIY project. It’s easy to do and very rewarding.
Here’s how to build a wall mounted corner shelf:
Measure the space where you want to mount your shelf. Measure at least 2 or 3 times to make sure everything is right. Once you have your measurements, cut the wood for your shelf according to these measurements. You will need one piece of wood for each side and one piece of wood for the back of the corner shelf. Also cut two pieces of wood that are 30 inches long for the front and back supports of the corner shelf and one piece of wood that is 15 inches long for the middle support.
Sand all of your lumber so it looks nice and smooth before proceeding with construction. Make sure there are no splinters when sanding. This is important because any splinters could cause injury when using this project in your home or office environment.
Apply wood glue along all sides where wood will be attached together (this includes both sides, rear, front and middle supports). Let dry overnight before attaching together permanently with nails/screws (we used screws).
A wall mounted corner shelf is a great option for adding storage to your living room, bedroom or family room. The shelf holds up to 50 pounds and can be installed in a corner or any other wall space.
The shelf is made of metal, so it’s sturdy and durable. The shelves are also adjustable so they can be arranged in different configurations depending on your needs.
Here’s how to build a wall mounted corner shelf:
1. Measure the length and width between two walls in the room where you want to install the shelf, including where you want the shelves themselves to be positioned. Add 3 inches (7.62 cm) for each side for overlap, so if one side of your wall is 12 inches wide, then you’ll need an overlap of 15 inches on each side for good support and stability.
2. Cut four pieces of wood equal in length to those measurements plus 1 inch (2.54 cm). This will give you some extra wood for making cuts later on if needed after assembly; each piece should measure about 24 inches long (61 cm).
How to build a wall mounted corner shelf
1. Cut your board to the desired length, and then use a pilot hole to drill out a hole for the shelf bracket.
2. Place the shelf bracket into the hole, and secure it with 3/8″ screws.
3. Hold up your shelf, and mark where you want your studs to go on each side of it. Using your level as a guide, mark where you want your first stud to go (this will be on one side). Then use your stud finder to find where the stud is on that side of the wall (or use your level if you don’t have a stud finder). Once you’ve found that spot, mark it with your pencil so you know where it is later when you’re installing your other two studs).
4. Use 1-1/4″ screws to attach each of these three boards together into one unit, following the same pattern as shown in step 2 above. Make sure that when attaching them together they are all level with each other (use a level as a reference if necessary).
When it comes to building a wall mounted corner shelf, you won’t be able to do it without the proper tools and materials. The first thing you need to do is make sure that you have enough space for your shelf. You’ll also need to check if the surface of your wall is strong enough to support your project.
The next thing that you should do before starting your project is choosing the type of materials that will be used in constructing it. It will also help if you know how much weight can be supported by each type of material that you choose.
Once you’ve researched about different types of materials and their strengths, then it’s time to start planning how exactly will your corner shelf be built? You may want to consider all these things:
The weight limit of each material used in the construction;
What material(s) will hold up better under pressure;
What type of screws or nails would work best with each material;
How much space do I have available inside my closet or pantry?
This is a great way to make use of the space in a corner of your room. It’s also a great way to add extra storage for things like books, picture frames, and other things that you want to display but don’t want to put on the floor.
Build the frame for the shelf and mount it on the wall using screw-on anchors.
Cut two pieces of wood that will span from one side of the corner to another (use whatever length you want).
If you have a miter saw, cut your boards at an angle so they fit together perfectly. If not, just butt them up against each other and nail them together with nails or screws.
Once your board is assembled, measure out where you want your shelf to sit along the top edge of it, then mark it with a pencil or chalk line. This will be your guide for cutting out a notch in one side of your frame so that you can slide it over onto another piece of wood when building the rest of the shelf later on. You don’t need to worry about getting this perfect now because there will still be plenty of opportunities later on if something doesn’t fit quite right yet!