We will show you how to build a storage shelf from scratch if you are inclined to do it from scratch, so that it may be below your storage needs and also save money on buying one.
How to build a storage shelf for your basement can sometimes be a bit difficult. There are several different tools and skills you need that, if you lack them, could make things such as building the frame or installing shelving an impossible task. Not to mention, how to build a storage shelf can also be dependent

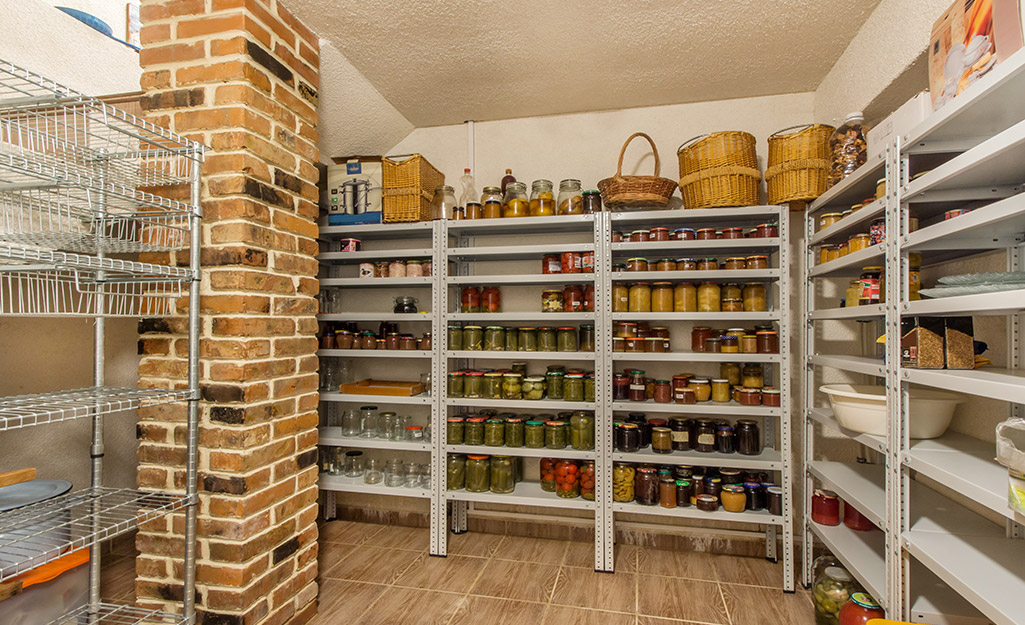
How to build a storage shelf for basement
How to build a storage shelf from scratch. A simple DIY project that will make your basement a lot more organized and attractive!
How to build a storage shelf out of pallets. A simple DIY project that will make your basement a lot more organized and attractive!
In this video I show you how I built my shelving unit for my craft room/office. This is an easy project that can be done with basic tools and skills. All you need is plywood, 2x4s, screws and paint! The measurements are not exact so feel free to adjust them as needed depending on your space available or size of items you want to fit in each cubby hole (I used 1x2s).
This project took me about three hours total with minimal help from my husband. I think it could be done even quicker if you had all the right tools and knew exactly what you were doing!
I have a basement and I want to build a storage shelf for it. I want it to be strong and sturdy so that it can hold heavy items. Is there any way I can do this?
Yes, there is a way. You can use two-by-fours or plywood, nails and screws. You will also need glue in order to make the entire project more durable. First, cut all the pieces of wood according to your measurements. Next, place them on top of each other as shown in the picture above and secure them with nails or screws depending on what you are using as materials for your project. You should also make sure that they are placed tightly together so that they don’t move around while you are working on them. Once they are secured together well enough, you can start gluing them together using wood glue so that they stay together permanently once you apply pressure on them when building your shelves inside your basement room.

Creating a storage shelf for your basement is an easy way to add some extra space and organize your things. This project can be done with just a few tools and materials, and it doesn’t require any special skills. If you have some basic carpentry knowledge, you can build this storage shelf in about an hour.
Materials:
– 2×4 lumber for the frame
– 1/4″ plywood for the shelves
– Screws
Instructions:
1. Cut the lumber to size. The shelves will be made from two pieces of 1/4″ plywood that measure 12″ x 24″, so cut two pieces of 1×8 lumber to that length (12″). Cut two more pieces at 9″ x 24″ (9″). These will make up the sides of the frame; set them aside for now. Cut one final piece at 12″ x 42″. This will make up one side of the frame and will also serve as a shelf; set it aside too.
2. Build the base frame by screwing together three of the 4×4 posts into a rectangle shape using 90° angle brackets at each corner (see diagram). You may need help holding these pieces together while you drive screws through them into each other
The first thing you need to do is measure the area where you want to build your shelving unit. This will help you determine how many shelves you need and how deep they should be. The depth of the shelves will depend on what you plan on storing in them. If your plan is to store items that are taller than the average book, then the shelf should be deeper and longer.
Next, decide what materials you would like to use for your construction project. You can use plywood or particle board if it’s a small project, but if it’s a large one, then using 2x4s or 2x6s is best because they’re stronger and can hold more weight.
Once you have chosen what type of wood you want to use and measured out your space, cut your wood into pieces that are long enough to fit all the way across your space without any gaps between them. Cut them 1 inch shorter than the length of each side so you have room for attaching them together later on in the process.
After cutting all of your pieces of wood down, glue two pieces together at one end so that when everything dries it will form a corner joint where each piece meets up with another piece next door. This is important because it gives each shelf
The best way to build a shelf for your basement is to make it yourself. You can buy pre-made shelves, but they’re often expensive and won’t fit the look of your room.
If you have the right tools and know how to use them, building your own shelf will be quick and easy. The hardest part is cutting the wood and making sure it fits together properly.
To build a shelf from scratch, you’ll need:
Wooden planks (enough to cover the length and width of your wall)
Nails or screws (1 inch)
Drill with a screw bit
How to Build a Storage Shelf from Scratch
There are many different ways you can build a storage shelf from scratch. In this article, we’ll show you how to build a storage shelf using pallets. These pallets have been used for years in the shipping industry and have become very popular in the DIY community for their versatility and durability.
Pallets are great because they are free, durable and readily available. You can use them to make anything from bookshelves to coffee tables, but today we’re going to focus on building a simple storage shelf with them.
Materials:
Pallet wood (you can also use plywood or MDF)
Paint/stain/varnish (optional)
Building a storage shelf is a great way to add extra storage space to any room in the house. The shelf can be as simple or as elaborate as you want, depending on how much time and money you want to spend on it. If you don’t have much time but still want your new shelf to look good, this tutorial will show you how to build one from scratch with minimal tools and no power tools required.
Materials:
2 x 4s (nails)
2 x 6s (nails)
1/4″ plywood (optional)
Tools:
hammer
If you want to build a storage shelf, you can choose to buy the materials and build it yourself, or you can simply buy a ready-made one. The latter is much easier and quicker, but it also costs more.
The DIY approach is more creative, especially if you are planning to make your own shelf from scratch. The best way to go about this is by using pallet wood. You will find many people selling them in their yards or at flea markets for an affordable price.
However, if you are not sure about your skills as a craftsman, it might be better to buy some timber planks instead of pallets. You can use the same process as shown below but with different tools and techniques every time.
The first thing you need to do is cut all the pieces of wood that are needed for your shelf. Once that’s done, glue them together using wood glue and let them dry overnight before painting them with any color of your choice and adding decorative details such as flowers or leaves with a paint brush
Building a pallet shelf is a great way to add extra storage space to your home.
Pallets are easy to find, and they’re so cheap that you can make a lot of them for very little cost.
The best part about this project is that it doesn’t require any power tools or carpentry skills — all you need are some basic hand tools and some patience.
Here’s how to build a pallet shelf from scratch:
1. Look for sturdy 2 x 4s at your local hardware store, or use 2 x 4s from an old piece of furniture. Then, measure and cut the pieces so that they fit between two pallets and are long enough to span across both sides at once (Image 1). If you don’t have access to a saw, ask someone at the hardware store where you buy your wood to cut the pieces for you.
2. Lay out the boards so that each one crosses both pallets equally (Image 2). Make sure all measurements are accurate so that the boards fit nicely together when you’re done with this step! Also make sure there are no gaps between boards or holes in between them (Image 3).
Step 1: Prepare the wood
The first step is to prepare the pallets for assembly. The best way to do this is to remove all of the nails and screws. Once you have done this, cut off the top and bottom planks on both sides of the pallet. You should now have two pieces of wood that are similar in size to each other.
Step 2: Cut your plywood sheets to size
The next step is to cut your plywood sheets down to size. You will want one piece that measures around 48” by 12” and another piece that measures around 24” by 12”. Once you have done this, attach these two pieces together using glue and nails or screws. If you are using nails or screws make sure they are hidden as much as possible underneath the edges of your plywood so as not to be visible when completed.
Step 3: Attach your plywood shelf
Now it’s time to assemble all of your pieces together! Start by attaching one end of your 48” x 12” plank with glue and nails or screws directly onto one side of your shelf frame (the side without any holes). Make sure that it is flush against another piece of