Building a stone step can be an enjoyable and worthwhile experience, even if you are not a professional builder. The trick is to get access to the right materials. A good way of doing this is to look for a stone step kit with one of the many outdoor DIY shops, as they always have lots of material together in one place. This will provide you with everything you need to build your own stone step, along with step by step instructions that will make it easy for you to follow.
An article that outlines instructions in building a stone step. A step is a go-to addition in landscaping and steps can be made of several different materials, specifically natural stone. Natural stone is considered to be a versatile addition in landscaping as it can be cut and shaped into numerous forms, while also being crafted into beautiful pieces of art

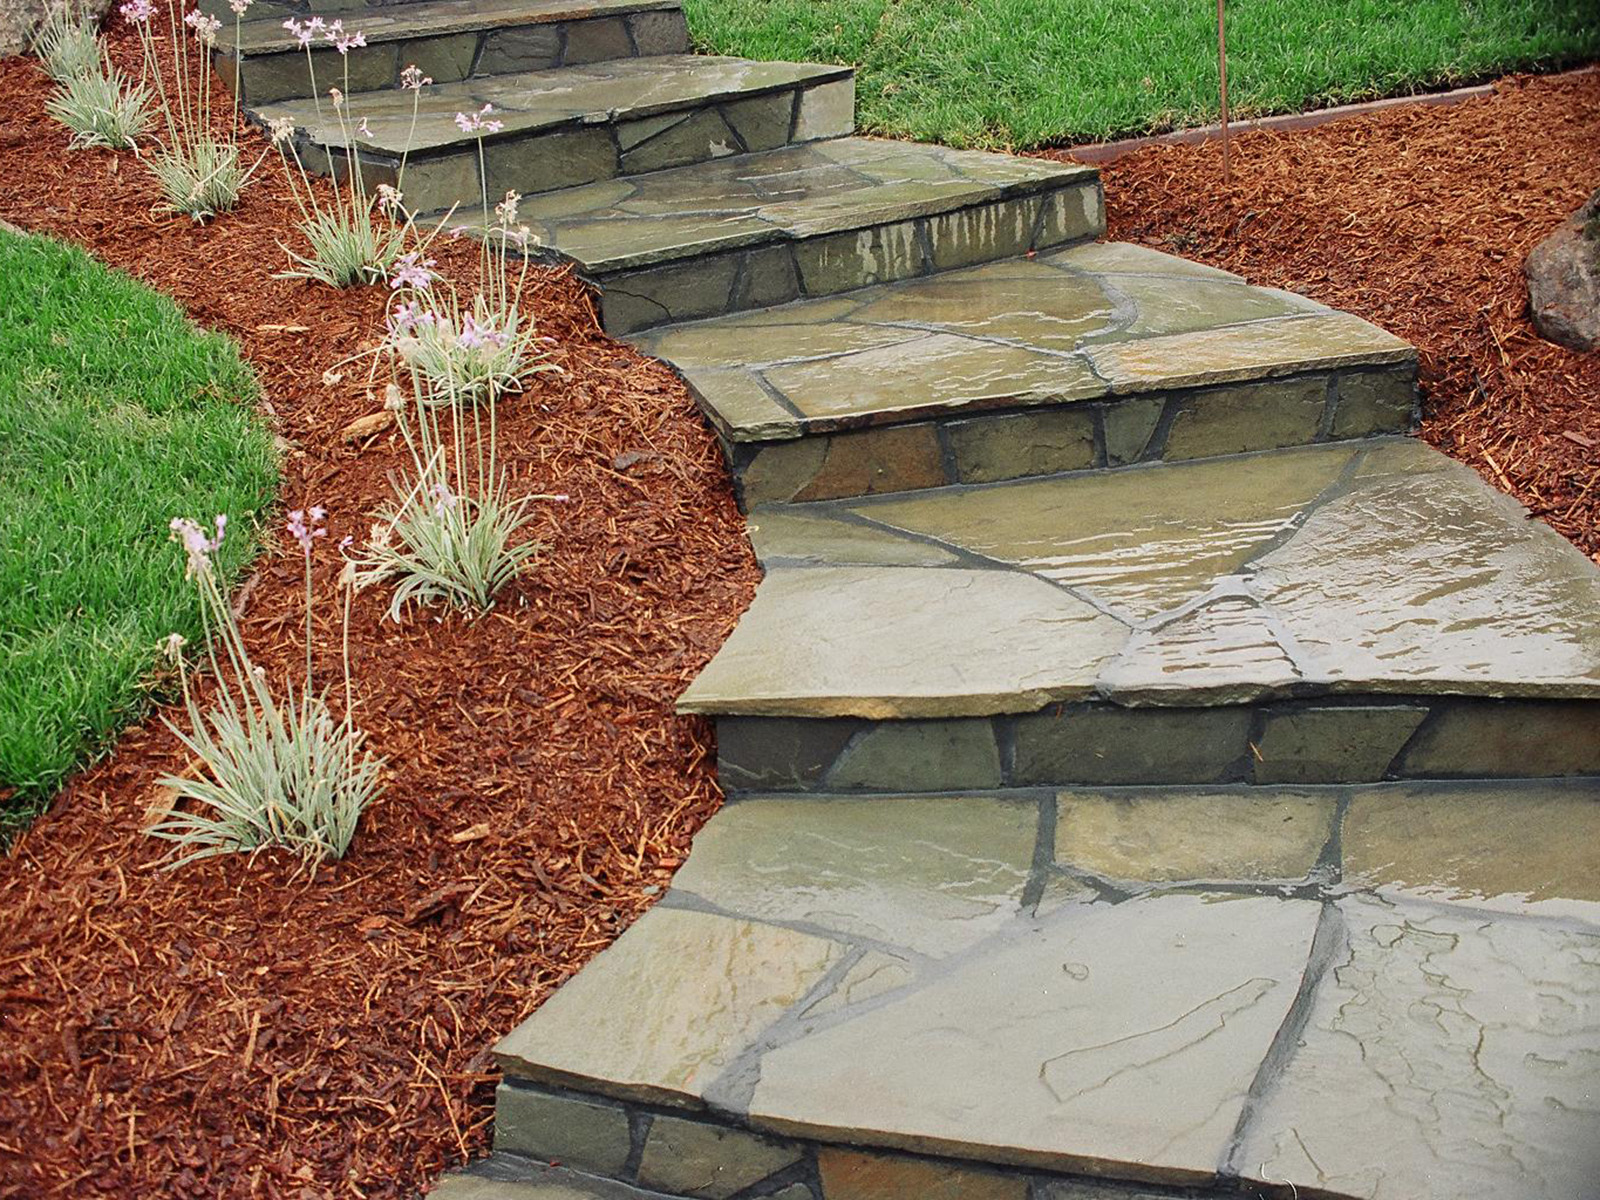
How to build a stone step
If you want to install a stone step, you will need to know how to build one. This article will help you learn how to build a natural stone step, which is the type of step that is most commonly used around the world. There are several reasons why people choose this type of step for their homes, including durability, beauty and cost-effectiveness.
The steps are built from stones that have been cut into wedge-shaped pieces. The stones are then stacked on top of each other so that they fit together tightly and form a solid base for the rest of the structure. You can also add mortar between them if you want even more stability.
The first thing that you need to do is determine where your stone steps will be located. You will also need to determine how long they should be so that they meet your needs while still fitting in with the overall design of your home or property. Once you have these two things figured out, it’s time to get started building!
You’ll need:
-A level surface on which to work (depending on where you live)
How to Build a Stone Step. Building a stone step is a fairly simple project that can add value and beauty to your home. You can build this project using a variety of different types of stones, but you will need to make sure that they are suitable for outdoor use and are not too heavy to handle.
Step 1 – Prepare the Floor
Lay out the stone slabs you want to use, spacing them evenly apart. If any stones are damaged or have cracks in them, remove them from the pile before continuing with this project.
Step 2 – Leveling and Cementing the Slabs
Use a level board and trowel to level each slab so that they are flat on top and flush with one another at their edges. When you have finished leveling all of your slabs, use sandpaper or another abrasive material to remove any excess cement from the tops of each stone slab.
Step 3 – Attaching Staples
Using an electric stapler, fasten one end of each wire staple into the top edge of one side of each slab and then run it across the top of every other slab until you reach its opposite side, fastening it into place again with another staple along its length. Make sure that no staples cross over one another or
Natural stone steps are a beautiful addition to any porch or other outdoor living space. But how do you go about building them?
Natural stone steps are built using the same process as concrete steps, but with natural stone instead of concrete. You’ll need to first decide on what type of stone you want to use for your steps, then prepare it for use.
Prepare the Stone
The first step in building a natural stone step is preparing the stones themselves.
You’ll need to chip off any loose pieces and chisel away any cracks or other defects so you have a smooth surface on which to build your step. Chiseling is easier if you’ve left enough room around each stone so there’s no danger of hitting another one while chiseling one side of it.
You don’t want to use mortar until after all the stones are set in place and anchored down with steel rods because if they become dislodged during this process, they will be much harder (if not impossible) to replace once they’re set in mortar.
The first step to building a stone project is to choose the right stones. When choosing a stone, consider its color, texture and luster (how it reflects light). Also think about what kind of environment the stones will be exposed to — if they’ll be used on an exterior step, for example, consider whether they will weather well in the rain or snow.
The next step is to lay out your design. It’s helpful to use graph paper as a guide for laying out your pattern — or even just a few pieces of cardboard taped together.
Once you’ve decided how big each stone should be and where each one will go, it’s time to start building your steps! The first thing you’ll want to do is dig a large hole for each step so that it matches the depth of the bottom of your stone.
Next, place your first step into the hole and fill it up with sand so that it sits firmly on level ground. This will help keep your stones stable while also giving them enough height that they won’t sink into wet ground during rainy seasons.
Steps can be built with stones or brick. For this project we’ll show you how to build a stone step. You’ll need:
a level surface (overhead beams, joists, etc.)
an excavator or dump truck for moving the rocks if you’re using them for building material
a large hammer and chisel
a crowbar for prying rocks apart if necessary
sturdy gloves and safety goggles
sandpaper or an angle grinder (optional)
Before you start building your stone steps, you must first decide on the materials that you will use. You have many options available to you, and each of them has its own advantages and disadvantages. The most common materials used in building exterior stone steps are concrete, brick and stone.
The first step in constructing a natural stone step is to pick up the materials needed for the job. The most obvious choice for this project is concrete because it is inexpensive and easy to work with. You should also consider using brick if you want something that looks good but is not as expensive as concrete or stone.
If you want to build a natural stone step that looks like real rock, then this is another option that you should consider taking into account at this point. However, keep in mind that this type of material tends to be quite expensive when compared with other types of materials such as concrete or brick.
How to Build an Exterior Stone Step
Building an exterior stone step is a fun and rewarding project, but before you begin, it’s important to choose the right stone for the job. Natural stone, such as granite or limestone, is the best choice for exterior steps because of its durability and resistance to weathering.
Step 1: Prepare the Site
Before you begin building your stone steps, it’s important to prepare your site properly. Make sure there are no large roots or rocks in your excavation area that could puncture or damage your new concrete stairs. Remove any debris from the area and level out any uneven areas so that they are completely flat and level before starting construction.
Step 2: Lay Out Your Steps
Use stakes and string to mark out the outline of your step at each end of your existing driveway or pathway leading up to your house. Dig out holes along these lines with a shovel until they are 3 feet deep and wide enough so that when filled with concrete they will be strong enough support both foot traffic and vehicle traffic on them once they have been poured into place.
Steps are a great way to add interest and design to any landscape. They can be used to create a path, a place for sitting or as an accent in your yard. Building steps from stones is a fun project that can be completed with the help of a few tools and some know how.
Step 1: Gather Materials
The first step in building exterior steps is gathering all of the materials that you will need. You will need stones, sand, gravel and cement. If you are going to build more than one set of steps, it is best to purchase these items in bulk so you have enough material for future projects. If this is not possible, check with local stone yards or garden centers as they may have what you need in stock already broken down into smaller pieces. You will also need stakes and string if you want to mark off your measurements before starting construction.
Stone steps can be beautiful additions to a home, but they’re also heavy and difficult to install. This article will take you through the process of building an exterior stone step.
Step 1 – Determine the Height of Your Steps
The first step in building exterior stone steps is to determine how high you want them to be. The standard height is 36 inches, but this can vary depending on your preferences and the type of stone you use. If you have a helper, they can hold a level while you mark where each cut should be made on your stones with chalk or masking tape.
Step 2 – Mark Out Where Each Stone Should Be Placed
Once you’ve determined the height of your stone steps, it’s time to mark out where each stone should be placed. You’ll need enough space between each one so that people don’t trip on them when walking up or down them, but not so much room that it looks awkward or unbalanced when viewed from above or below (see Resources).
The most common type of exterior stone step is a single-step design. It can be used for a porch, or as an access to the backyard from the driveway.
If you are planning on using the stone steps as an interior access, then make sure that it is wide enough to accommodate furniture carts and other large objects.
The first step in making your stone steps is to mark out where they will be placed on the ground. Use stakes and string to mark off each corner of the area where you want your steps to go.
Dig out a trench that is deep enough to support the thickness of your desired stone step height. For example, if you plan on using pavers that are 2 inches thick, then dig out a trench that is at least 4 inches deep so that they will fit securely into place without any gaps between them.