A few weeks ago I was working on a gate project at my parents’ house. They had decided to replace the old wooden swinging gate with a stone column built through this project. To build a stone column for a gate, it entails finding a level piece of land and digging two holes, one for the base and one for the column. Then, you assemble all the pieces of rock, which is not easy – they don’t like to stay in place and keep falling all over themselves. This can be frustrating, but once you are done, you end up with an extraordinary result!
The stone column is the most important part in fence construction. The role of the fence column is to fix the wooden boards and hold them steadily. When one intends to build a fence, he or she may be possible to choose several kinds of columns. The stone column is one of the stable and durable options for it can work harder than any other type.
How to build a stone column
A stone column is a beautiful addition to any property. They can be used as the central feature in your garden or as a decorative element on the edge of your driveway. Stone columns are easy to make yourself and they look very impressive when finished.
You will need:
2x10x12 pressure treated lumber (for the base)
2x2x8 pressure treated lumber (for cross pieces)
Step 1 – Prepare the site
To build a stone column, you must first prepare the site. The first step is to create a level base for the column. If you are building a driveway or walkway, then it is best to dig out the dirt underneath where you want your stone column to be. If this is not possible, then you will need to make sure that your ground is completely flat so that your column does not sink into the ground when it rains or snows.
Step 2 – Measure and mark
Once you have prepared the site properly, measure and mark out where your stone column will be placed. You can use string and stakes to help guide yourself if necessary. Make sure that you leave enough space between each side of your stone column so that it does not take up too much room in your yard or garden area.
Step 3 – Dig out holes for each stone
Next, dig out holes for each individual stone in order to make room for them when they are set into place later on during construction of your new stone column project. You can use a hand shovel or power drill to do this step quickly and efficiently without causing any damage to yourself or others around you while working on this project.
Step 4 – Set stones into place
Stone columns are a traditional element of an ornamental garden, and they can be used in many different ways. You can use them as part of a fence or around the edge of a patio or deck. You can also use them as part of a gazebo or arbor. And, if you like to entertain outdoors, you can even build a stone column bar for your patio.
Step 1 – Decide where you want to place the column. The most common location for a stone column is at the edge of a path. You may also want to place one at each corner of an outdoor dining table or by the entrance to your back yard. If you have enough space, you could even build an entire wall out of stone columns!
Step 2 – Lay down stakes with string tied between them so that they mark out the area where your column will go. Make sure that these stakes are level and hold down any loose soil so that it doesn’t wash away when it rains. Place stakes at least two feet deep into the ground so that they won’t blow over in windy weathers or shift because they’re too shallowly planted in soft soil (this will also help them last longer).
Step 1:
Select a suitable location for your stone column. It should be in an area where you can easily access it.
Step 2:
Mark the ground with chalk or string to make sure that your stone column is straight and level. If you are building a free-standing column, dig a hole at least one foot deep and at least 36 inches in diameter. If you are building a freestanding column, dig an entire 12-inch diameter circle around the spot where your post will be placed. Make sure that you have enough space between the hole and any surrounding objects so that you don’t damage them when digging out the hole for your stone column.
Step 3:
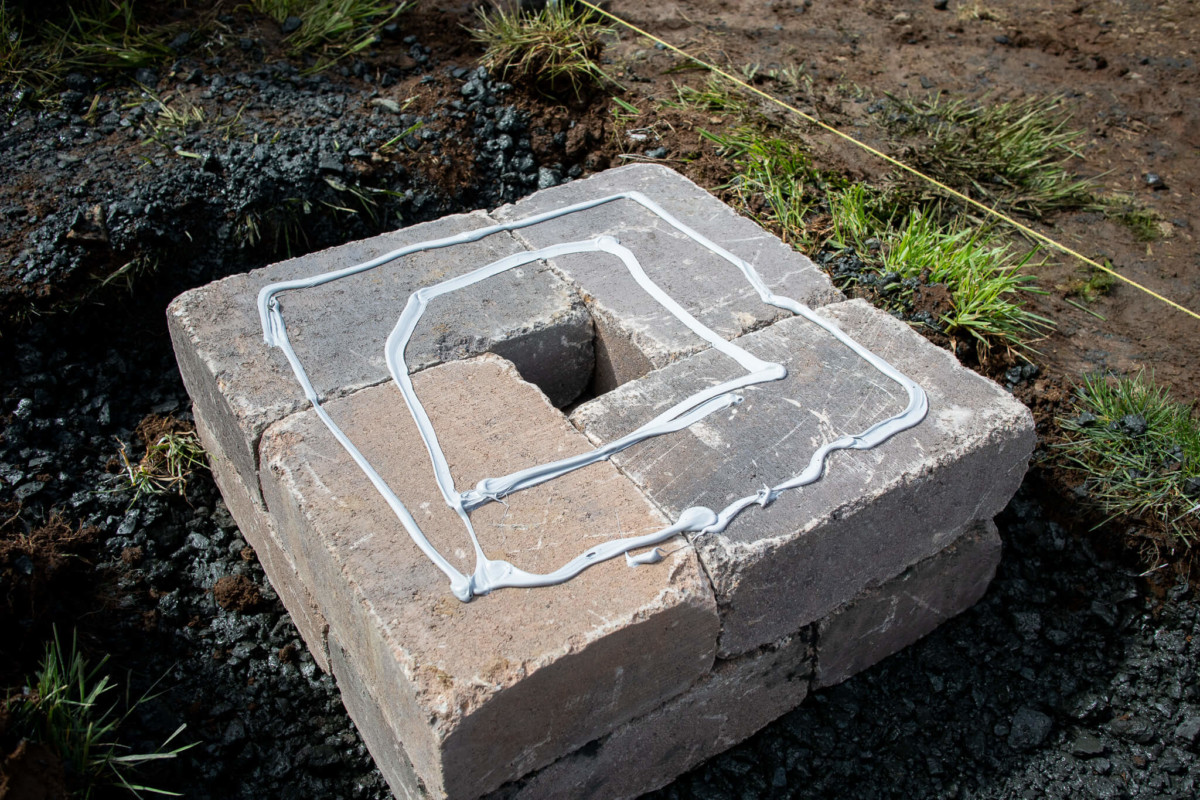
Mix concrete in a wheelbarrow until it is smooth and creamy looking. Pour some of the concrete into the center of your hole or circle and spread it around with your hands until about one inch thick over the entire bottom surface of your hole or circle. Make sure that there are no rough spots in this layer of concrete as they will cause cracking later on in the project. Let this layer dry completely before moving on to Step 4 below!
Stone columns are a great way to add architectural interest to your landscape. They help define garden spaces, mark entrances and exits, and provide a focal point for a variety of other activities.
Stone columns are also easy to build yourself. Here’s how:
Step 1 – Choose Your Stone
The first step in building stone columns is choosing the right stone for your project. There are many types of stone available in various colors, textures, and grades. To find the stone that matches your needs, visit a local stone yard or landscape supply store. Look for a source that stocks both natural (uncut) and cut stones so you can compare them before making a decision.
Natural stones are typically sold by weight rather than by volume as they often include cracks and other imperfections that must be removed before installation. The size and shape of these pieces can vary considerably depending on where they were quarried and how they were cut during processing. Cut stones are more uniform in size but tend to cost more than natural ones because they have had their surface irregularities removed through grinding or polishing techniques.
The base plate or foundation upon which you will build your column will need to be strong enough to support its weight plus any additional materials such as
How to Build a Stone Column for Gate or Fence
Stone columns are an attractive addition to any yard, providing a rustic, natural look to your home’s exterior. A stone column can be used as a gate post or as part of the fence itself. Building a stone column requires several steps:
Measure the height and width of the column you want to build.
Dig holes for each stone using a shovel or pick. The holes should be deep enough so that the top of each stone is at least 1 inch below ground level.
Lay out stones in your desired pattern on top of saw horses or other work surfaces. Make sure they’re level with each other and evenly spaced apart.
Mix concrete according to instructions on the package and fill in each hole until it is full but not overflowing. Let concrete set for one hour before placing stones in it; make sure all sides are covered with concrete by pouring more if needed until all sides are covered up to 1 inch below ground level.
Place first row of stones in place over concrete base (make sure edges are flush against each other); then fill remaining gaps between stones with additional concrete mix until entire surface is filled up and smooth (this will help prevent weeds from sprouting through cracks).

Step 1: Gather your materials
You will need:
-Stone of your choice. You can use any type of stone for this project, but it should be easy to cut and hard enough to stand up to the elements. If you want a rustic look, choose a stone that has irregular edges. For a more polished look, choose a stone with flat sides and corners.
-Masonry cement or mortar (optional)
-Shovels, rakes, sledgehammers and other basic tools
Building a stone column for fence can be a challenging project, but it is not impossible. You will need some basic tools and materials to get started. The first step is to build a stone wall that will support the column.
Once you have built the stone wall, you can start building your column. The basic idea behind building a stone column is to create a solid base on which you can stack stones in order to create a tall structure.
To make sure that your stone column stays strong and sturdy, use cement mortar between each layer of stones. Make sure that the mortar has dried before adding another layer of stones to your column.
If you want to make your stone column look even more authentic, consider using natural colors like brown and gray for your paint job instead of bright colors like red and blue which are often seen in modern-day construction projects.
Build the Foundation. Make a simple footing for the stone column by digging a hole that’s about 2 feet deep and 1 foot wide. If you’re using a concrete mix, fill the hole with concrete and level it off with a trowel so that it is flat on top.
Build the Base. If you want to add some visual interest to your gate, build an arched base for your column. Use pieces of wood to create an arch shape around your column and use mortar or grout to hold them together. Secure them in place with masonry nails or screws.
Add the Stone. Place your stones around the base of your column and secure them with mortar or grout. You can also leave gaps between some of the stones if you want them to appear less uniformed in shape; however, make sure they are all still level at this point so the gate will open smoothly later on!
Building a stone column is a simple project and can be done easily by most do-it-yourselfers. You will need to prepare your site, lay out the stone and then build the column.
Dig post holes to a depth of at least 3 feet or use concrete footings if you wish to anchor your gate post in concrete. The depth will vary with soil conditions but should be deep enough so that when you pour concrete around the post it will not settle too much over time. The hole should also have straight sides so that when you insert your post it will be vertical and not leaning over at an angle.