Installing a Stepping Stool A site such as ours is a labour of love. We’re willing to put in the time into developing and building the best free resources for anyone looking for help and guidance on any topic you could imagine. A few months ago, we decided to build the ultimate resource for how to build a stepping stool. This article was written by Joe Smith, last updated on October 4th 2016
A staggering 61.8 million people in the United States are 65 years and older, which is the fastest growing age group in the country. What does this mean? It means a growing number of baby boomers and elderly folks who may need extra help getting in or out of bed, showering, or even stepping up to their favorite armchair.

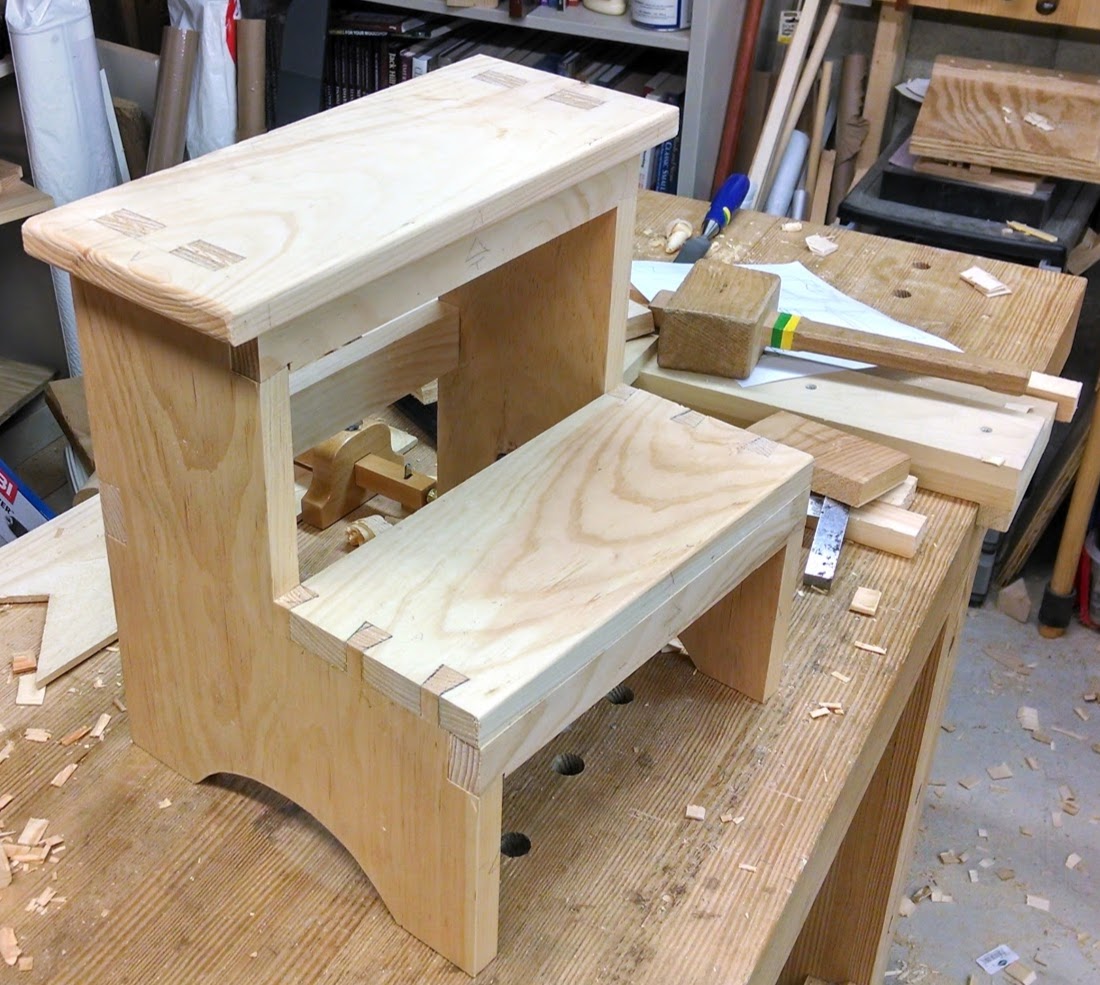
How to build a stepping stool
The first thing you have to do is measure the height of your doorframe and make sure that it’s above your head. You can use a tape measure or just use a piece of string and measure from the floor, up over your head and down to the floor again.
Then, take your measuring tape or string and place it against the wall where you want to install the stool. Make sure that it’s in the middle between two studs so that you’ll be able to secure the stool properly.
Now, mark on your wall where your center point is going to be and take down or move anything that might obstruct access to this spot (cables, etc.). Then drill a hole through both walls using an electric drill with a masonry bit (you can rent these at any hardware store). If you don’t have an electric drill, use an old hammer drill bit instead (it will work just as well). Make sure that both holes are straight up and down through both walls – not crooked!
After both holes have been drilled through both walls, insert one end of each anchor into its respective hole (one anchor should be sticking out of each
The first thing you need to do is make sure you have a level surface to work on. The easiest way to do this is to put a piece of wood or a level on the floor. This will help keep the stool in place while you work on it.
Next, use a drill and make holes in each corner of the stool. A small drill bit works best for this step because it will allow you to make holes deep enough for screws to go through but not so deep that they split the wood of your stepping stool.
After making all four holes, take your screws and screw them into each hole. You don’t have to worry about using too much force because the screws will have plenty of room inside of the holes since they’re so small.
When screwing them into place, make sure that they are straight up and down so that they don’t create any weird angles when looking at your new step stool from above or below it.
Once you’ve completed this step, pick up your new stepped flooring material and place it onto the top of your stool. If it doesn’t fit perfectly into place, redrill some more holes so that they align with those already present on your new stairway accessory
The most common way to install a step stool is to attach it to the wall, but there are other options. You can also install it on a post or in a closet.
Step stools come in many shapes and sizes. The most common type is a three-step stool, which can be used as an extra seat or for reaching high places such as the top of a refrigerator or a countertop. Some step stools have four steps, which makes them useful for children who are learning to walk.
Step stools should be installed in places where they will be used regularly and safely. They should be placed at waist height so that anyone using them can easily reach whatever they’re trying to reach without having to bend over too much or stretch out their arms uncomfortably. To make sure that your step stool is at the right height for you and others who will be using it, place both feet flat on its top step with your back straight and knees bent slightly (as if sitting). Then stand up straight with arms hanging loosely at your sides; if you need to bend forward at all to reach something below eye level, lower the height of the stool until this isn’t necessary anymore.
The first step in building a stepping stool is to build the base. The base is made of two pieces of plywood and some 2x4s. The plywood pieces should be at least 1 inch thick, preferably more.
The base needs to be wide enough so that you can stand on it without your feet touching the sides. The height depends on how high you want the top of the stool to be.
Next, cut four 2x4s into lengths of about 16 inches each. These will become legs for the base of your stool.
Lay out your plywood pieces on the floor, with one edge overlapping by about an inch or so to create a seam along one side when they’re laid together. Then lay out two 2x4s across each end (or however many will fit). Use wood glue and screws or nails to attach them to the plywoods so that they form an X shape with no gaps between them. If there are gaps, fill them in with wood filler before painting or staining your project (see below).
Steps to install a stool:
1. Place the stool where you want it to be installed. Make sure that it is level with the floor.
2. Mark the area where you will be cutting out for the stool’s legs, using a pencil and ruler as a guide.
3. Cut out the leg holes with a jigsaw or circular saw, making sure that they are even and straight. Make sure that all of your cuts are square and even with each other so that the stool will be stable once it is put together.
4. Sand down any rough edges or splinters from your cuts, using coarse sandpaper on an electric sander if necessary to make sure that there are no rough edges left over from cutting out the holes for your legs.
5. Apply wood glue along one side of each piece of wood for each leg, then place them inside of each other so that they form an L shape with both pieces being flush against one another (this is called “butting” joints). Use clamps or hold with weight until glue dries completely (about 30 minutes depending on temperature and humidity).
How to lay a stepping stool
Steps are essential for most household jobs, and a step ladder is a handy way to get up close and personal with any project. But what do you do when you need to work on an area that’s not within easy reach? You can improvise by laying a step stool on top of something higher, such as a workbench or table. That way, you can use your hands while still having your feet firmly planted on the ground.
The trick is to make sure the stool is stable. If it wobbles or tips over, it could cause injury or damage to property around it. Follow these steps for a safe installation:
1) Lay out your tools and materials before you start so there’s no last-minute searching for supplies needed for the job at hand.
2) Find two sturdy objects — tables, chairs or stools — that will serve as bases for the step stool. Make sure both bases are solid and level; if not, adjust them until they are level with each other and with the floor (if possible).
3) Place one base against one wall of whatever room or outdoor space you’re working in; make sure it’s near an electrical outlet if one is available nearby (you’ll need
How to Install a Stepping Stool
The steps to installing a stepping stool are quite simple. You will need a few basic tools and materials to complete the project, along with some patience. The finished product will be an excellent addition to your home that can save you time and energy in the future.
Step 1 – Preparing the Area
Before you begin any construction work, you need to make sure that your work area is ready for you. This means that there should be no clutter or other possible hazards in the area. When working with power tools, you should always take safety precautions, such as wearing eye protection and hearing protection. You should also make sure that there is adequate ventilation in order for any sawdust or other particles to escape without harming anyone within reach of them.
Step 2 – Lay Out Your Plans
When installing a new step or stool into your home, it is important to have a plan before starting any work on it. This means having a good idea of where it will go and how big it needs to be in order for someone to safely use it without falling off of it while standing on top of it while they are trying to do something else around their home like washing dishes or cleaning floors.
Installing a stepping stool is a simple project that requires only basic carpentry skills. You can do it yourself and save money, or you can hire someone to do it for you.
Before you begin, check with your local building department to make sure you follow all safety and building codes. Also check with your homeowner’s insurance company to determine whether installing a step stool may affect your policy.
Step 1 – Measure the Stool
Measure the height of the step stool you are installing. The top of the stool should be about 5 inches below the height of the doorway or other surface where you want it to rest. For example, if you want the stool to sit on top of a countertop and be used by kids who are 3 feet tall, make sure that when they step onto the stool their feet will clear the countertop surface by 4 inches (21/2-foot-tall children need 6 inches). Add an inch or two extra for safety reasons, just in case.
Step 2 – Cut Your Boards
Cut two pieces of plywood, one piece slightly longer than the other so that when they’re placed side-by-side they form a rectangle long enough to accommodate both legs of whatever size step stool you bought
Step 1: Determine the height of your stepping stool. The height of the step should be just above your knee, which is usually between 18 and 22 inches high.
Step 2: Cut a length of wood to fit the width of your stairway. The length of the board should be at least three inches longer than the width of your stairway, with two inches at each end for support.
Step 3: Nail one side piece to the top of each bottom step, with nails driven into the face side of each side piece and not through to the back side where they will show once the steps are installed. Make sure all sides are even before you nail them in place.
Step 4: Measure and mark on both sides where you want to put screws for attaching each side piece so that they line up with one another when you attach them together with screws later on in this project.
Step 5: Attach one side piece to another with screws, making sure that they line up properly so that this part will be stable when it’s finished being installed on your stairs or if someone needs to stand on it while working with something inside their house or apartment building
This is a very simple and quick job. You can do it yourself!

Step 1
Measure the height of the stool you want to install. This will tell you how tall your steps should be and how much material you need to buy.
Step 2
Cut two pieces of plywood to the same size as the measurements from Step 1. Use a circular saw for this step if possible, but if not, a hand saw or jigsaw will work as well.
Step 3
Drill holes in each end of both boards for screws that will secure them together later on. Do this with a drill and bit that’s small enough for the screws you’ll be using (usually ¼ inch). If you don’t have a drill, use an awl or nail to make pilot holes for your screws instead.