Today CM77’s Studios is going to teach you how to build a snowman step by step. I can already see some of you getting excited and asking: “how to build a snowman in minecraft?”. Well, it finally happened! The free on-line publishing software, Wix, has made it possible for anybody with access tot heir PC or Mac to start a successful blog. All you need is the willingness to develop quality content for the visitors of your website. Nothing about Wix is complicated. It does everything for you allowing you to concentrate on your blog niche without having to worry about stuff like hosting, domain registration, maintenance and updates
How To Build A Snowman Minecraft. Step by step guide on how to build a snowman in Minecraft (Pocket Edition) and Windows 10. This guide will teach you all you need to know about the best way on how to build a snowman minecraft.

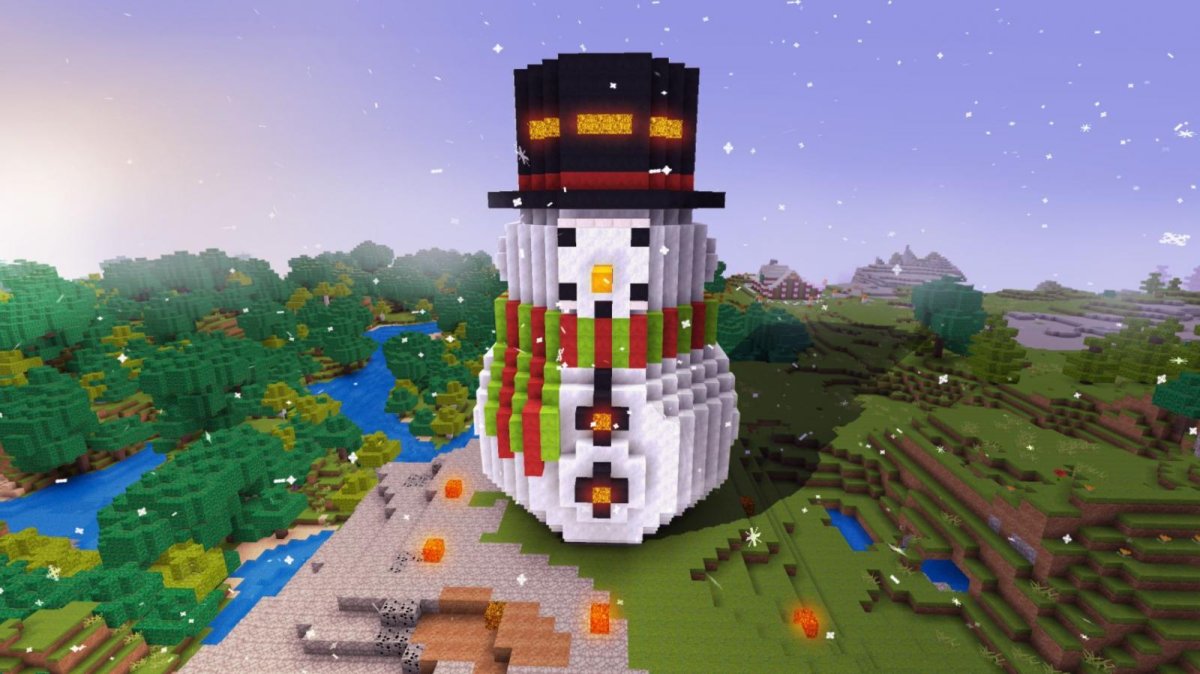
How to build a snowman minecraft
1. Start with a circle for the head, and add two smaller circles for the eyes.
2. Add a mouth and nose with two small triangles each.
3. Add some arms and legs with triangles, rectangles and circles.
4. Use a thin rectangle for the scarf, and draw some buttons on top of it.
5. Add some hair with jagged lines for snowflakes, or use small circles for icicles!
How to Build a Snowman is a step-by-step guide to building a snowman.
This book is perfect for children who are just learning how to read and write, or for children who may be struggling with their reading.
The book includes step by step instructions with pictures so that the child can follow along easily and learn while they play!
This book is also available as an interactive PDF file that you can download from your favorite store. The PDF file includes all of the same content as the physical book, but it also contains interactive activities that can be completed online or printed out for use at home!
How to Build a Snowman Step by Step
1. Make the body.
2. Add the head and arms.
3. Add the eyes and mouth.
4. Add the buttons and scarf.
5. And finally, add some snowballs for buttons, hands, feet and neck!
How to Build a Snowman
Step 1: Gather Materials
For this project, you’ll need:
A piece of cardboard or poster board
A pair of scissors
A marker or crayon
Construction paper in white, yellow and black (plain or patterned)
Tape
Glue stick or hot glue gun (if using the template)
Optional: A carrot nose, red pom-pom hat and buttons for eyes
Hi, my name is Jack. I’m here to teach you how to build a snowman.
Let’s start with the head. Take one pumpkin and two pumpkins for eyes. Put them on top of each other and then put another pumpkin on top of that. Put two more pumpkins on top of that and you have a face!
For the body, take three pumpkins for arms, two for legs and one for feet. Put them together to make the body!
Now for the scarf! Take six wool blocks and place them on top of each other in a line around your neckline. If you want it really long, just keep adding wool until it’s as long as you want it.
how to build a snowman printable book
The How to Build a Snowman Printable Book is a perfect way to teach kids about snowmen! This book includes coloring pages, cut and paste activities and more!
This post contains affiliate links. I may earn a small commission on purchases made through my links at no additional cost to you. My full disclosure policy can be found here.
Welcome to my first ever How To Build A Snowman Printable Book! You may have seen my posts of the other books that I have created in this same series — The How To Build A Gingerbread Man, The How To Build A Christmas Tree and The How To Build An Elf House. All of these books are designed to help you teach your children how certain things are made.
I decided that it would be fun for us to create a book all about how we make snowmen! This book includes coloring pages, cut and paste activities and more! It also includes a page where your child can draw their own snowman design as well as some ideas for what accessories they might want him to have. There are even some blank pages so that your child can add their own touches (or even handwrite their own
How to Build a Snowman Printable Book – This is a great activity for the classroom or home. It’s also a fun way to teach your children about geometry and measurement. The kids are going to be so excited when they see all of the snowmen that they can make!
Materials needed:
Construction Paper (brown, white, black)
Scissors
Glue Stick or Glue Bottle with Glue Tips
How to Build a Snowman
1. Draw and cut out the snowman’s body, hat, nose, carrot and scarf.
2. Glue the body together and then glue on the hat and scarf.
3. Glue the nose to the snowman’s face, then draw an outline around each eye (or use a marker), glue on two googly eyes (or pipe cleaners) and draw on eyebrows with markers or crayons.
4. Glue the carrot to your snowman’s hand (if you’re using pipe cleaners for arms, twist them into a spiral shape first).
How To Build A Snowman Step By Step Writing
Step 1: Write your name on the first blank line.
Step 2: Put a big smile on your face.
Step 3: Make a big snowball and place it in front of you.
Step 4: Make an even bigger snowball and place it next to the first one.
Step 5: Put two eyes on each snowball.
Step 6: Create arms by making two more small balls, then draw arms on them with markers or crayons.
Step 7: For the body, make a long rectangle and attach it to one of the snowballs with tape or glue.
Step 8: Attach feet to each side of the body by drawing 2 circles for each foot and taping them down (or gluing).
How to Build a Snowman
Step 1: Gather supplies. You will need a sheet of white paper, a pencil, a pair of scissors, and crayons or markers for coloring in your snowman.
Step 2: Draw the outline of your snowman on the paper. Use simple shapes like circles and triangles to make his head, body and arms. You can use a ruler to draw straight lines if you want.
Step 3: Color in your snowman’s face with crayons or markers. Make sure to leave room around the eyes so that they can be cut out later!
Step 4: Cut out your snowman’s eyes and mouth with scissors and glue them into place on his face with glue stick or tape (or both!).
Step 5: Glue down two small pieces of construction paper onto the back of your snowman’s head so that they stick up above his ears like hats (these will be his earmuffs).
Step 6: Glue down a small piece of construction paper onto his face so that it covers up where the mouth was cut out from earlier so that he looks like he has lips!