with the cost of a new roof on the rise, it’s becoming more and more popular to build your own DIY trusses. So if you’re wondering how to build your own roof trusses, you’ve come to the right place.
You’re finally ready to put up a nice covered deck around your above ground pool. You’ve got the patio pavers, the grill, and the handyman to build your roof trusses. You invite some friends over, pour a few glasses of chardonnay, and … he calls in sick.
How to build a roof truss for a shed
This tutorial will show you how to build roof trusses for a 12×16 shed. It is assumed that the reader has some basic knowledge of carpentry and tools. If you do not have these skills, then it may be a better idea to hire someone who does.
The cost to build your own roof trusses will vary depending on what part of the country you live in and if you use materials that are readily available. If you live in an area with lots of trees, then the cost will be less if using wood from your own property. Materials such as nails and screws can be bought at any hardware store while plywood can be purchased at most home improvement stores like Home Depot or Lowe’s.
The average cost for lumber is about $6 per sheet of plywood which is enough for one side of a shed roof (4 panels). A 4×8 sheet costs $64 but you may need more materials depending on how many walls you want to build for your shed.
Building your own roof trusses for a shed is not only possible, it’s also very cost effective. In this article, we’ll discuss how to build roof trusses for your shed and show you some examples of how to do it yourself.
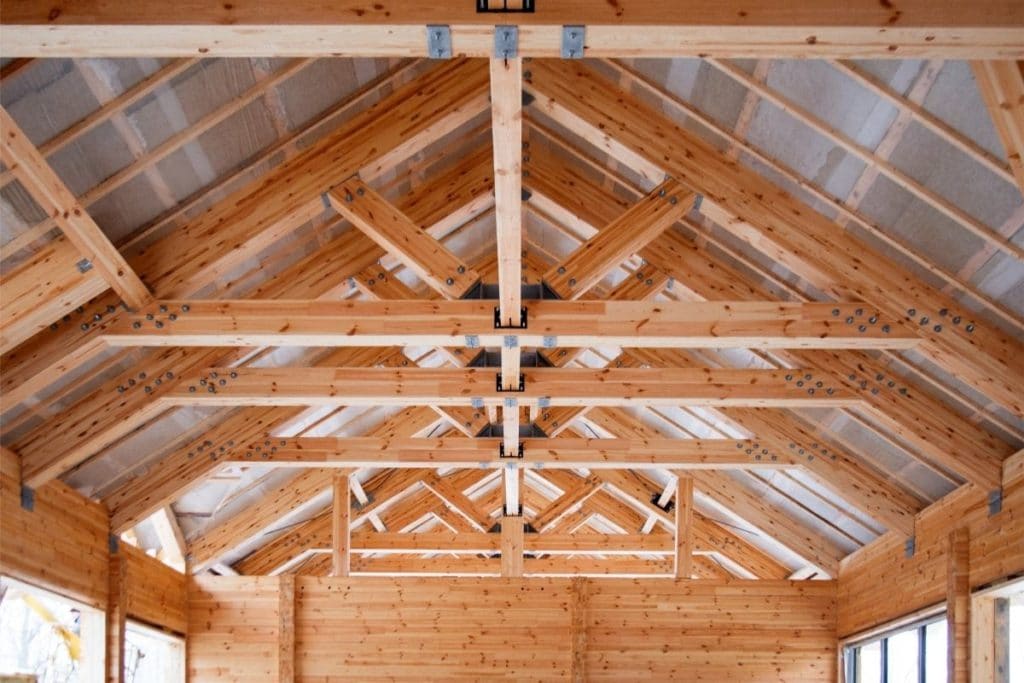
The first thing you need to do is decide whether you want to build your own roof trusses or purchase them from a store. If you’re on a budget and want to save some money, then making them yourself is definitely the way to go.
If you’re interested in making your own roof trusses, we recommend using 2x4s or 2x6s as the bottom chord and rafter material. Then use 2x12s or 2x8s as your top chord material. Once you have all of the materials ready, follow these steps:
Step 1 – Cut Your Rafters & Top Chord Down To Size
After measuring and marking each piece of wood with a pencil, cut each one down to size using either a circular saw or hand saw. Be sure not to cut too deep into any of the boards as this could cause them to split apart later on down the road when
A roof truss is a triangular structure that is used to support a roof. It can be made of wood, metal or other materials, according to your needs and budget. The advantage of using a roof truss is that it provides extra support for the roof and prevents sagging. The disadvantage of using this type of structure is the cost.
If you want to build your own shed and save money on labor costs, you can make your own roof trusses by following these steps:
1. Measure the area where the trusses will go. This will help you determine how many trusses you need and how many pieces of wood or metal you need to purchase for each one. If you are working with wood, measure from one end of each piece to the other end so that all pieces are exactly the same length before cutting them down into smaller pieces for use in building your roof trusses.
2. Cut down each piece into smaller sections using a saw or handsaw depending on what material you are using and how much work time you have available before needing the finished product on hand so that it can be installed properly when needed later down
You can build your own roof trusses for a shed by following these steps:
Step 1 – Build the Foundation
The first step of building the shed is to build the foundation. This is done by digging holes and placing concrete blocks in them. The blocks should be placed at 3-foot intervals with 4 inches of space between them. The blocks should be laid out in a crisscross pattern and then filled with concrete. After the foundation has been laid, you can attach 2×4 boards to it using screws or nails so that they remain in place.
Step 2 – Attach Roof Trusses
You can attach the roof trusses to the foundation by using screws or nails. When attaching them, make sure that they are aligned properly so that they do not fall off easily when heavy objects are placed on top of them. You can also use metal brackets if necessary, but make sure that they are strong enough to hold up against heavy loads.
1. The first thing you need to do is decide on the height of the roof and cut your 2×6 boards according to this measurement. For example, if you want a 10’ high shed, then cut your 2×6 boards at 90” long. Then, cut your 1×4 boards at 66” long and finally cut your 1×2 boards at 37” long. Now cut all of these pieces with a miter saw or chop saw and make sure that they are perfectly straight.
2. Now its time to put everything together! Take two 2×6 boards and place them parallel on top of each other so that they form an “A” shape when viewed from above (see picture above). Then take one 1×4 board and place it over these two pieces of 2×6 so that it fits between them perfectly like in the picture above as well! This will create one side of your trusses. Repeat this step for the other side as well until you have created two identical sides for each truss!
3. Now take
How to Build Roof Trusses for a 12×16 Shed
Building your own roof trusses is a great way to save money. You can build them in a shop, or on the ground and then raise them into place. I’ll show you how to build roof trusses for any size shed.
Step 1: Get Your Materials Ready
You’ll need some 2x4s, 2x6s and plywood sheets. For this example, we’ll assume that we’re building the 12’x16′ shed with a 6/12 pitch, so we’ll need 16 24′ 2x4s per side (8 per bay), 4 48′ 2x6s per side (2 per bay) and 5 sheets of 4 x 8′ plywood per side (1 per bay). That’s 72 2x4s, 16 2x6s and 10 sheets of plywood total.
Step 2: Cut the Wood Pieces
Cut all of your lumber pieces with a circular saw and make sure they are straight before using them as templates for cutting more pieces. The easiest way to do this is by using a speed square as a guide when making each cut. If you don’t have one, use another piece of wood as a guide
is it cheaper to build your own roof trusses
It is cheaper to build your own roof trusses, since it’s all about materials and labor.
Assuming that you have the tools, equipment, and knowledge to build your own trusses, then building them yourself will save you money. But if you don’t have those skills or you need help from an expert carpenter, then hiring a contractor may be cheaper.
The cost of building your own roof trusses depends on several factors:
Size of the shed
Type of lumber used for the trusses
Location where you live (and therefore local labor costs)
The cost of building your own roof trusses depends on the size of the shed and the type of wood you use. If you have a big project in mind, such as a large barn or garage, it’s definitely cheaper to buy pre-cut trusses from a home improvement store or lumberyard
The cost of building your own roof trusses depends on the size of the shed and the type of wood you use. If you have a big project in mind, such as a large barn or garage, it’s definitely cheaper to buy pre-cut trusses from a home improvement store or lumberyard.

It can be more affordable to build your own roof trusses than to buy them pre-cut if you’re working on small projects that require only one or two trusses. For example, if you’re building an addition to your house or replacing a short section of roofing material, it may be easier and less expensive to cut your own pieces than to buy them already cut.
Building your own roof trusses is a fairly simple process. You will need to take accurate measurements of the shed and calculate the spans of the trusses. You can then get some 2x4s for the bottom chord and some 2x10s for the top chord.
Build a frame out of treated lumber that is as wide as your shed and four feet tall. The bottom chord of your truss should be attached to this frame at least every 16 inches or so, depending on how many you want in your roof. Then attach 2x6s to each side of this frame to make up the top chord of your roof trusses.
Now cut a piece of plywood into two 4′ x 8′ sheets, rip one side down so that it’s 3/4 inch thick, and attach these two pieces together with nails or screws so that they form an “A” shape when viewed from above. This will become your basic roof truss design.
Now measure out from each corner of the A shape until you’ve reached the length needed for each side span (the distance between supports), then add one inch to each measurement for good measure (if you’re using 2x4s for this part). Measure from
The answer is yes and no. The cost depends on the type of trusses you are building and your skill level. If you have an idea of what you want to do, and can find plans online, then it will be much cheaper to build your own roof trusses.
If you don’t know what you want or how to do it, then it may be best to hire a contractor to do it for you.
The biggest issue with building your own trusses is that they must be built just right in order for them to work properly. If they are not built correctly, then they will not support the weight of the rafters and roofing materials properly. This means that if something does go wrong with one of your trusses, it could mean disaster for your entire structure!
In order for a truss to work correctly, there are several factors that must be taken into consideration:
Proper design
Proper material selection
Proper installation