A roof is a structure that provides protection from the elements, such as rain or sunlight. A pitched roof has two inclined planes, almost like two upturned cones. In case you are interested in finding out how to build a pitched roof on your house, you have come to the right place.
Pitched Roofing is typically more substantial than the lower end of flat roofing. The supporting structure for pitched roofs is strong. A pitched roof, however, does cost more to build than a flat roof and in some cases can be as much as twice as much as a regular flat roof to build. These extra costs include not only the material itself but also include building the roof on-site and the higher price of labor because pitched roofing requires more work than a regular flat roof. Some general guidelines for constructing or installing your new pitched roof are below:
How to build a roof on a house
The construction of a pitched roof is essentially the same no matter what type of material you use to build it. The only difference is that the framing will be made from wood if the material is wood, or from steel if you are using steel.
The first step in building a pitched roof is to construct a frame for the upper part of the house. This frame can be built using wooden beams and joists, or steel beams and joists. If you want to use wood, you will need to make sure that your local building code allows for this type of construction before proceeding with your plans.
After you have built your frame, attach rafters onto each side of it using nails or screws. You should also secure them at their ends with metal plates to prevent them from splitting under pressure. It is important that these rafters are placed at an angle so they create a sloped surface when they meet up with another section at the top of your house.
Once these rafters have been installed properly, install some plywood boards over them so they form a smooth surface on which you can lay shingles or other materials for your roof’s outer layer. Once again, make sure that everything is secure so it doesn’t fall apart once it gets wet from rainfall or
The most common type of roof is the pitched roof, where all sides of the roof slope downward in a single direction. While this is the easiest to build and repair, it can also be the most expensive if you want to make sure that your roof has drainage. This type of roof needs gutters and downspouts that direct water away from your home’s foundation. You will also need to install flashing around chimneys and other openings to prevent rainwater from seeping in through these areas.
In order to properly construct a pitched roof, you will first need to build a frame for it. The size of this frame depends on how large your house is and what kind of material you want to use for your shingles or tiles. You should also consider adding support beams under larger sections of your home if they will be too heavy for the frame alone.
After building the frame for your new roof, you can begin adding shingles or tiles onto it. These materials are usually sold in rolls that are 36 inches wide by 60 feet long, so you’ll need to cut them down into smaller pieces before attaching them to your home’s walls with nails or screws
The roof is the most important part of any building. It protects us from the rain, snow and sunlight. In some cases, it also protects us from intruders.
The roof is usually one of the most expensive parts of the house to build because of its complexity and size. A good roof should last at least 20 years without much maintenance.
It’s possible to build your own roof if you know what you’re doing. To learn how to build a pitched roof on your own, read our article below:
Pitched Roofs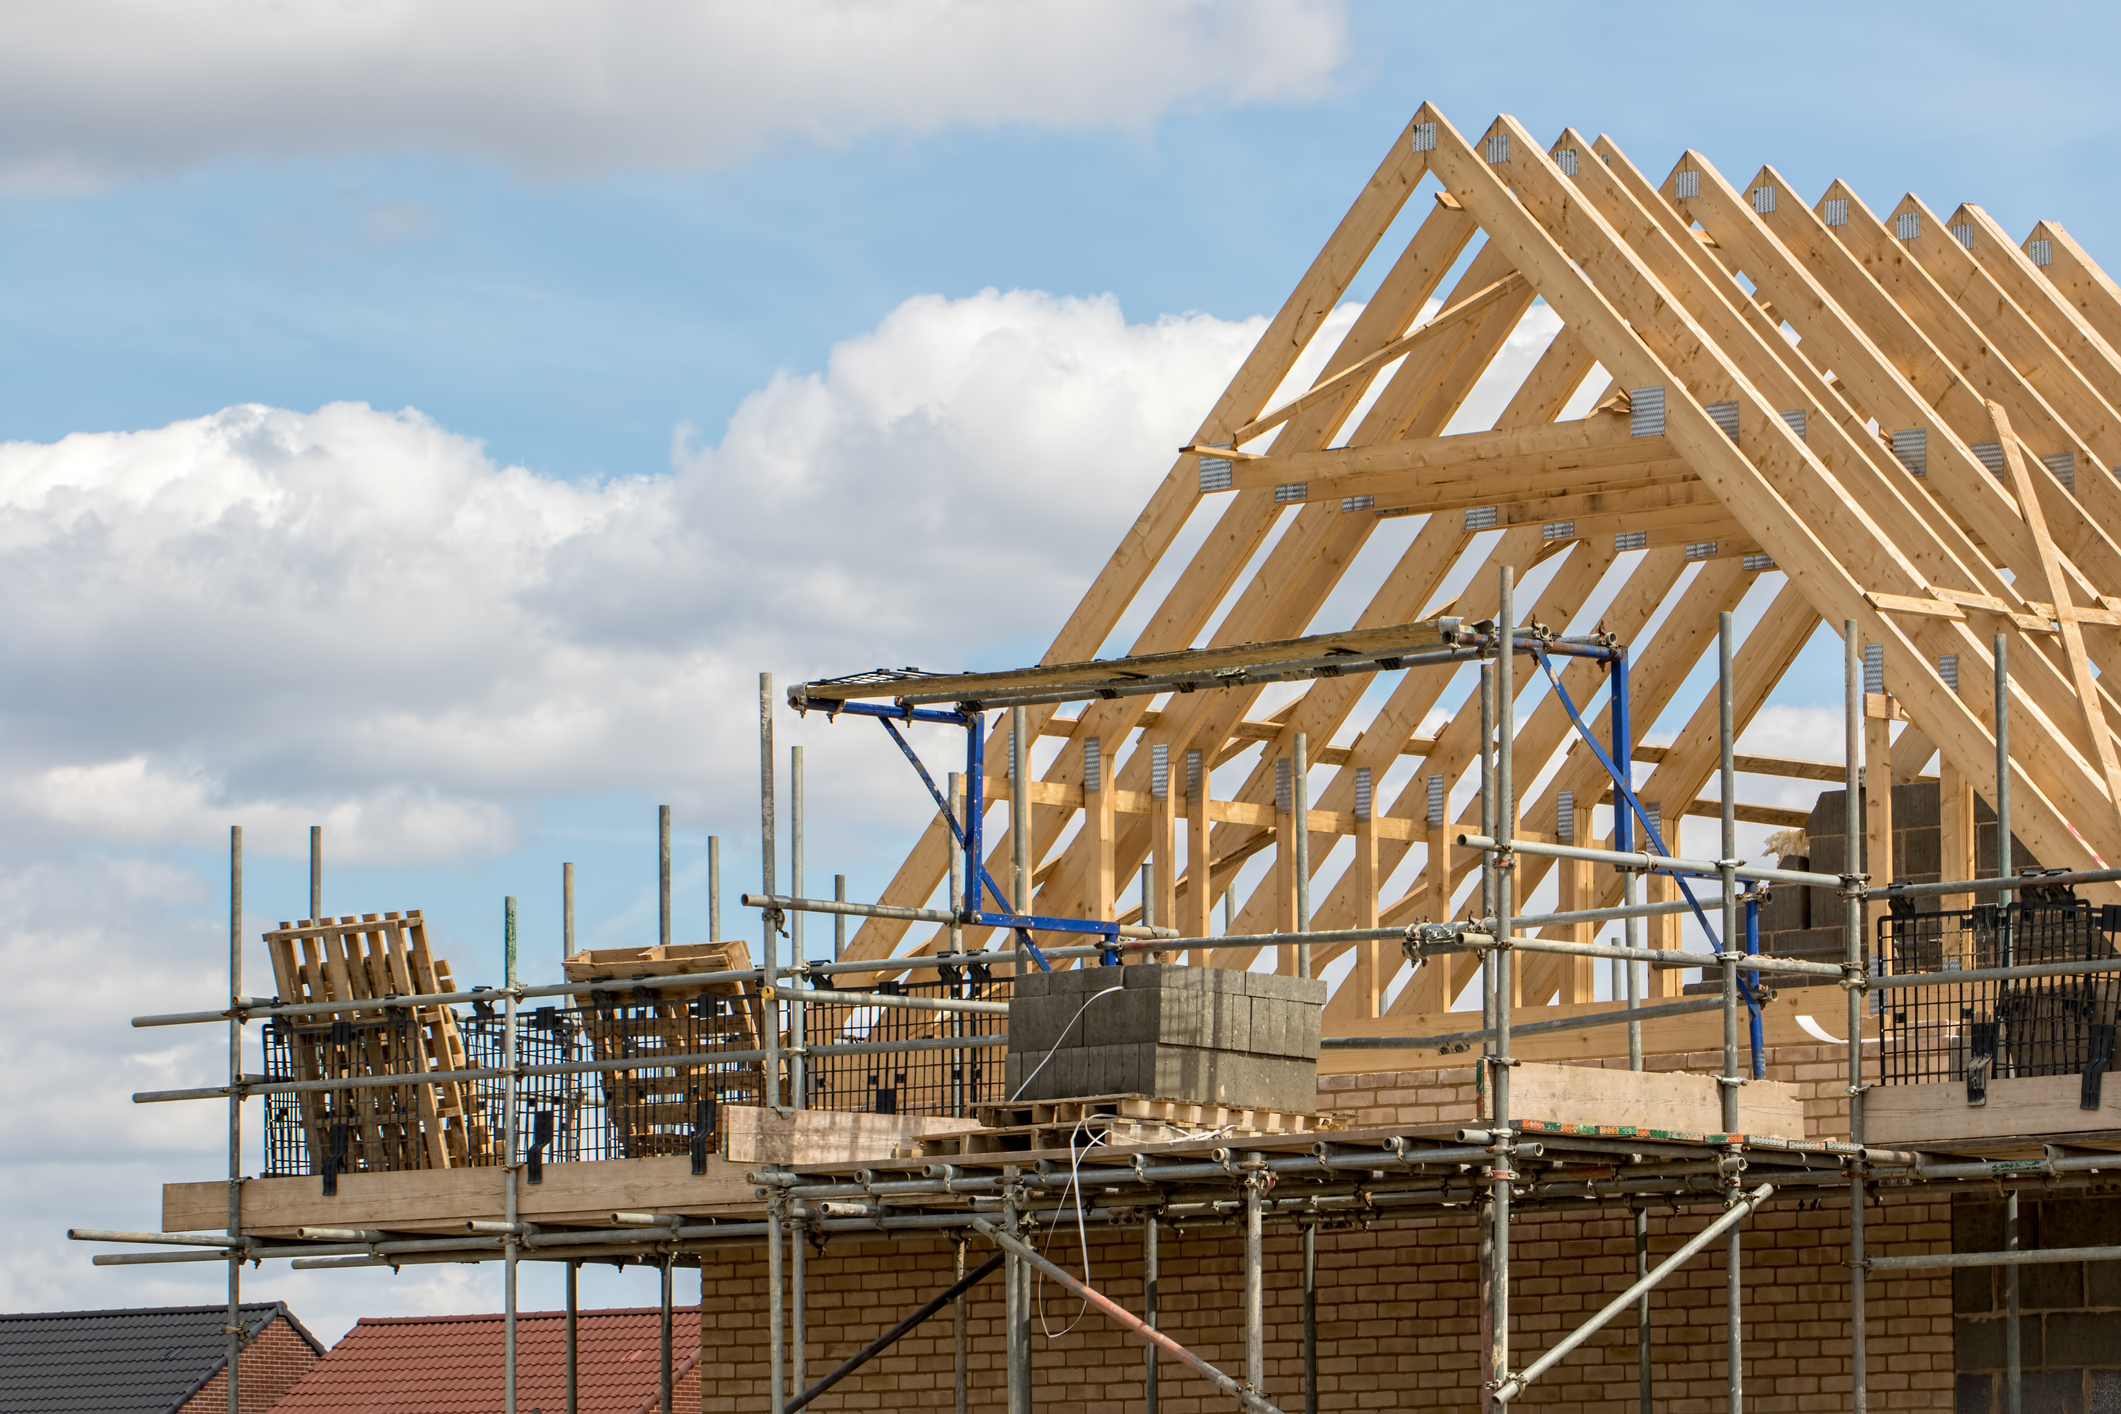
A pitched roof is one with an incline or slope. The pitch can be steep or low depending on your needs and preferences.
A steep pitch means that there are fewer tiles covering the surface area of the roof compared to a low pitch which has more tiles covering the same surface area. This means fewer tiles for each foot so it will cost less money to install them on a steep pitch than on a low one!
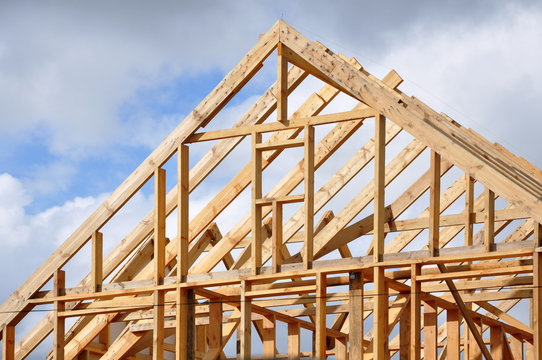
A pitched roof is a type of roof where all the sides slope downwards to a common line. The pitch of the roof depends on the height of the building, with a higher pitch being more suitable for taller buildings. The pitch can also be determined by where you live, as in some areas it may be necessary to have a steep pitch so water flows away from your house in heavy rain.
There are many types of pitched roofs, including gabled, hipped, mansard and skillion. A gable roof has two sloping sides that end in an upward-pointing triangle (also known as a gable). A hipped roof has four sloping sides that meet at a central point at the top. A mansard roof has two different pitches on each side, while skillion roofs have only one slope.
The most common type of roof on residential homes is the hip roof. It’s easy to build yourself using pre-made rafters and trusses, which come in many sizes and lengths so you can find ones that suit your needs perfectly. If you’re planning on making your own rafter tails or fascia boards from scratch then you’ll need to make sure they fit together properly before going any further with your project
A pitched roof is a roof with a slope of more than 2 in 12 (1/8). It may be covered by an asphalt or metal shingle or wooden shakes, tiles, or shingles.
A pitched roof consists of two main parts: a frame that supports the weight of the roof and gives it shape, and the decking material itself. The frame is usually constructed of wood trusses or steel trusses. The decking material is typically plywood or OSB sheathing over plywood rafters, purlins and joists.
A pitched roof has three basic types:
A gable roof has one ridge board running parallel to the ridgepole, with two sloping sides meeting at it. It looks like an “A” from above. This type of roof gets its name from its resemblance to the gable end of a house, which is formed by the triangular “peak” at the front of a house’s roofline. In many cases, especially with large houses such as mansions, this will be true for all four sides of the house’s exterior walls; but in other cases only two sides (usually left and right) will be so shaped while one side might be flat instead.[1]
In this article we will look at how to build a pitched roof, from the basics of framing to installing shingles.
Let’s start with the basics of framing and building a roof frame. The first step is to lay out and cut the rafters for your attic or upper room. You can use 2x4s for this, but you’ll get better results using 2x6s because they are stronger and more rigid.
To make sure your rafters are plumb (straight up and down), use a level or a straight edge with a bubble level on top of it. Climb onto the roof deck (the flooring material over your joists) and hold each rafter in place while someone else checks that it is level front-to-back and side-to-side. Make any adjustments before nailing your rafters in place.
The first step in building a roof frame is to determine the pitch of the roof. This can be done by measuring the distance from the highest point on one side of your house to the highest point on the opposite side. Once you know how steep you want your roof to be, cut several 2x4s to length based on this measurement.
Place two 2x4s parallel to each other and nail them together with 16d nails driven at an angle so that they form a triangle. Use another 2×4 as a spacer for each pair of boards so that they are about 1/4 in. apart. Repeat with as many triangles as you need for your roof’s pitch.
Cut notches into each triangle’s peaks and valleys so that they fit together snugly when stacked with spacers between them, then nail them together using 16d nails driven through the joints where two triangles meet (Photo 1). In order to ensure that each triangle is square, measure diagonally across both sides; if they are not equal, adjust one or both sides until they are equal (Photo 2).
How to Build a Pitched Roof
A pitched roof is one that has a sloping pitch, meaning the lower part of the roof is longer than the top. A common example of this type of roof is the gable roof. This style of roof is easy to build and can be modified for different uses.
Materials Needed:
4x4s or 2x4s for framing (you will need enough pieces to reach from the peak down to your desired height)
1x2s or 2x2s for bracing (you will need enough pieces to brace each rafter)
Roofing nails and screws (if you’re using screws instead of nails, you should use galvanized screws)
Build a Roof Frame
Rafters are the structural frame for a roof. They support the roofing material, which is the layer that protects your home’s interior. The rafter size depends on the pitch of your roof and the span needed to cover your home. The pitch of a roof refers to how steeply it slopes down from its peak, and spans are the lengths of each rafter between supports.
Step 1: Calculate Rafter Spans
Measure the distance from your house’s ridge beam (the top plate) to where you want your first rafter to attach along each side wall. This is called an overhang (see References 1). For example, if you have an 8-foot-high ceiling in your living room and want to install a peaked gable above it, measure from where the ridge beam meets one side wall to where you want the peak of your gable to be, then subtract 1 foot from that number. In this case it would be 7 feet 6 inches. This is how long all of your rafters will be when installed on this section of wall.
Step 2: Determine Pitch Angle
Measure up from where each end of each rafter will meet a wall or other horizontal surface such as a deck
The building of a roof frame can be a very simple process, but it does require some knowledge about the tools and materials you will be using.
The first thing you need to do is determine what kind of roof you want. A gable roof is one of the most common types of roofs found in homes today. It has two sloping sides that meet at an apex point at the top. The slope helps to shed water from the roof, keeping the house dry.
A hip roof is another type of common roof that also has two sloping sides but instead of meeting at an apex point, they meet at a lower point on each side of the house. In some cases, these two points can be rounded off into dormers which are extensions that contain windows or skylights and make it easier for light to enter into your home.
There are many different materials that can be used when building a new house or renovating an existing one such as wood or metal; however, wood is still one of the most widely used materials because it’s cheaper and easier to work with when building your own home from scratch!