Raised fireplace hearths are a great way to customize your fireplace and give it a unique look. With proper planning I can show you how to build a raised fireplace hearth that is functional and looks great.
Building a raised fireplace hearth is not difficult, but there are a few important steps you need to take in order to ensure your shed and the structure remain stable for many years.

How to build a raised fireplace hearth
Raised fireplace hearths are easy to build, and they look great. You can build a raised hearth using a variety of materials, including brick and stone. The materials you use depend on your budget and the style of the room.
Before starting the project, measure the size of the fireplace opening to determine how much of the hearth should be visible above the floor. You should also determine what type of material will best fit into your decorating style. Do you want a modern look or something more traditional?
If you’re building a raised hearth for gas or wood burning fireplaces, follow these instructions:
Measure the height and width of your fireplace opening. If you’re adding bricks to an existing concrete hearth, measure its dimensions as well. Add 2 inches to each measurement for mortar joints between bricks (1/4 inch for each joint). This will help ensure that there’s enough space between each brick when laying them out in rows or placing them in mortar beds.
Cut lumber according to these measurements so that it fits snugly into your fireplace opening with no gaps between it and surrounding walls or other wooden components attached to your fireplace wall (such as mantels). Use screws rather than nails so that if there is any movement over time
A raised hearth can be a great addition to your fireplace, especially if you have small children or pets. A raised hearth will keep them from crawling in and getting hurt. It can also help prevent things from getting knocked off the mantle and into the flames.
There are many different ways to go about building a raised hearth for your fireplace. You can use brick and mortar, tile, or even concrete. The best method is going to depend on the materials available and what you have in mind for the finished product.
Building a raised brick fireplace hearth:
1) Lay out the bricks as needed; make sure there are enough bricks so that they cover all of your fireplace opening. You may want to use bricks that match your home’s exterior if possible (this will give it an added touch of class). If you don’t want to use bricks, then consider using stones instead (most people prefer this option because they’re easier to work with).
2) Cut any excess mortar away from around each brick using a chisel (make sure not to damage the surface of the brick).
3) Use mortar mix (or cement) as needed and then spread it evenly over each brick until it is covered all.

how to build a raised hearth for gas fireplace
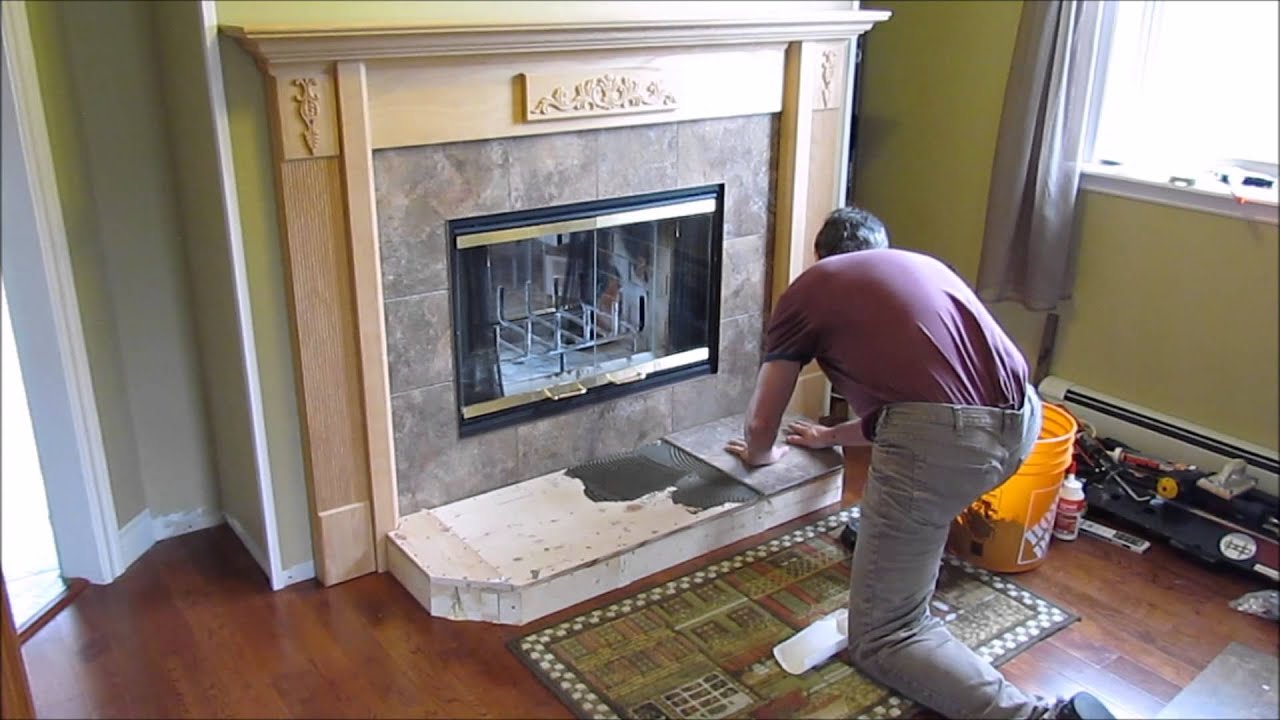
Building a raised hearth is a great way to upgrade your fireplace. It can be done in a weekend and will make your fireplace look like the focal point of your home.
This step by step guide will show you how to make a raised hearth for a gas fireplace. You can also use this method to build an insert or wood burning fireplace hearth.
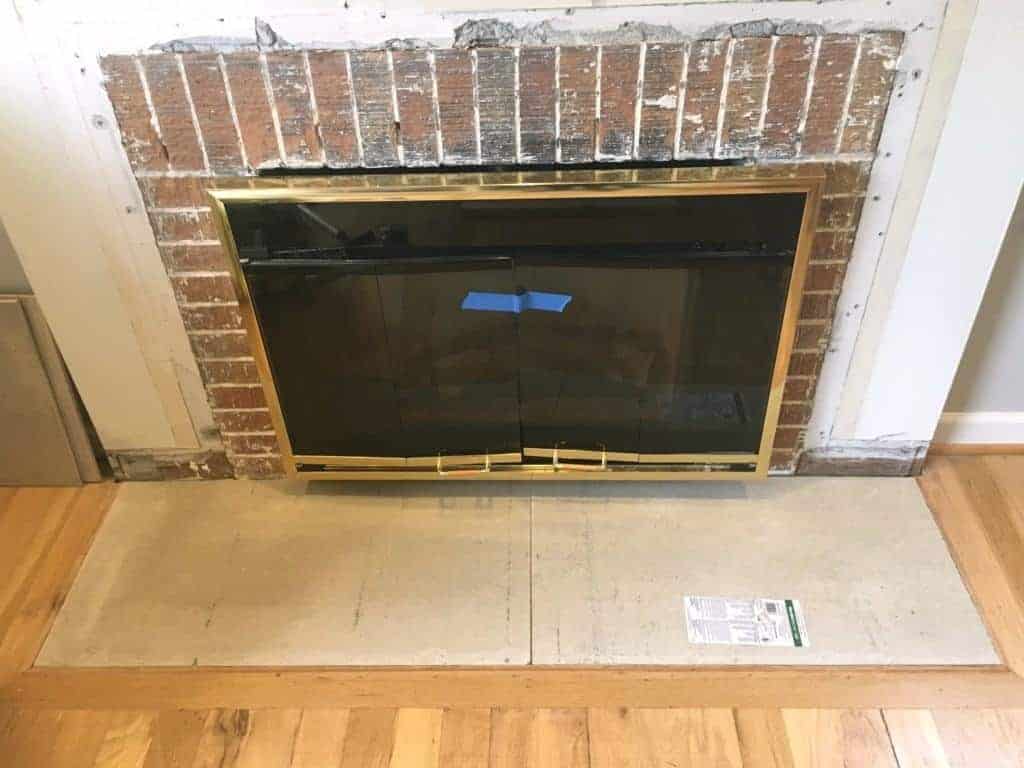
1. Mark the floor with painter’s tape or chalk
2. Drill holes through the tape every 12 inches, then snap chalk lines between them
3. Use a square level to mark the height of the bricks on each side of the fireplace opening (or use the existing mortar joints)
4. Excavate soil from under the fireplace area so you have enough room for your bricks and mortar (about 6 inches from the bottom)
5. Lay down gravel as a base for your support wall, then start building up with concrete blocks (the ones I used were about 8″ square and 4″ high) until they touch the top of your brick wall.
A raised hearth is an elevated area where you can put your fireplace logs and other accessories. This can be a very attractive addition to your home, but also needs to be built properly in order to last for many years. If you want to build a raised hearth yourself, here are some tips on how to do it:
Build the Base First
The first step is building the base of the raised hearth. This should be made out of concrete blocks or bricks that are laid flat on top of each other. You can use mortar or cement glue if you have them available, but sand will also work just fine. Make sure that these materials are level with each other so that you don’t end up with any cracks later on in the process.
Keep it Strong
You’ll want to make sure that the base is strong enough to support the weight of whatever materials you’re going to use for your fireplace. The best way to do this is by using scaffolding while building it so that it can hold its own weight before adding anything else onto it like brick or tiles.
how to build a raised brick fireplace hearth
This article is going to show you how to build a raised brick fireplace hearth, which is a great way to add style and beauty to your home. This project can be done by anyone with basic carpentry skills and a few simple tools.
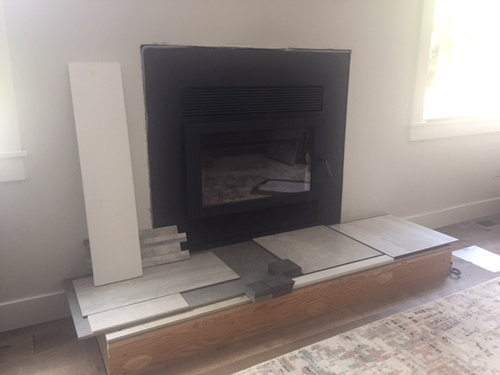
The first step in this project is to measure the existing fireplace opening. Use these measurements as guides for cutting the wood and laying out the bricks so they will fit perfectly into the space.
The next step is to secure the bracing that will hold up the hearth. You can use 2x4s or 2x6s depending on how deep your fireplace opening is. These boards should be placed perpendicular to each other so they form a stable base for the hearth. If you are just making one side of an existing fireplace taller then there won’t be any bracing needed on that side since it will already be supported by an adjacent wall or structure (like wood burning stoves).
Once your bracing has been installed you can begin laying out your bricks according to their size and shape so that they look nice together and don’t leave any gaps between them when placed on top of each other. Use sandpaper or a sander so that all surfaces are smooth before applying mortar to them.