Building a dog bed might seem like it needs advanced carpentry skills but it doesn’t. You can be a success with no prior experience or carpentry knowledge. In fact, anyone can build a dog bed because building this kind of furniture is easier than it seems.
Raised dog beds look really nice, but they can also be really difficult to build. My last raised dog bed turned out better than I expected, but even I can admit there was room for improvement. In this article, I’m going to explain my design step-by-step and show you how to build a raised dog bed just like mine;how to build a raised dog bed,how to build a raised dog bed with stairs,how to make a raised dog bed and raised dog bed ideas

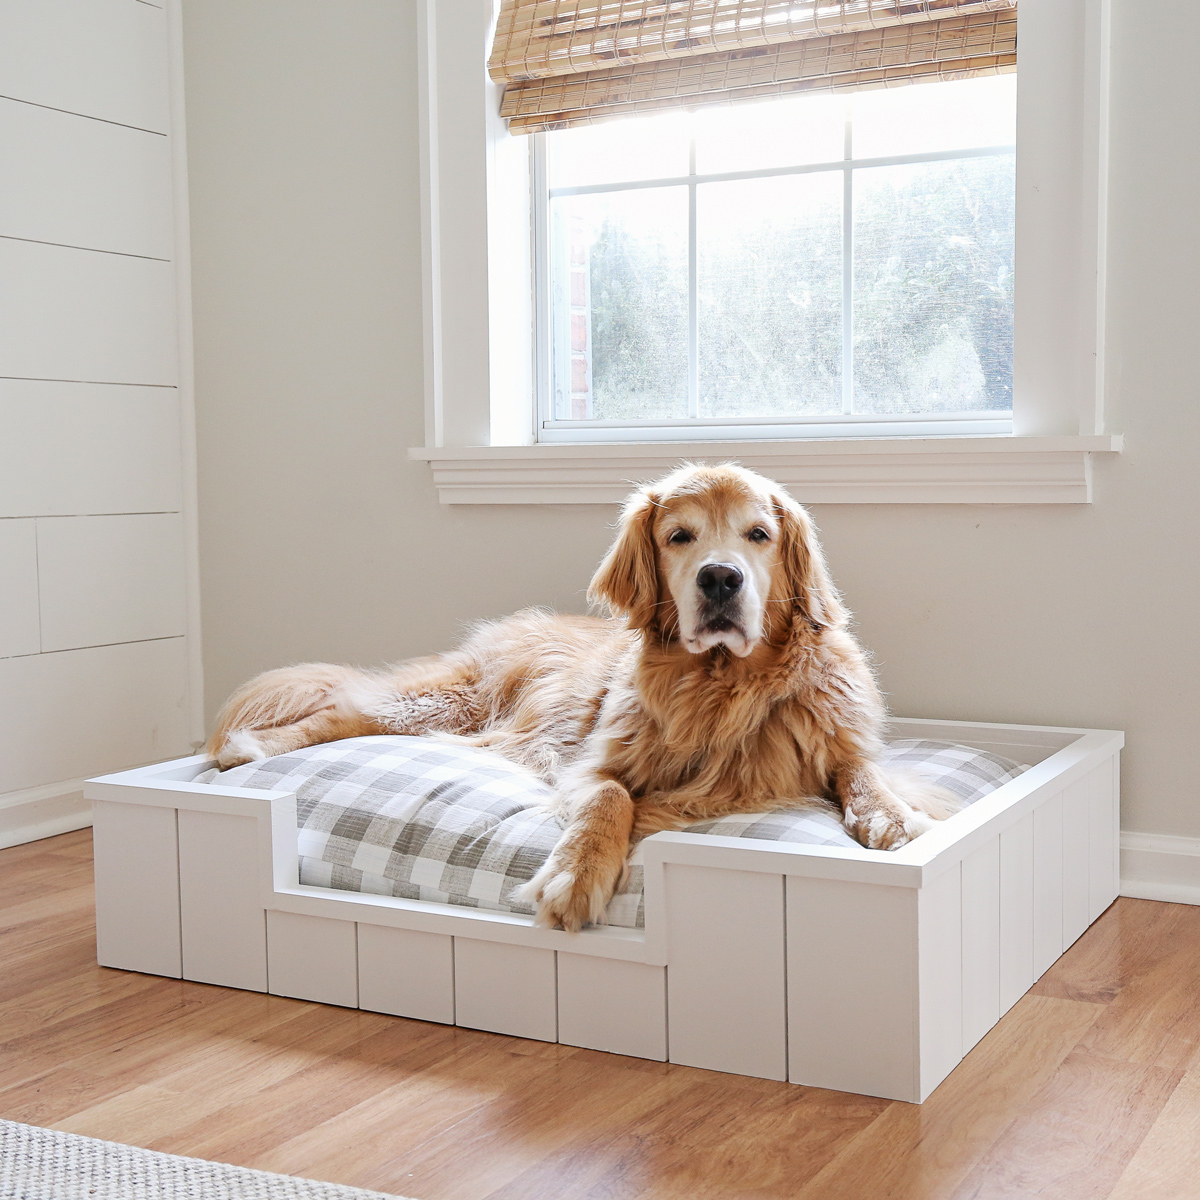
How to build a raised dog bed
Building a raised dog bed is a great idea for anyone who wants to give their pup a comfortable place to sleep. Raised beds can increase airflow, help prevent allergies and make it easier for your pet to get in and out of their bed. The following steps will teach you how to build your own raised bed using common tools and materials available at any hardware store.
Step 1: Gather Materials
Before starting the project, gather all of the necessary materials. You’ll need wood cut into two pieces: one longer than the other by about 2 inches. The length depends on how big your dog is, but most people find that about 18 inches long works well for small dogs and up to 24 inches for large dogs. The shorter piece should be about 3 inches wide; again this depends on the size of your dog but 4 inches should work well for most breeds. In addition, you’ll need screws, nails and brackets that fit with those dimensions as well as paint or stain if you want to finish the wood before installing it in your home.
Step 2: Preparing Your Dog Bed Frame
The first thing you need to do is prepare your frame by attaching one end of each board using screws or nails.

how to build a raised dog bed with stairs
A raised dog bed is a great way to make your pet more comfortable and help them avoid joint pain. Raised dog beds are available for purchase online, but there are also many DIY designs that you can make at home.
Raised dog beds with stairs can be customized to fit your specific needs. Here are some of the most common ways to build a raised dog bed with stairs:
Use an existing bed frame as the base. Most types of bed frames will work well as the base of your raised dog bed, including twin size beds and full size beds. You can remove the mattress and then attach two boards to each side of the frame using screws. This will create two steps in your raised dog bed so that your pet can climb up onto it easily.
Build a platform out of plywood or another type of sturdy material such as cedar, redwood or bamboo. You’ll need to cut down one piece of plywood into four pieces that measure 2 feet by 4 feet (or 24 inches by 48 inches) each. Lay down two pieces on top of each other so that their edges overlap by 1 inch on all four sides (or 4 inches).
how to make a raised dog bed
The best raised dog beds are made from durable materials that can stand up to years of use. They also have a waterproof liner to protect your pet from moisture and dirt. Here are some different options for building your own raised dog bed:
Use cedar wood planks to create a solid wood frame for the bed. You can cut them to fit together like a puzzle, then glue them together with wood glue and nails. Once the frame is assembled, sand down any rough edges or splinters on the wood with a sander and fine-grit sandpaper to make it smooth enough for your pet’s delicate skin.
Cover the frame with fabric or vinyl to make it more comfortable for your pet. Make sure you choose something that is easy to clean so that you don’t have to worry about stains or spills getting stuck in between the cracks of the wood frame as they might if you used carpeting or upholstery fabric instead. You can also add padding underneath if you want extra cushioning for your dog’s bones and joints (although this will add weight).
Use plastic piping as corner supports inside each plank so that it stands up straight without falling over when your pet climbs onto it.

raised dog bed ideas
If you have a pet, then you certainly know how important it is to give them the best comfort and care. One of the best ways to do this is by building a raised dog bed.
One of the biggest issues with dogs is their back problems. This is why many people are now looking for ways to provide their dogs with a comfortable place to sleep and play in. If you are planning on building a raised dog bed for your pet, here are some tips that can help you out:
Consider making it out of wood
When it comes to building a raised dog bed, there are many materials that people like using for this purpose. One of the most popular choices is wood because it has so many benefits when compared to other materials such as plastic or metal. For example, wood is very durable and sturdy so it will last longer than other materials while also being able to withstand high amounts of weight without breaking down easily.
Wood also provides excellent insulation during cold weathers so your pet will be able to stay warm even if they spend hours sleeping on their bed every day during winter months or spring seasons when temperatures get colder than usual in most parts of the world. It also helps keep them cool during hot.
Raised dog beds are a great way to keep your pup off the cold floor and protect them from drafts. They’re also great for older dogs, who have trouble getting up and down, or those with joint pain.
Raised dog beds can be as simple as a piece of plywood or as elaborate as you want to make it. In this article, we’ll show you how to build a raised dog bed that will fit your needs and your budget.
What You Need:
1x 4 x 8” sheet of plywood (or similar)
1x 2 x 4” piece of lumber (or similar)
1x 1/4″ drill bit or 1/2″ bit with step drill attachment (optional)
1x 15/16″ countersink bit (optional)