Shelters protect us from the elements. Be it a tent, a log cabin or an igloo, humans have been constructing shelters for millennia. We all need shelter to survive and yet most of the world’s population live in poor quality housing. This blog post will teach you how to build a outdoor shelter that is capable of coping with the extremes of a temperate climate.
Have you ever wondered how to build a durable outdoor shelter, how to build a shelter step by step, how to build a shelter, but never got around to trying it?

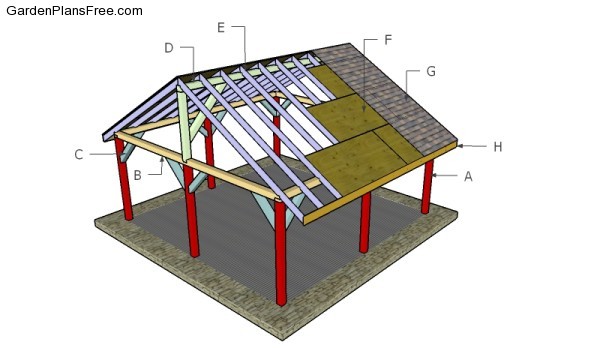
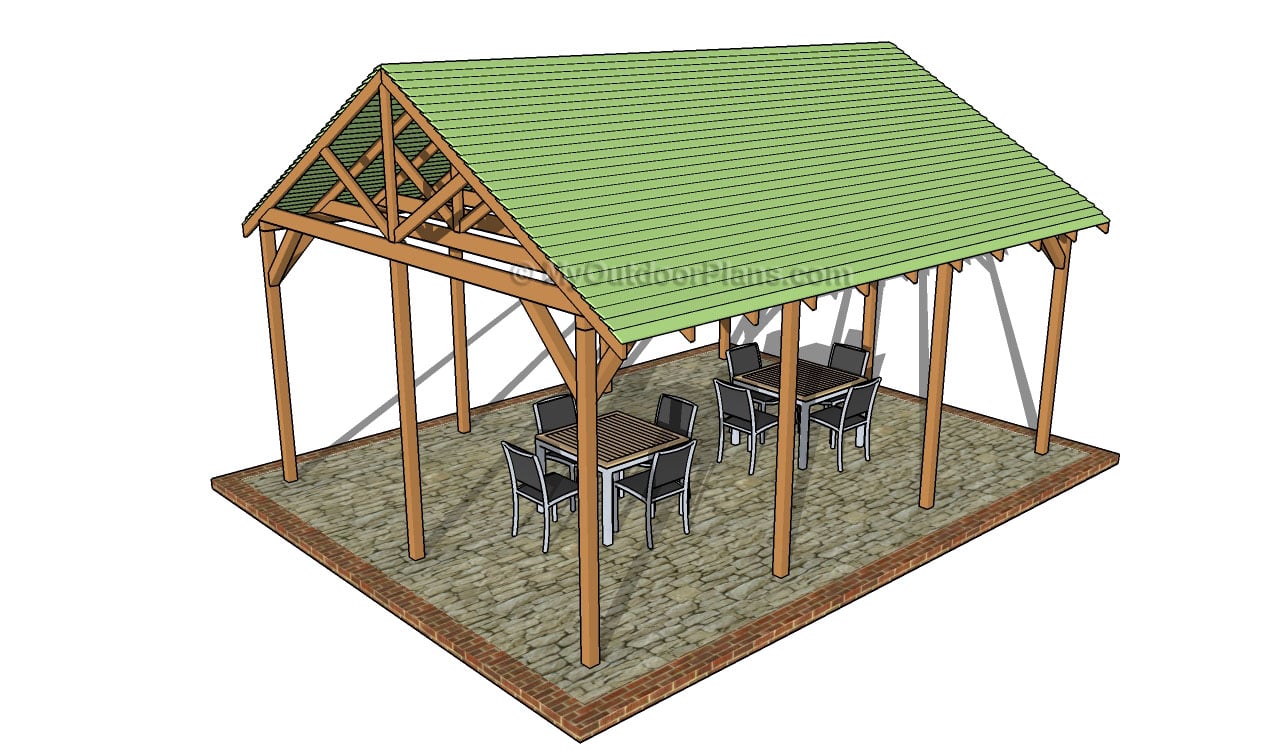
How to build a outdoor shelter
In survival situations, it’s very important to know how to build a shelter. Whether you’re lost in the woods or caught out in a storm, building a shelter can keep you safe and dry. The first thing you should do is find some type of natural shelter like a cave or rock overhang. If that’s not an option, then it’s time to get creative! The following steps will help you build a shelter that will keep you safe from the elements.
1. Find an area with good cover – This can be hard if you’re lost in the woods or caught out in a storm, but try your best to find some type of natural cover like trees or bushes. If that’s not possible, look for large rocks that might protect you from the wind and rain.
2. Create walls – Walls will help keep out wind and rain while also providing privacy and security from animals like bears or wolves who might want to eat you! Use sticks or branches as poles and lash them together tightly with rope or vines so they don’t fall apart during high winds or heavy rainfalls.
How to build a shelter step by step
Step 1: Choose the location of your shelter. The ideal location is close to water, but not so close that you can be easily spotted by predators. You should also choose a spot that is at least 100 yards away from any major trail or campsite. This will help keep you hidden from other humans and animals alike.
Step 2: Find a sturdy tree and cut off some branches. These will serve as your support poles for your shelter. Cut down 3-5 branches depending on the size of your shelter. Cut them about 2 inches longer than the length of your chosen tree trunk. You will use these as cross members for your shelter frame later on in this tutorial.
Step 3: Secure the ends of each branch with rope or paracord so they do not splinter when you pound them into the ground later on in this tutorial.
How to build a shelter
Shelter is one of the most important things you can build in a survival situation. You need to have a place to sleep and stay warm at night.
Here are some easy DIY shelters you can build with just a few supplies.
1.The lean-to shelter: This is one of the easiest shelters to make and is perfect for beginners! The lean-to shelter requires only one sheet of material, which can be any kind of tarp, blanket or canvas. You will also need 4 poles that are around 5 feet long (or longer if needed) and two stakes or tent pegs to hold down the four corners of your shelter.
2. The debris hut: This is another easy DIY shelter that anyone can make! It’s made out of sticks and leaves that are found in nature so there’s no need for tools or building materials!
3. The igloo: If you’re looking for something unique then why not try making an igloo? It’s very similar to building a snowman but with snow instead of balls of dirt! You’ll need some snow shovels, water containers and insulation like leaves, grass or pine needles along with some large rocks from around your area
The first step in building a shelter is to find a place to build it. Look for a spot that will be protected from the wind, rain and snow. You should also consider how easy it is going to be for you to get back to civilization if you do have to leave your shelter for any reason.
The second step in building a shelter is finding materials that can be used for construction. You need to find wood, rocks or other material that will help support your shelter and keep it from falling down on top of you when the wind picks up or when heavy rains come along.
The third step in building a shelter is deciding what type of shelter you want to build. The two most popular types are tents and lean-tos. Tents are more comfortable than lean-to shelters, but they are also more expensive and require more work in order to set them up properly.
The fourth step in building a tent or lean-to is choosing where you want to put it on your property so that it is safe from predators like bears or mountain lions.

How to Build a Shelter
Building a shelter is one of the most basic survival skills out there. You can build shelters in the wilderness or in your backyard, and they can be as simple or elaborate as you want them to be. But no matter what kind of shelter you’re building, there are some basic principles that will help you get started.
The first thing to consider when building a shelter is its purpose. There are several reasons why you might want to make a shelter:
Protection from the elements
Protection from animals
Privacy
Shelter Types
Tent: A tent provides protection from the elements (rain, wind) and privacy for two people or fewer. It’s usually made from nylon or cotton canvas with aluminum poles and stakes for anchoring it down in high winds or heavy rains. Tents come in all shapes and sizes; some are designed specifically for backpacking while others are larger enough for an entire family to sleep under comfortably.
How to build a shelter step by step
1. Find a spot where your shelter will be safe from the elements and animals. If you are building in an area that has frequent rain, high winds or snow, be sure to choose a spot with good drainage so that water doesn’t collect on your roof during storms.
2. Start gathering materials for your shelter’s frame. You’ll need long sticks for poles and shorter ones for stakes and framework. You can use natural resources like sticks, branches or vines if you’re in an area without any supplies available.
3. Build a frame using the longest sticks as poles and shorter sticks as stakes. The frame should be tall enough to accommodate all of your body while lying down inside it; it should also stand up on its own once it’s built (if possible). The walls of your shelter should extend at least 20 inches above your head when you’re sitting or standing up straight inside them (this allows space for insulation).
4. Secure the poles into place with smaller sticks or vines by weaving them through holes in the poles’ ends until they are tightly wedged between each other at top and bottom (see pictures above).
When you’re in the wild, you need to build a shelter. A good shelter is your best friend. It can protect you from the elements and keep you safe from wild animals. It can also be a great place to rest during the day.
If you want to survive in the wilderness, it’s important that you know how to build a shelter. Here’s how:
Find a tree that has a fork in it at about waist height. Use your knife or axe to cut off some branches from this tree. These branches should be about 8 feet long and about two inches thick at the base of the branch. These branches will be used as support beams for your shelter’s frame.
Cut two more pieces of wood that are about 2 1/2 feet long each and about 3 inches thick at their base. These pieces of wood will be used as stakes for securing your shelter’s frame into the ground so that it doesn’t blow away in strong winds or get washed away by heavy rainstorms.
Using your knife or axe again, cut notches into all four of these pieces of wood so that they fit together nicely when placed together side by side with each other (see image). This will form one side of your frame that supports your shelter’s roof when
A shelter is a place to retreat to when you’re outside or in an emergency. It can be as simple as a tarp and some rope, but if you have more time and resources, you can build something better.
Take Shelter in the Woods
If you’re going camping or hiking, it’s important to know how to build a shelter. If it starts raining or snowing unexpectedly, you may need shelter for yourself and your gear. You can make a lean-to by breaking off small branches from trees and then leaning them against each other on opposite sides of the trail. The picture above shows how this looks; the two large limbs form a V-shape that makes a triangular shelter with the top open for ventilation. You can also use leaves and brush to create insulation between these two limbs so your body heat doesn’t escape too quickly through the walls of your lean-to. If there are no good trees around, you could use rocks instead of branches to make walls around your lean-to as well. Just add some extra insulation material between each layer of rocks as needed until they reach waist height on someone who stands up straight (about six inches higher than your head).
Step 1: Find a spot.
Location is the most important factor when it comes to building a shelter. You should be away from any large bodies of water, rivers and streams, as well as large trees. The spot should also be at least 20 feet from any cliffs or drop-offs. If you’re in a forested area, look for an open space that is close to good sources of firewood and water (a creek). If you’re in an open area such as grassland or desert, look for tall grasses to camouflage your tent with.
Step 2: Build a lean-to shelter.
To build this type of shelter, you’ll need two long branches (about 8-10 ft long) and two shorter branches with forks at the end (also about 8-10 ft long). You’ll also need some cordage (a minimum of 4 ft long) — you can use parachute cord or even shoelaces if necessary. Attach one end of each of the longer branches to one end of one of the shorter ones using cordage — make sure they’re securely attached so they don’t pull apart under pressure from wind or rain.