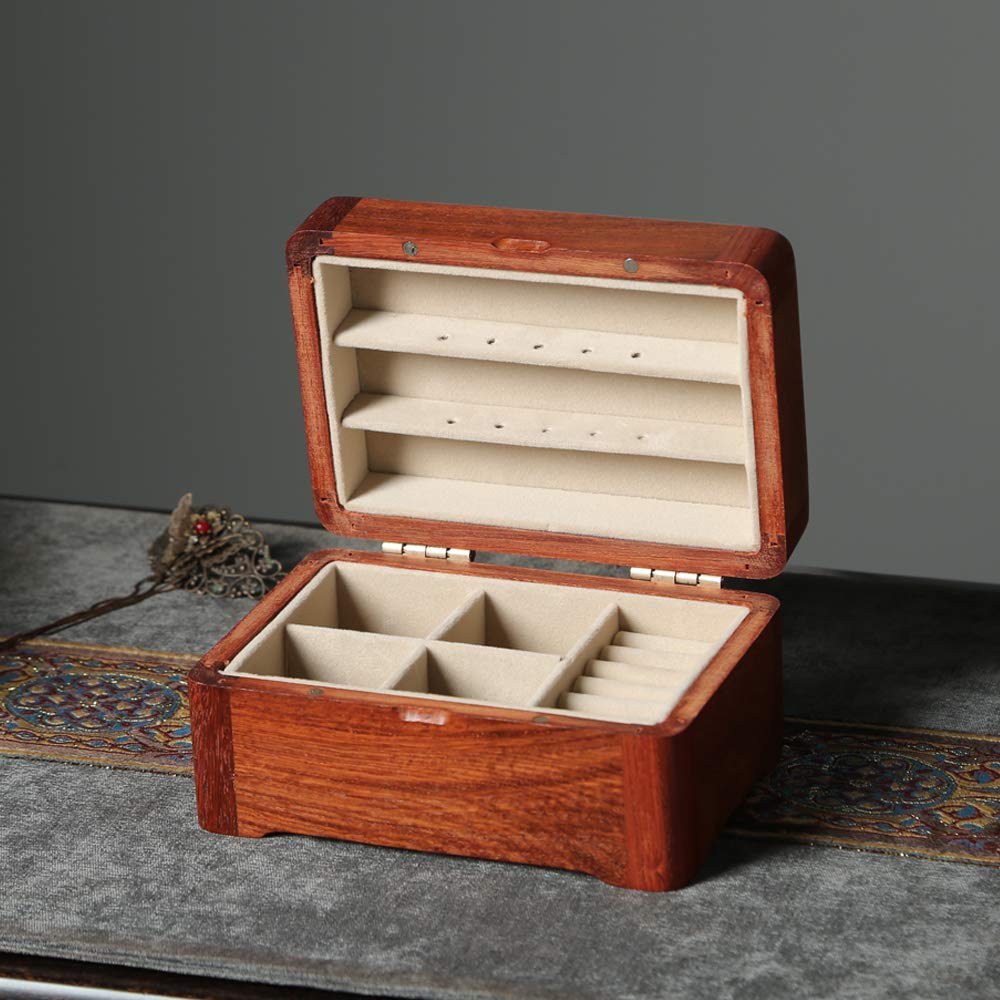
Building a jewellery box will keep you busy for just a weekend. There are many other models available on the Internet, but this one is special because it is based on an old, organic pattern of weaving plait.
Have you ever wondered what it’s like to work in the jewellery industry? I’ve had a long history working with precious metals, and want to share some of my knowledge with you in this guide. I’ll show you how to build a jewellery box and even how to conduct basic osmosis chemical experiments that can be used in jewelry design. We’ll cover everything from the extremely basics of chemical theory (you don’t need to worry if you don’t follow science at school) to the more advanced stages of creating your own unique silver alloy.

How to build a jewellery box
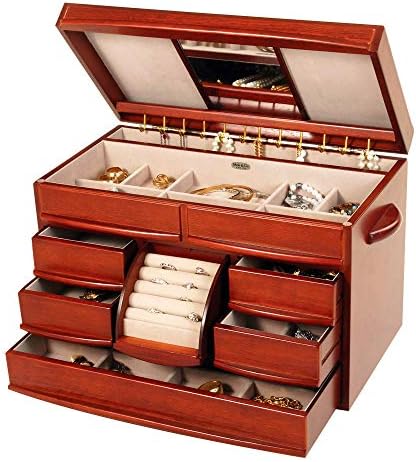
Jewellery boxes are a great way to keep your jewellery safe and organised. They can also be used as display cases for special pieces or as make-up storage. It is easy to build a customised jewellery box from scratch in just one day. Here are some tips on how to go about it:
Make sure you have all the tools and materials you need before starting. You will need wood glue, screws, nails, sandpaper and paint (optional) among other things. A miter saw is strongly recommended if you want to create a nice looking design. It will help you cut straight edges which is essential when building something like this. Make sure that you have enough time on your hands because it might take up most of your weekend if you do not have any experience with wood crafting.
In this post, I will show you how to build a jewelry armoire or box. You can use this design for a variety of jewelry storage needs. This particular model is designed to hold bracelets and necklaces, but with some modifications, you can use it for earrings, rings and other small jewelry items.
To build the box, you will need:
– Plywood sheet (1/8 inch thickness)
– Wood glue
– Wood screws (2 1/2 inches long)
– Sandpaper (100 grit)
– Paintbrush
If you’re making a jewellery box, you’ll need to cut grooves for the hinges and other hardware. You can use a router or a table saw with a narrow dado blade.
You can also make the grooves by hand with a chisel. Use a hammer and chisel to create slots for the hinges and then add glue before inserting them into place.

Cut out the lid
Cut out the top of the box using your jigsaw or circular saw. Be careful not to cut too deeply into your workpiece or you may split it in two.
Build the sides of the box
Cut out two sides of your jewellery box using your jigsaw or circular saw. If you’re using plywood, use an electric drill fitted with a spade bit to drill holes along the edges so you can insert dowels later on for added strength.
Attach the sides to each other
Holding one side in place against a flat surface, insert screws through its edges and into those of its sister piece that’s lying flat on top of it (see video). This will hold them together temporarily while you install hardware later on (which will be easier
You can build a jewellery box in any size, and with any design you want.
The first thing to consider is the material that you are going to use. There are many different materials available, but some of the most common choices are wood and metal. Both have their advantages and disadvantages, but I have chosen to go with wood because it is cheaper, easier to work with and more readily available than metal.
For this project I am going to use pine boards from my local hardware store as they are cheap and easy to work with. The wood should be cut into two pieces measuring 2x6x8 inches for each side of the box (4 pieces in total). This will give us enough space for our jewelry inside the box without having too much extra space around it which could be dangerous if someone were to fall on it or trip over it.
Once we have our four pieces cut out we will need some glue, the kind that is used for gluing wood together works best, but any type of glue can be used as long as it dries clear when applied so that you don’t see a white residue where your joints meet!
I am going to use clamps instead of screws because they make everything look better
If you need a jewelry box, this DIY project is an excellent way to save money while making something unique and personal.
What You’ll Need:
A woodworking planer or table saw
An orbital sander or sandpaper
A jigsaw or circular saw with a miter box
A drill press with a ¼-inch bit and a 3/8-inch bit
Wood glue
Nails or brads for attaching the dividers (optional)