Have you ever wanted to go jet-skiing but didn’t have the room to store a boat? We build a homemade jet ski stand that will hold up your jetski and store it away in your shed, garage or even on your patio! This is an easy DIY project that construction crews have used for years.
Building a jet ski stand is not as difficult as it may seem. With products readily available in stores and online, you can build a jet ski stand that will last you many years and optimize the storage space of your jet ski.

When you are using your jet ski, it is important to make sure that it has a good place to sit and not be exposed to the elements. The best way to do this is by building your own stand for the jet ski.
Building a stand for your jet ski is very easy, and you should be able to do it with just one person. Also, if you are looking for something that can be used in multiple places, this is a great option because it will allow you to take your jet ski anywhere.
Buy or Build Your Own Trailer
If you already have a trailer or truck bed, then this step is unnecessary. However, if you do not have either one of these things then you will need to purchase one or build one yourself. If you decide to buy one then make sure that it is strong enough to hold up against the weight of your jet ski when loaded onto it. Also make sure that there are holes on each side of the trailer so that when you drive over bumps in the road they do not affect your vehicle too much.
Attach Ramps To Trailer
Once you have purchased or built your trailer then attach ramps onto each side of it so that when people drive their cars onto them they can easily
If you’re thinking about building a jet ski stand, you probably have a few questions. What is the best way to build a jet ski stand? How much will it cost? How should I build my jet ski stand?
In this article, we’ll answer all of those questions and more. We’ll also give you some tips and tricks for making your own jet ski stand that will work great for your needs!
If you’re looking for some good plans for your DIY project, check out our article on how to build a wooden workbench. Or if you’d like some help from someone who has already built their own stand, check out our customer reviews below.
Here is a video that shows you how to build a jet ski stand. This can be used for any type of watercraft, and the design is very simple.
The basic idea is to use two pieces of wood, one shorter than the other, that are attached together with hinges. The longer piece is placed on the ground and then you put the shorter piece up against it. Next, you place your jet ski on top of this and then open up the longer piece so that it goes over your machine like an umbrella. You can then close it up again so that it’s completely covered by both pieces of wood!
A jet ski stand is a great accessory for anyone who owns a jet ski. It’s a safe place to store your watercraft, and it keeps it elevated so you can easily get on and off of it.
If you’re looking to build your own jet ski stand, here are some tips:
1. Start with a sturdy base. The base needs to be able to support the weight of your jet ski without sinking into the ground or tipping over.
2. Make sure that the stand isn’t going to interfere with other people using their boats or getting in and out of the water.
3. Make sure that your jet ski stand is stable enough that it won’t tip over when you get on or off of it, especially if there are children around who might want to play with it or sit on it!
Step 1: Determine the height of your stand by measuring the height of your jet ski.
Step 2: Cut a 4×4 piece of lumber to the desired length. The length should be long enough for your jet ski to fit securely on top of it.
Step 3: Drill two holes in each end of the 4×4 piece of lumber so that you can bolt it together using carriage bolts (or screws).
Step 4: Drill two holes in each side of your wooden frame, making sure that they are large enough for the carriage bolts (or screws) to fit through them easily.
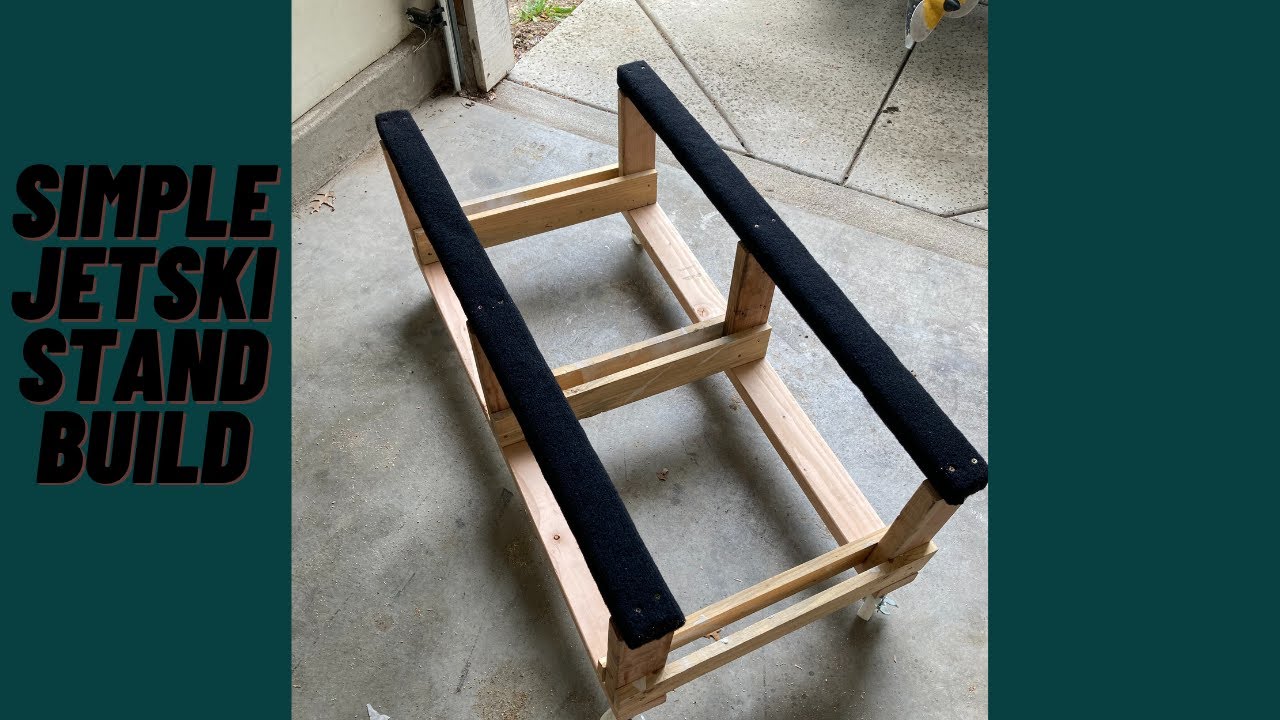
Step 5: Screw or bolt together two pieces of wood so that they form an L-shaped frame as shown above.