Ever wondered how to build a Japanese Tea House? There’s no simple answer to that. It all depends upon your budget and factors like the type of Japanese house you want to build. Additionally, it’s important to note that the foundational structure is not something you can buy as a kit or pre-plan/pre-fabricate. You’ll have to find or create a design that works for you, your budget and available materials.
While most people are familiar with the construction of castles, temples, and guest houses; building a traditional Japanese tea house is something that’s rarely seen outside of Japan. It should be noted that there are many different styles of tea houses throughout Japan and the most commonly known and widely used styles of Japanese Tea Houses for teahouses was developed in the 1500s by Buddhist monks.
How to build a japanese tea house
The Japanese tea house is a place where you can relax, refresh and meditate. It is a place where people go to enjoy their tea and the company of friends. Many people like to build their own tea houses in their backyards or on their property. Whether you are an experienced carpenter or just starting out as a DIYer, building a Japanese tea house can be simple if you follow these steps:
Step 1: Measure the area where you want to build your tea house and make sure it is large enough for the size of your family or group of friends that will be using it most often. You should also make sure that there is enough space for all of them to sit comfortably around the table inside.
Step 2: Mark off the area for your walls by digging holes about four inches deep at each corner where you want them to be placed. Use stakes on either side of these holes so that they are level with one another when filled with concrete later on in this project.
Step 3: Place rebar into each hole until they are covered with concrete at least two feet deep so they will be sturdy enough to support your walls once they are built on top of them.
The tea house is an important part of the Japanese culture. It is a place to relax and enjoy a cup of tea, or a full course meal with friends and family. The process of building a tea house requires a lot of patience, but it is worth it in the end.
Choosing A Location
The first thing you will need to do when building a Japanese tea house is find a location that will be suitable for your structure. You want to make sure that you pick an area that has plenty of sunlight and air flow. This will keep your plants healthy and make sure that your house does not get too stuffy inside during the warmer months. Also make sure that there are no large trees nearby that could fall on your house during a storm or high winds.
Digging The Foundation
After choosing the location for your new home, you will need to dig the foundation for your structure. Make sure that the ground is level so that your home does not sink or tilt over time due to poor foundation work!
Building Walls And Roofs
The next step in building a Japanese tea house is building walls and roofs for each room in your home. You should use wood for these components as it provides strength
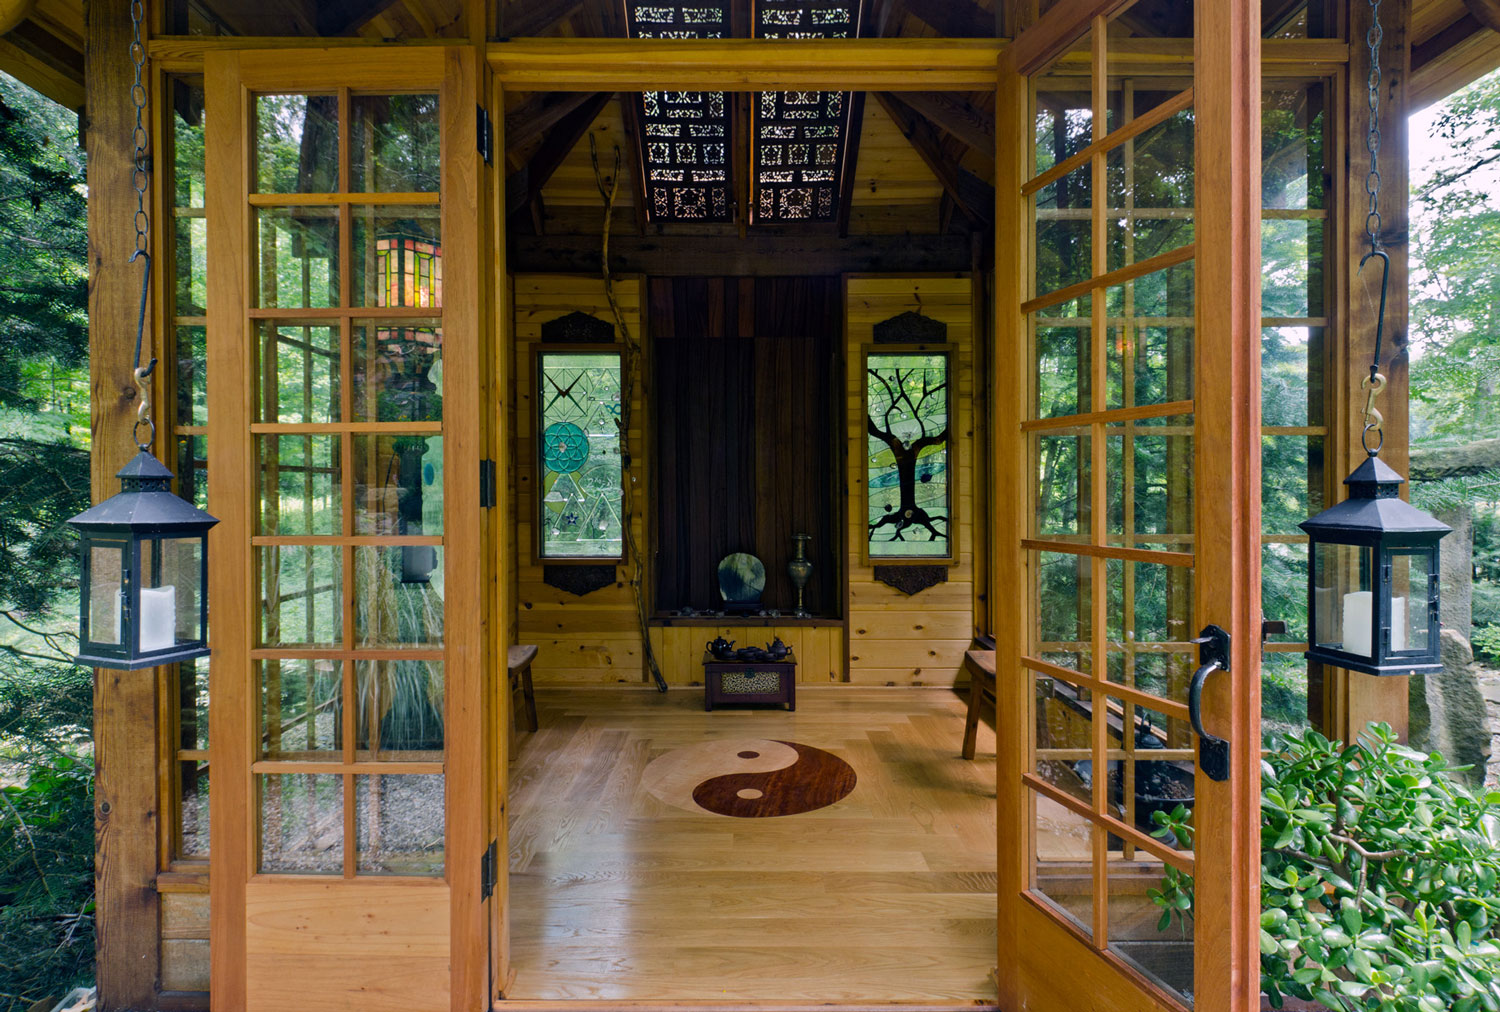
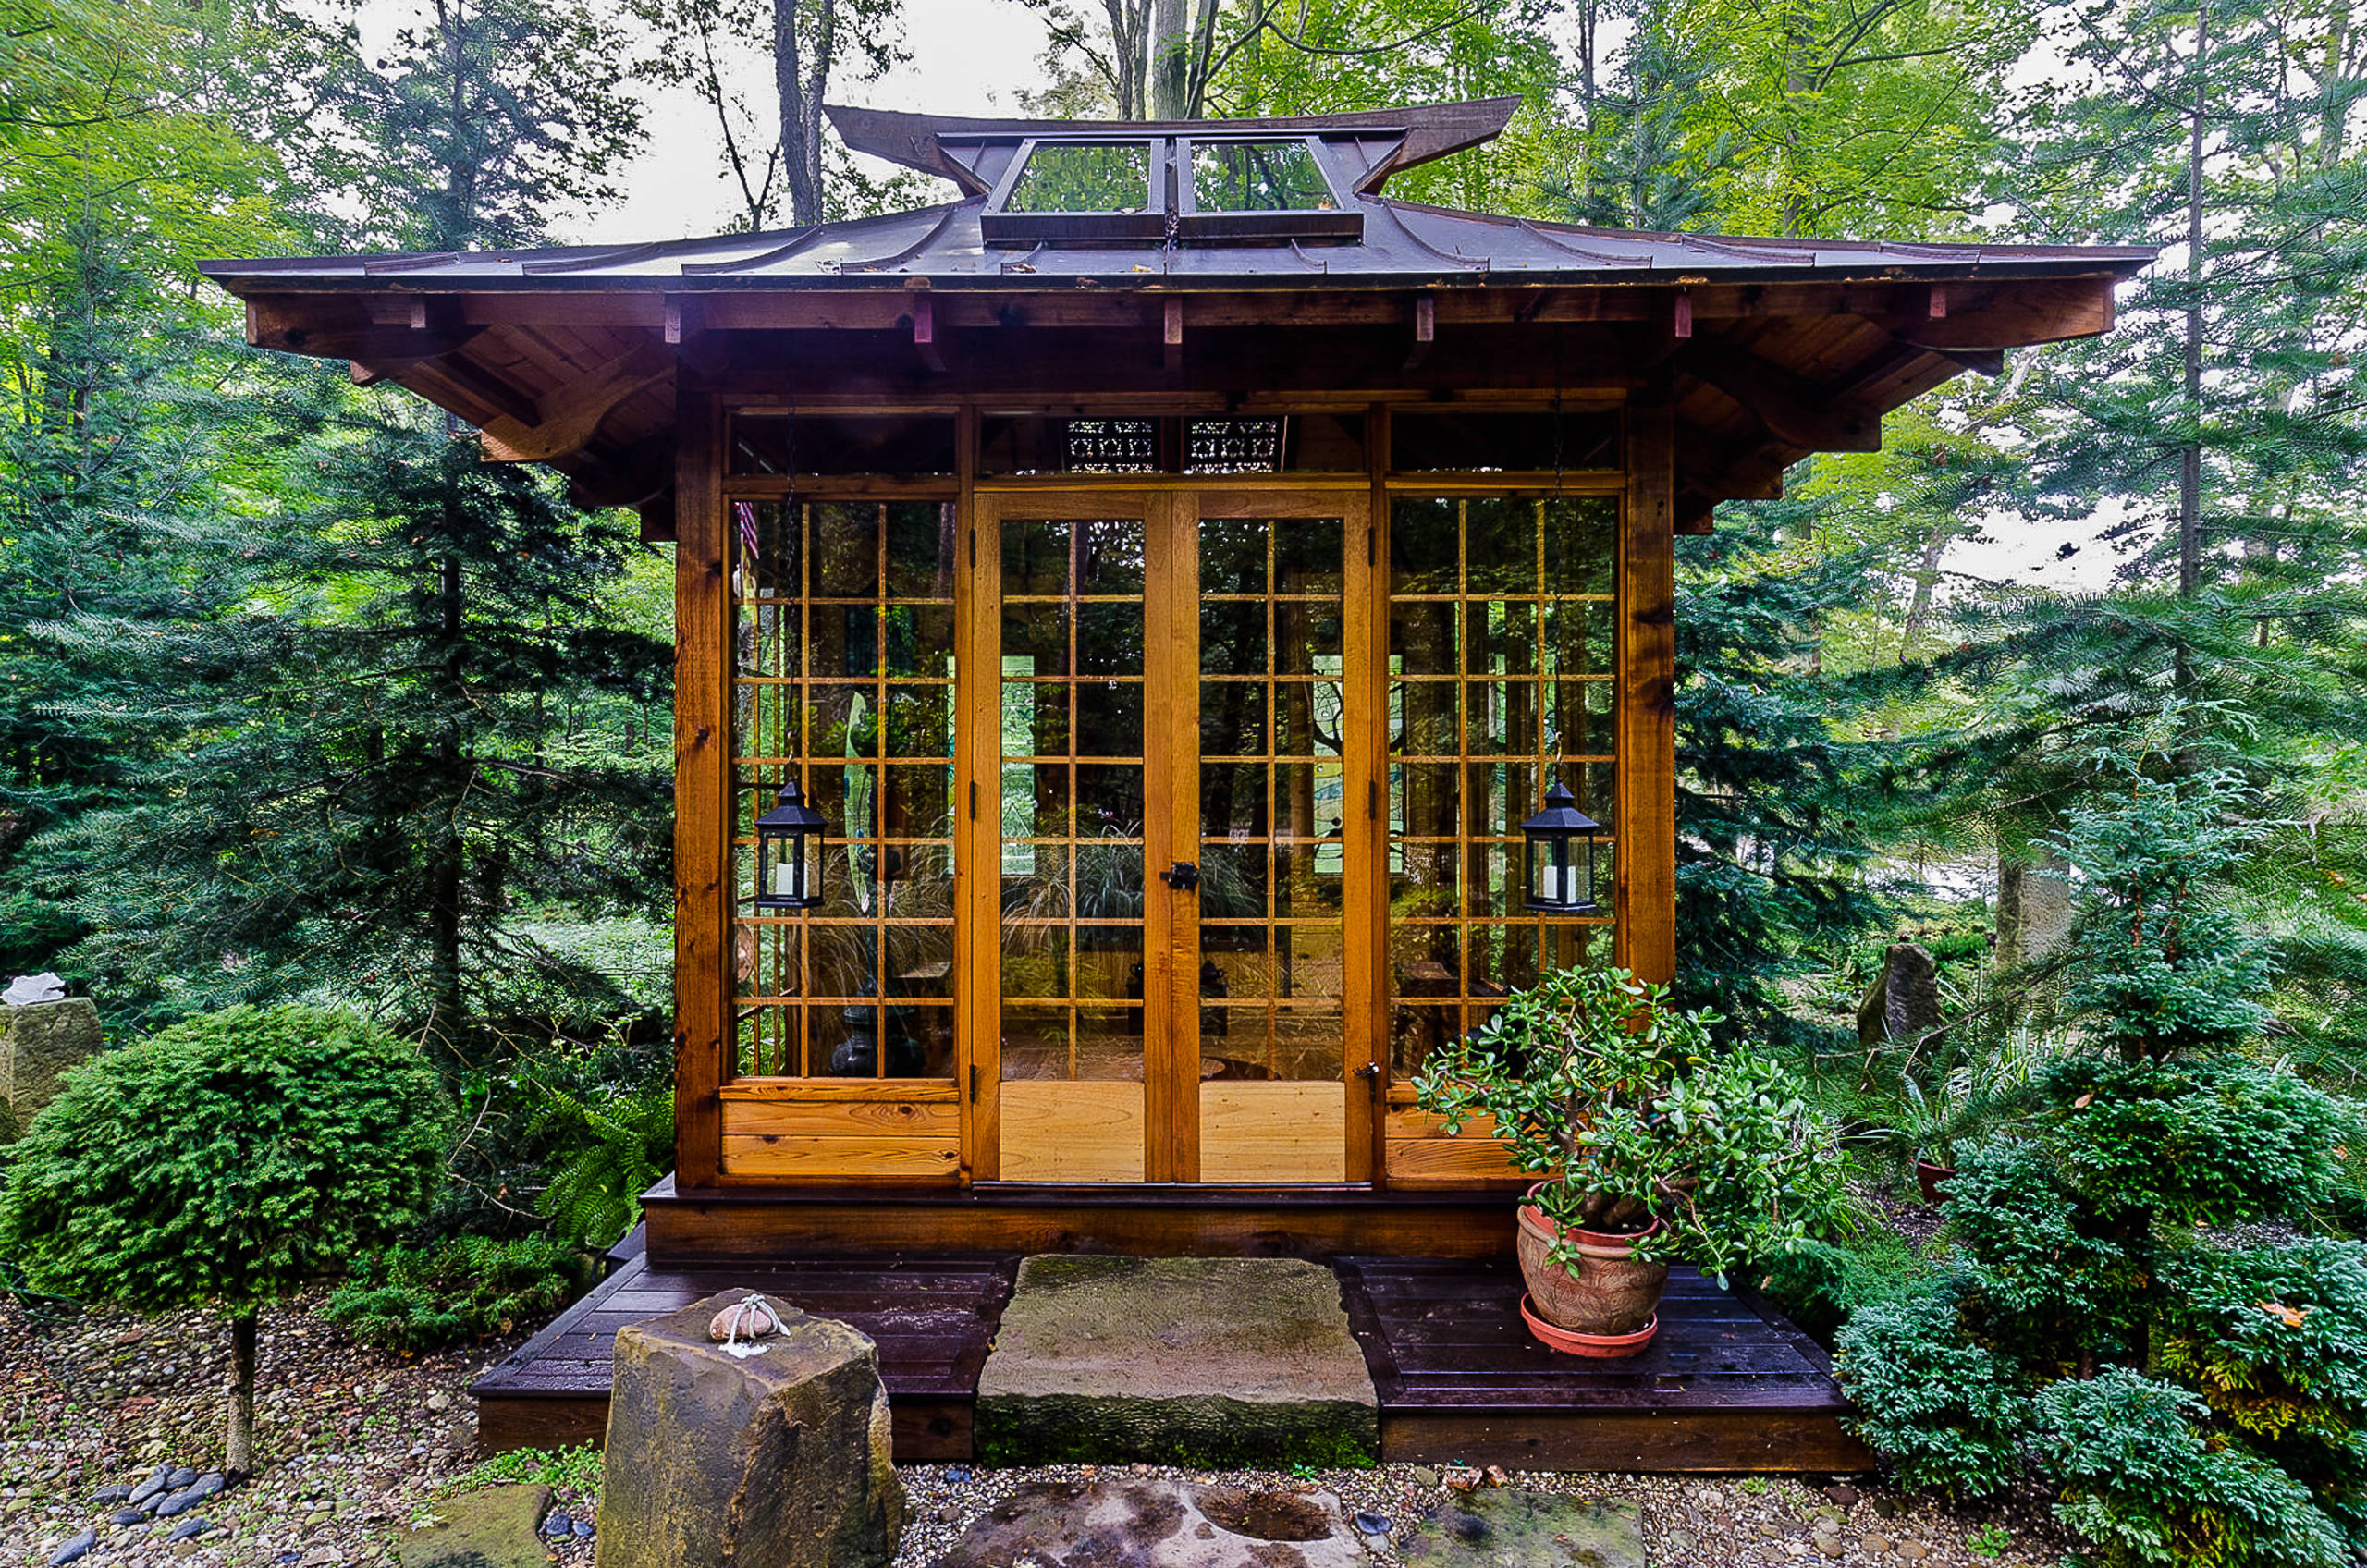
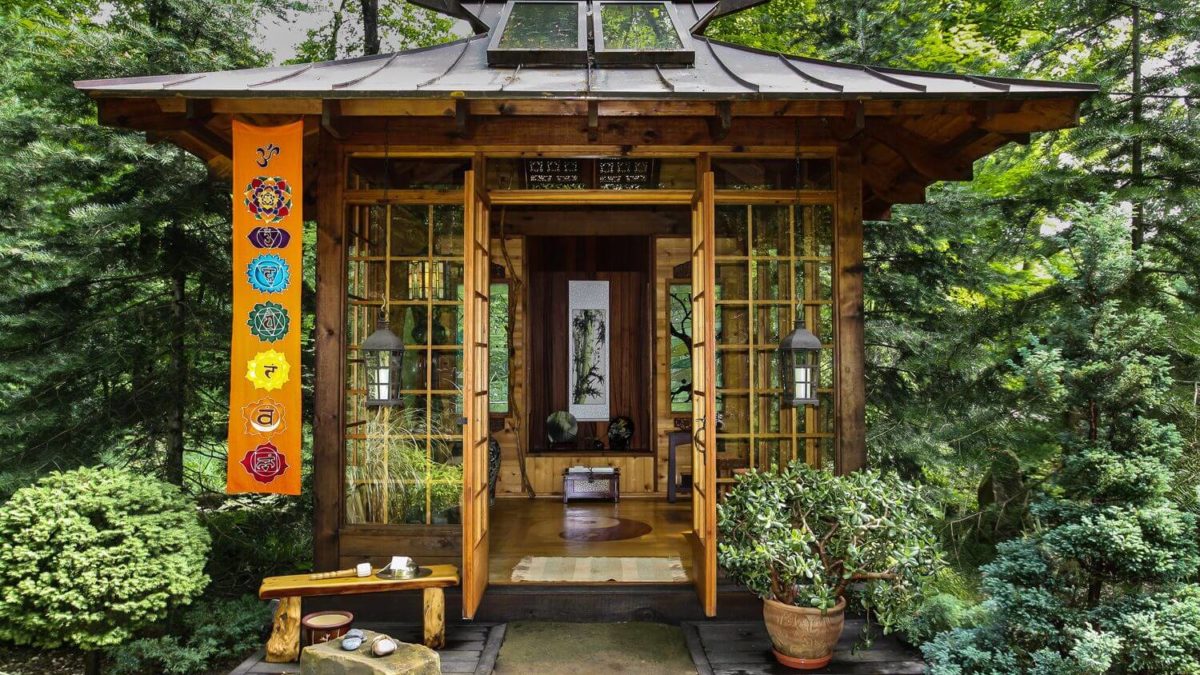
A tea house is a small structure that is used to prepare and serve Japanese green tea. The type of building and its size varies depending on the region, but they are typically small in size, with one wall made of sliding rice paper doors that can be opened to let in air and light.
The most common materials used to build a japanese tea house are wood and bamboo, but stone, straw and thatch have also been used. The interior of a tea house is designed for comfort and convenience. It usually has tatami mats, or straw mats, on the floor for sitting, as well as a charcoal brazier for heating during cold weather.
It can be difficult to build a Japanese tea house. The space is small, the building materials are expensive, and the design is very specific. In this article I’ll walk you through the process of building a Japanese tea house from start to finish.
If you’re interested in building your own Japanese tea house, here are some things to consider:
Space is at a premium. You’ll need to make sure that you have enough space for your intended purpose before starting construction. If possible, try to find an existing structure or build on someone else’s land so that you don’t have to worry about buying or leasing land for your project.
The cost of materials can be prohibitively high for many people. Because of this, it’s best to build with recycled materials whenever possible or buy used items at low cost if you need something specific like a tatami mat or sliding doors (fusuma).
Building codes may not allow you to use certain materials because they aren’t fireproof or strong enough for their intended purpose (such as bamboo). If this is the case, consider using another material instead of bamboo or other natural materials that might be affected by fire or rot over time if left exposed outdoors unprotected by paint etc…
A Japanese tea room is a space for meditation, relaxation, and contemplation. It is also a place for social gatherings or business meetings. The tea room can be simple or elaborate, and can be built in any size or shape.
Step 1
Design the layout of your tea house using graph paper. Include all of the elements that you want in your design such as tatami mats, shoji screens and a hearth (kamado).
Step 2
Lay down two 2x4s on the ground to mark where your posts will go. Cut four 2x4s into 1-foot pieces and nail them into the ground with a hammer at each corner of your tea house’s base according to your design on graph paper. These will serve as braces for the floor joists above them. The joists will help support the weight of the roof when it’s completed.
Step 3
Cut four more 2x4s into 6-foot lengths and nail them between the braces you just installed onto your frame with a hammer until they’re flush with both sides of your frame. These will serve as rafters that support your roofing material later on in this project.
We use cookies on our website to give you the most relevant experience by remembering your preferences and repeat visits. By clicking “Accept All”, you consent to the use of ALL the cookies. However, you may visit "Cookie Settings" to provide a controlled consent.
This website uses cookies to improve your experience while you navigate through the website. Out of these, the cookies that are categorized as necessary are stored on your browser as they are essential for the working of basic functionalities of the website. We also use third-party cookies that help us analyze and understand how you use this website. These cookies will be stored in your browser only with your consent. You also have the option to opt-out of these cookies. But opting out of some of these cookies may affect your browsing experience.
Necessary cookies are absolutely essential for the website to function properly. These cookies ensure basic functionalities and security features of the website, anonymously.
Cookie
Duration
Description
cookielawinfo-checkbox-analytics
11 months
This cookie is set by GDPR Cookie Consent plugin. The cookie is used to store the user consent for the cookies in the category "Analytics".
cookielawinfo-checkbox-functional
11 months
The cookie is set by GDPR cookie consent to record the user consent for the cookies in the category "Functional".
cookielawinfo-checkbox-necessary
11 months
This cookie is set by GDPR Cookie Consent plugin. The cookies is used to store the user consent for the cookies in the category "Necessary".
cookielawinfo-checkbox-others
11 months
This cookie is set by GDPR Cookie Consent plugin. The cookie is used to store the user consent for the cookies in the category "Other.
cookielawinfo-checkbox-performance
11 months
This cookie is set by GDPR Cookie Consent plugin. The cookie is used to store the user consent for the cookies in the category "Performance".
viewed_cookie_policy
11 months
The cookie is set by the GDPR Cookie Consent plugin and is used to store whether or not user has consented to the use of cookies. It does not store any personal data.
Functional cookies help to perform certain functionalities like sharing the content of the website on social media platforms, collect feedbacks, and other third-party features.
Performance cookies are used to understand and analyze the key performance indexes of the website which helps in delivering a better user experience for the visitors.
Analytical cookies are used to understand how visitors interact with the website. These cookies help provide information on metrics the number of visitors, bounce rate, traffic source, etc.
Advertisement cookies are used to provide visitors with relevant ads and marketing campaigns. These cookies track visitors across websites and collect information to provide customized ads.