Building a garage shelf should be pretty simple. There is a certain “science” to it, but at the end of the day you shouldn’t have any problems.
When we moved into our current house, one of the first things I did was build some storage cabinets for our garage. We had been living in a condo previously and didn’t have the luxury of having a garden shed, so I used what little space I had to store tools, sports equipment, and other essentials. When you think about it, it’s actually pretty easy to build storage shelves for the garage.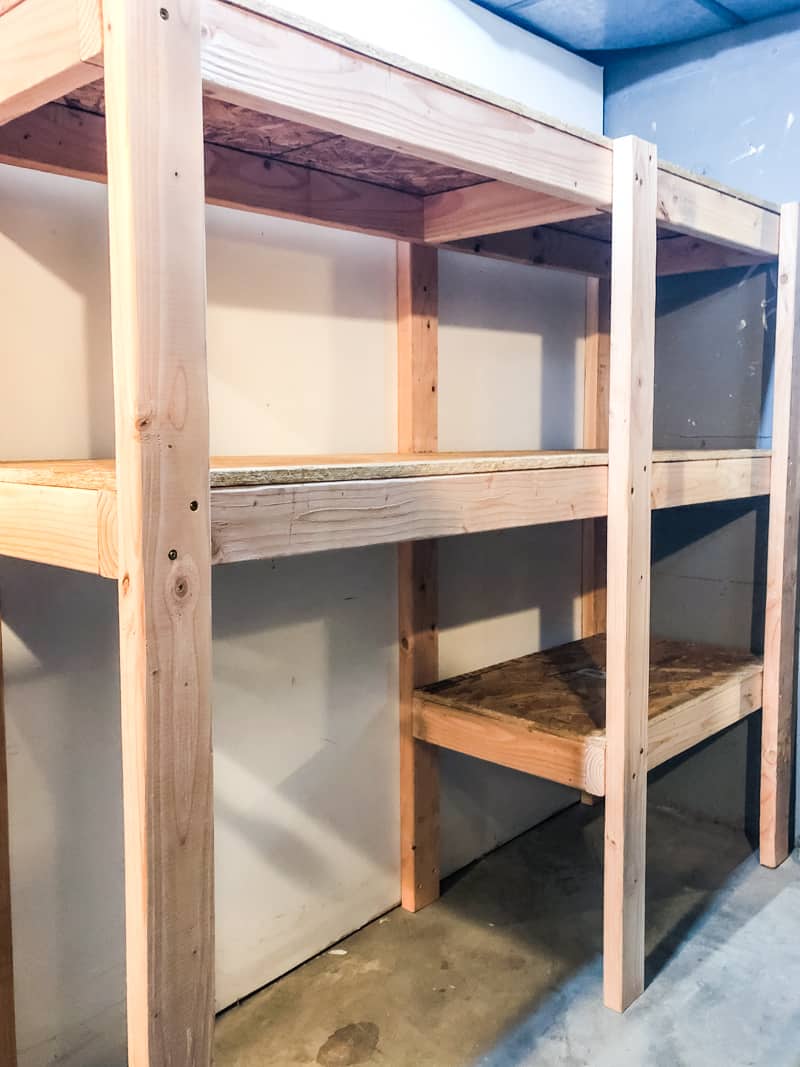
How to build a garage storage shelf
A storage loft is a great way to add extra storage space to your garage. This DIY project will show you how to build a storage loft in your metal building.
The first step is to build the frame for your loft floor. You can use 2x4s or 2x6s for this project, depending on how large of a loft you want. The wood will serve as both the floor joists and the support beams for your platform. The size and spacing of the boards depends on what kind of surface you want (ex: plywood, OSB or concrete block). For example, if you are going to use plywood as your surface material, then you’ll want to space them about 16″ apart. If you plan on using concrete blocks as your surface material, then use 24″ spacing between each board.
Next, install the floor joists between two support beams on top of your existing garage wall or overhead door frame (see diagram). If using plywood or OSB as your floor surface material, attach it directly to these joists with screws every 12″ along each joist. However, if using concrete blocks as your surface material, then drill holes into each block before installing them onto the joists (see diagram).
Once
How to Build a Garage Storage Shelf
If you have a metal building, you know that it is a great place to store your items. The problem is that you may not have enough space for everything. If this is the case, then you need to build some shelves in your metal building. This will help you get rid of all of the clutter and make it easier for you to find things when you need them. The following guide will teach you everything that you need to know about how to build a garage storage shelf.
Step 1: Measure Your Space
The first thing that you need to do is measure the space where your shelf will go. You should measure from side to side and from front to back so that you know how much room there is for your new shelf. You also want to make sure that the shelf will fit properly in this area because if it does not fit correctly, then it will not work properly for storing things on it.
This is the second post in my series on how to build a loft bed. In this post, we are going to build the base for our storage loft. This is a very simple project that will only take about 30 minutes to complete.
If you missed the first post on how to build a loft bed, go ahead and check it out here: How To Build A Loft Bed – Part 1
Now that we have built the frame and installed the slats, it’s time to add some storage space underneath. We can use any old shelf but I wanted something that would match my woodworking shop furniture so I decided to make my own.
I started by cutting all of my pieces of plywood for the base shelf and cross supports for underneath each shelf. I chose 3/4″ thick plywood because it’s lighter weight than regular 1/2″ plywood but just as strong (if not stronger). Plus it has a nice smooth finish and looks more professional than particle board or OSB which tend to be rough on one side due to being pressed together in layers rather than laminated like plywood is made from several layers glued together with exterior glue like Gorilla Glue for example (which makes
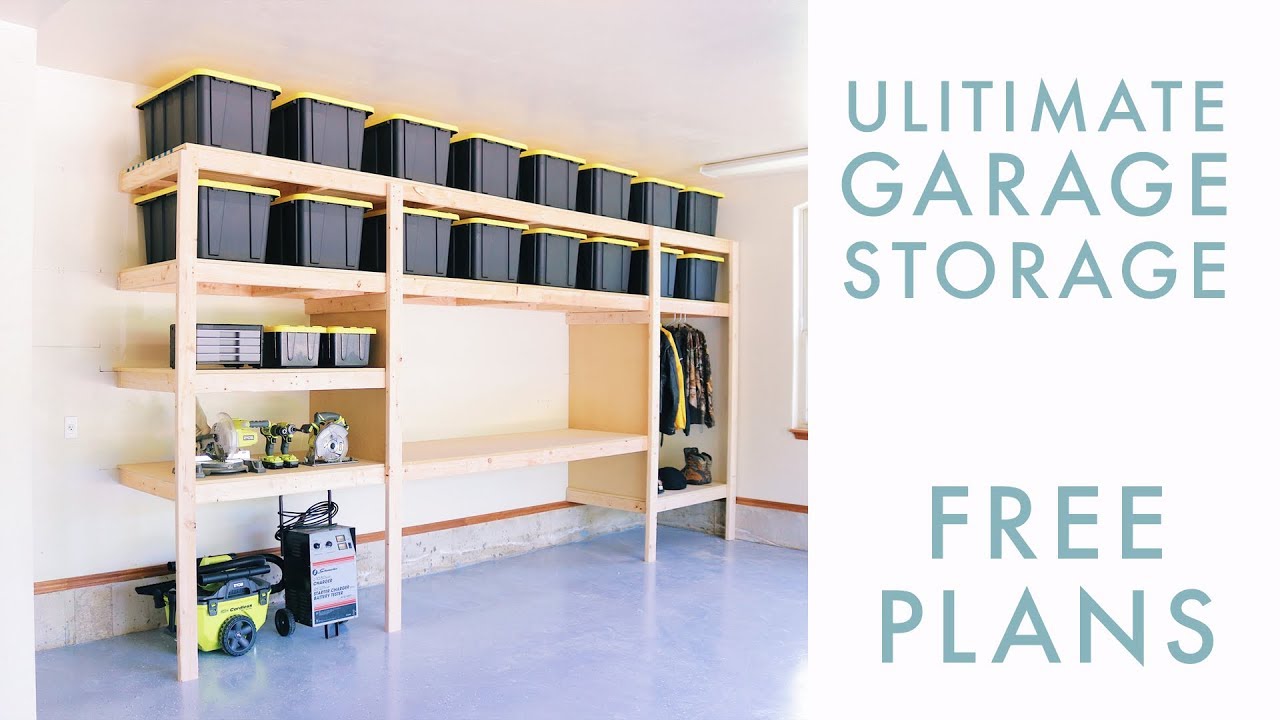
Garage storage shelves are a great way to add extra space and organization to your garage. They’re simple to build and can be customized to fit any space.
Here’s how to build your own:
Measure the length, width and height of the area you want to fill with storage shelves. Use these measurements to decide how many shelf units you’ll need. For example, if you have an 8-foot by 4-foot section of wall that needs filling, you’ll need at least four 2-foot by 4-foot units that can be stacked on top of each other.
Purchase the lumber for your storage shelves based on your measurements from step 1 above. For each shelf unit, use two 2x4s for the sides and two 2x6s for the back boards (or whatever length is appropriate). For example, if you want each shelf unit to be 24 inches long, then buy two 8-foot long 2x4s and two 12-foot long 2x6s for each unit. You’ll also need wood glue and wood screws or nails to assemble the pieces together once they’re cut down into smaller pieces (see below).
Garage storage shelves are a great way to store heavy tools, equipment, and other gear. They’re also a good solution for storing smaller items that don’t fit well in standard garage cabinets. There are many different ways to build a shelf for your garage. You can have custom shelves built to your specifications, or you can make them yourself.
If you’d like to build your own garage storage shelf, there are several options available to you.
Metal Garage Shelving Systems
One of the easiest ways to build a garage storage shelf is with an existing metal shelving system. These systems usually consist of metal brackets that are screwed into place at various points on your walls. These brackets support wire racks that can be used for storing many different kinds of items in your garage.
You can buy these systems pre-made at hardware stores or building supply outlets, or you can get them online from companies like Amazon or eBay. Most of these systems come with installation instructions, but they’re easy enough to install by yourself if you follow the directions carefully and take your time doing it correctly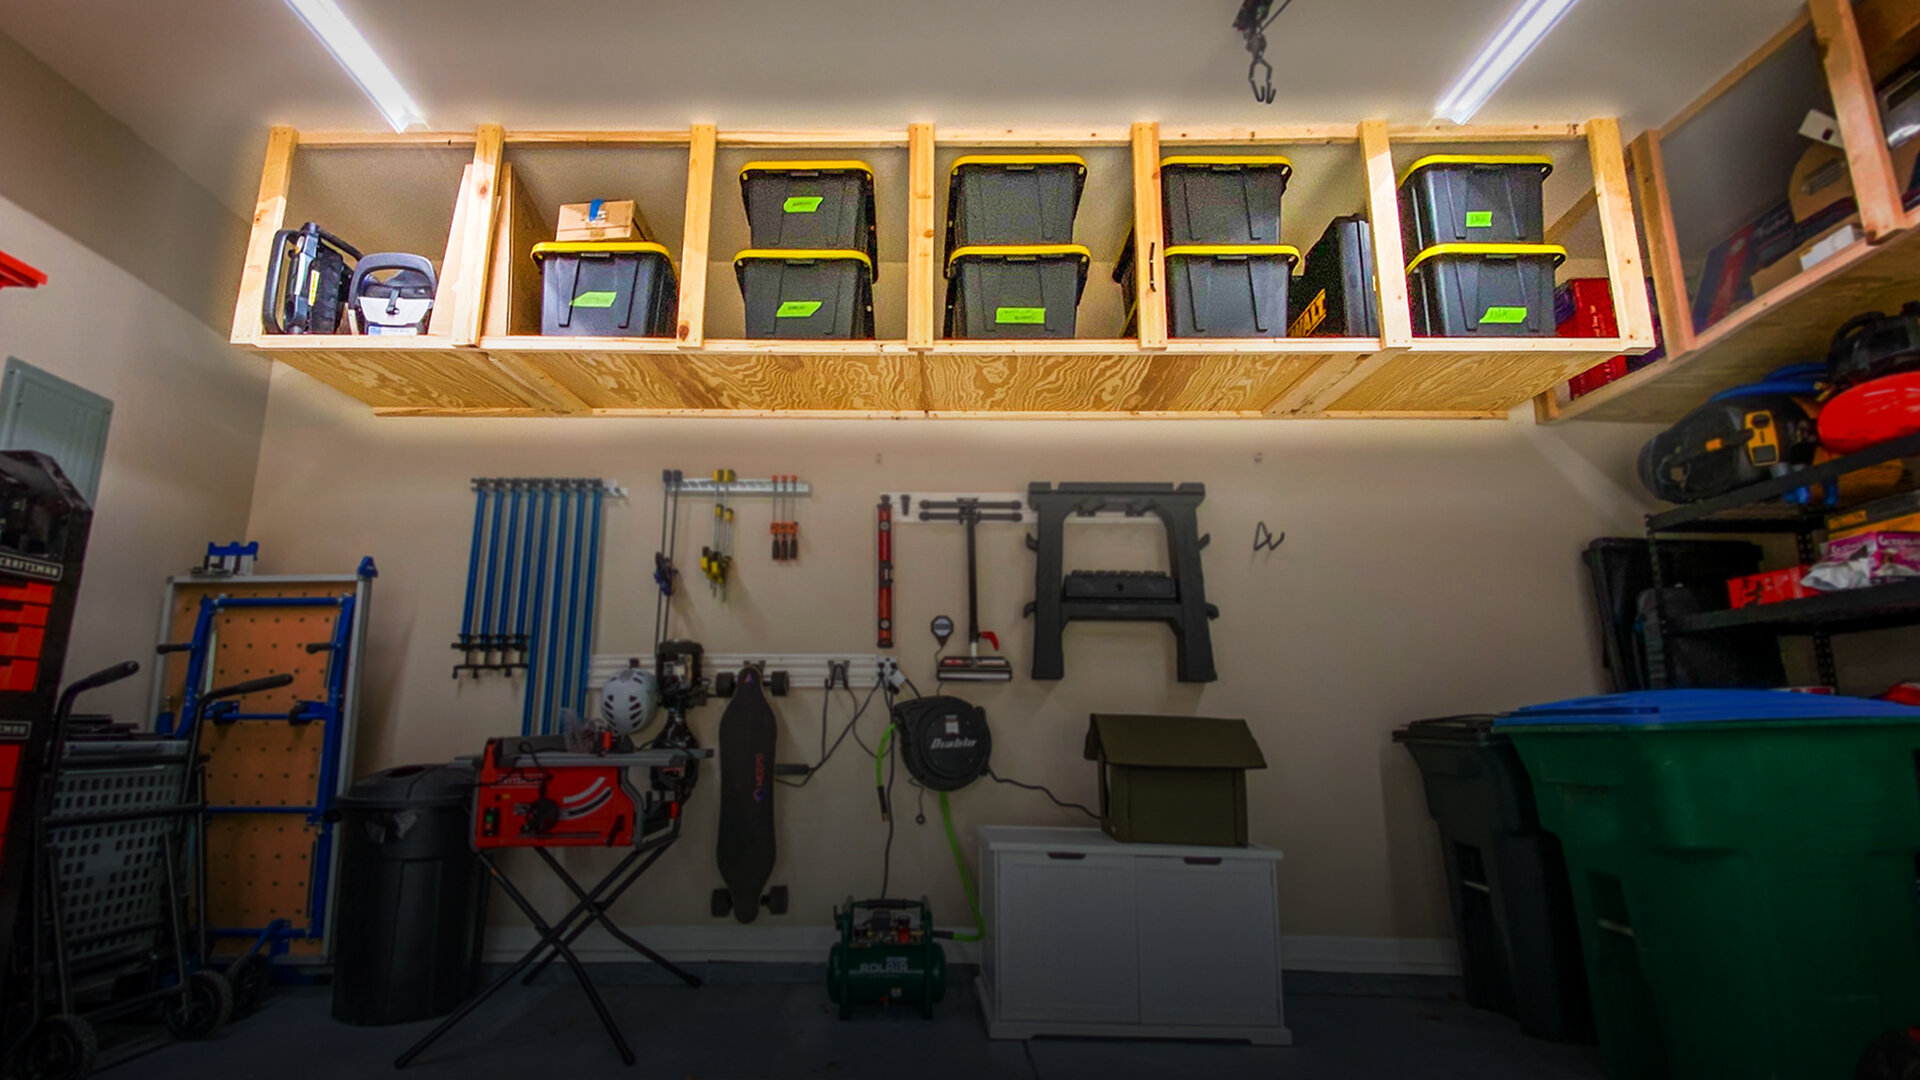
How to Build a Storage Loft in a Metal Building
For most people, the need for storage space is a constant. As our lives become more complicated, we need to store more and more items. One way to add storage space is to build a loft floor over your existing living area. This project can be done with little or no carpentry experience, but it does require careful planning and execution. Here’s how it’s done:
Step 1: Measure the Space
Measure the height of the ceiling you want to build over. The finished height should be at least 8 feet tall so that the loft floor will be high enough for an adult to walk around on comfortably.
Step 2: Lay Out Your Plans
The easiest way to create an accurate layout of your loft floor is by using graph paper or tracing paper backed by a large piece of plywood or cardboard (a sheet from a packing box works well). Use a straight edge and pencil to draw out each piece of plywood needed for construction, along with any other materials such as lumber for framing or insulation panels for insulation. Include any possible obstructions such as beams or posts that will have to be moved out of the way before construction begins.
Step 3: Cut & Assemble Your Materials
How to Build a Loft Floor in a Metal Building
Do you want to add an extra room or loft to your metal building? If so, you’re not alone. Many people are putting up these types of buildings for their home and business needs. Whether it’s for extra living space or storage, having an extra room in your metal building can be a great addition. You can easily build a loft floor in your metal building by following some simple steps.
What You Need
Before you start building your loft floor, there are two things that you need to make sure of:
The first thing that you need is the right type of wood. You will need something strong enough to hold up the weight of whatever you put on top of it without bending or breaking. There are different types of wood available at most local hardware stores including cedar and redwood which are both great choices if they are available in your area. Cedar is less expensive than redwood, but both types are strong enough to support whatever you put on top of them without bending or breaking under pressure.
The second thing that you need is the right tools for cutting and measuring materials properly so that everything goes together smoothly when it comes time for assembly. You will also need some basic hand
A loft floor is a great way to add extra storage space to your metal building. The process of building one is not difficult, but it does require some specialized tools and equipment. The first step in building a loft floor is to determine how much space you want to create. The metal buildings come in many sizes, so you should choose the right one for your needs.
Once you have determined the size of your loft, you can begin planning the layout. You will need to decide whether you want it to be open or closed off from the rest of the building, as well as where doors and windows will be placed. You will also need to know how much headroom you need in order to avoid injury when entering and exiting through the doorways.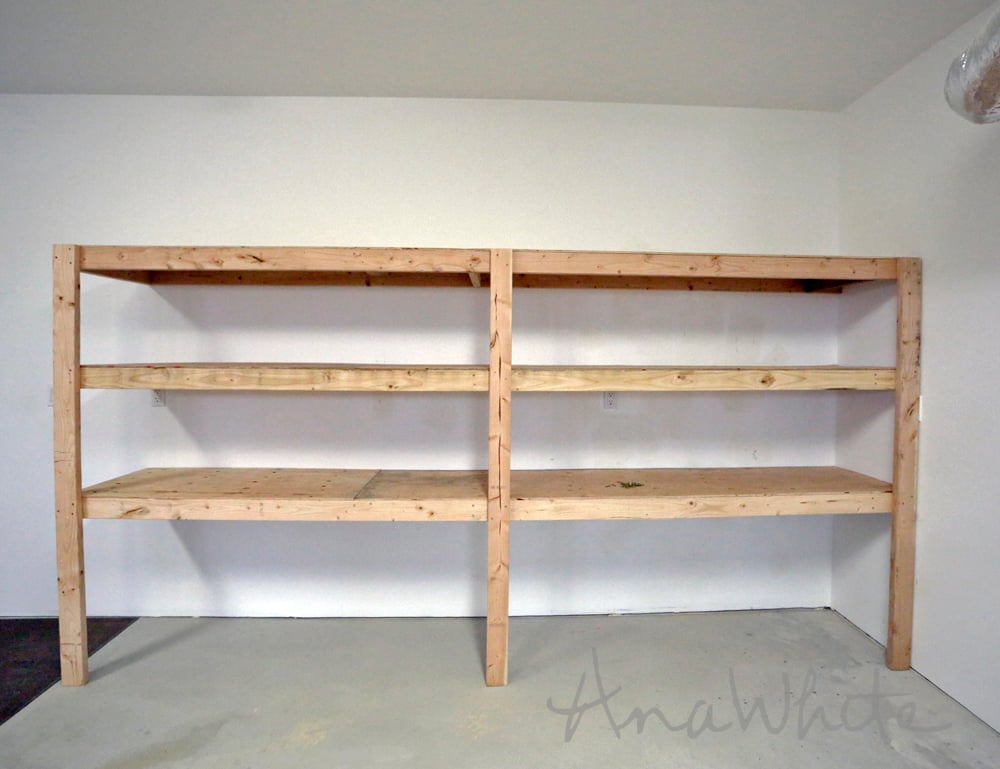
You will then want to purchase lumber for framing out the walls that will surround your new loft area. You should use pressure-treated lumber if possible because this type of wood resists rot better than other types of wood do; however, it can be expensive if purchased at retail prices. If money is an issue, consider using recycled materials such as old barns or unused fence posts instead of purchasing new lumber altogether.
Once you have all of your supplies ready, it’s time for construction! Begin by laying out your floor
A loft floor is a great way to add extra space to your metal building. It can be used for storage, work space, or even as an apartment.
The first step in building a loft floor is to build the frame. The frame will be made of 2 x 4s and 2 x 6s. The size of your building will determine how many joists you will need and how long they should be. If you are using plywood for the subfloor then you will need 3/4 inch thick plywood. Once you have cut all of your lumber to size use a nail gun to secure them together. Make sure that each piece is flush with each other so that they are level with each other before moving on to the next step.
The next step is installing your subflooring on top of the joist system that was previously installed. Each joist should have at least one 4 inch joist hanger nailed into it before you start installing plywood on top of it so that you can secure it to the ground without worrying about it falling off over time due to bad weather conditions or other factors outside of our control such as hurricanes and tornadoes etc… Once again make sure that everything is flush with each other so
Building a loft floor is an easy way to add storage space in your metal building.
A loft floor is essentially a second floor that sits on top of the first floor of your metal building. It can be used to create additional living space or provide extra storage within the same structure.
The materials needed for a loft floor include:
Metal framing (the size will depend on the size of your loft)
Rafters (for framing)
Joists (for joist hangers)