Installing fence panels between fence posts is a big part of fencing. Installing wood fence panels with aluminum T-posts is easy, as long as you follow these instructions from the beginning to the end.
This tutorial will focus on installing new fence panels between existing posts. It is not intended to teach you how to dig a post hole, or how to dig and set new apposts.
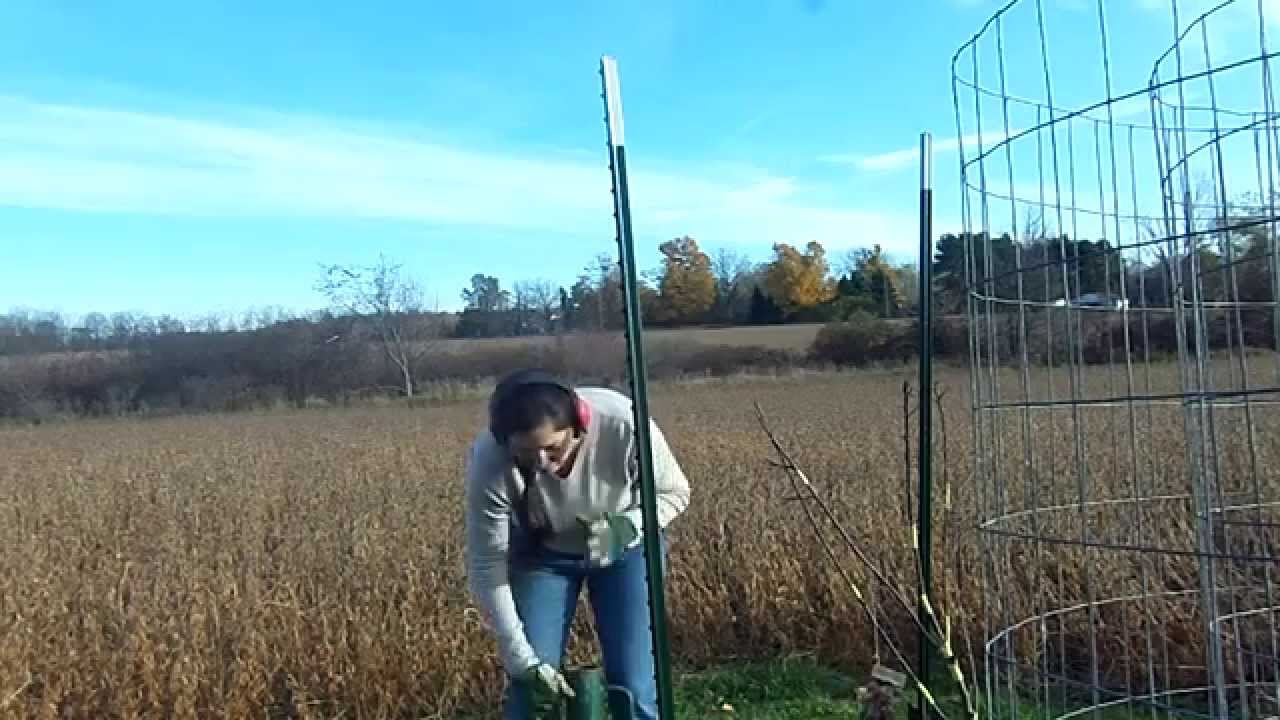
How to build a fence with t posts
Building a wood fence is a great way to establish boundaries and define property lines. Fences can be built from many different materials, including wood, vinyl and metal. The type of fence you choose depends on the look you’re going for and the amount of maintenance it requires. While some people choose to install their own fences, others hire professionals to do the work for them. If you’re interested in learning how to build a wood fence, here are some tips.
Before installing any fencing material, make sure you have the necessary tools and supplies on hand. You’ll need:
Wooden posts at least 36 inches long (if not longer)
Earthenware (or plastic) stakes or stringers cut into 36-inch lengths with a miter saw (you’ll use these as spacers between posts)
Fence boards at least 1 1/2 inches thick by 4 inches wide (the best option is solid wood but picket boards are fine too)
Installing a wood fence is a project that can be completed by almost anyone. Before you start, measure the length of the fence and decide how much material you will need. If you are installing a picket fence, use a tape measure to mark out where each picket will go.
If you are installing a privacy fence, use stakes or chalk lines to mark where each post should be installed.
Installing Fence Panels Between Posts
After marking out the location for each post, dig the holes for them using a shovel or post hole digger. The depth of your hole depends on the size of your post. For example, if you are using 4×4 posts (1 1/2-inch thick), then your hole should be at least 4 inches deep (or 9 inches in total). Make sure that both sides of your hole are level with one another as well as flat with the ground surface around it. After digging your hole, place your post into it and fill around it with soil until it is flush with the ground surface around it. You may want to use a piece of wood or other object to keep dirt from falling back into your newly dug hole during this process
The first step in building a fence is laying the posts into the ground. The next step is installing the fence paneling between the posts, which can be done using two methods:
Each has its own advantages and disadvantages. The first method is called post-and-rail fencing. This involves attaching wooden rails to the tops of each post, then placing a wooden panel or picket on top of each rail. You can then fill in the gaps with smaller wood pieces or metal staples.
The second method is called picket fencing, where you simply nail small pieces of wood together into a row and then nail them onto a single post. If you want more privacy than this gives you, you can use similar techniques to attach another layer to this structure so that it forms an A-frame shape.
1. Attach the first panel to the post with two 5-in. screws.
2. Attach a second panel to the post by driving two nails into each of the two 2x4s that make up the top rail. Make sure to drive them every 12 in., following the manufacturer’s instructions for spacing.
3. Repeat steps 1 and 2 for each panel along your fence line, attaching each panel end to end using 3-in.-long lag screws or carriage bolts (depending on your fence material).
1. Use a posthole digger to dig holes for the posts.
2. Place the post in the hole and use a level to make sure it’s straight.
3. Fill around the post with soil, then tamp it down with a sledgehammer or mallet.
4. Drive in at least two nails through each horizontal board into each post on both sides of the panel, but leave 1/2-inch of space between nails and boards so you can still loosen them if necessary (drive one nail into each side of every other board).
5. Adjust any loose boards by hammering in nails on opposite sides as needed until all are snug against the posts (you may need more than two nails per board).
Installing wood fence panels is a straightforward process, but it does take time and effort. Here’s how to do it:
Prepare the posts. Dig a hole that’s at least twice as wide as the post is tall (for example, if you’re placing a 4-foot-tall post in the ground, dig a hole that’s 8 feet wide). Make sure there are no rocks or roots in the way; if there are, clear them out with a pickaxe or shovel before you start digging.
Place your first post in the hole and fill it with concrete. When setting up your fence line (either before installing any posts or after you’ve installed most of them), make sure that the posts are spaced far enough apart for your panels (at least 4 inches) and that they’re all level with each other — otherwise, you’ll have to dig out extra dirt from under some of them after they’re set in place.
Attach one end of your panel to an existing post by drilling pilot holes through both pieces and driving lag screws into them from below (that is, from inside the post). You’ll have to drill through both pieces of wood at once — if you try drilling one side first
Installing fence panels between posts, such as a fence panel kit, is generally the easiest type of wood fence installation. Most fence panels are made to be installed directly between posts and don’t require any additional framing or support. As long as you follow the manufacturer’s instructions and use quality materials, this type of installation should last for many years without any problems.
To install wood fence panels between posts:
1. Lay the post-to-post distance on each side of your yard using string or marking paint. For example, if you want your fence to be 4 feet tall and have 6 feet between posts, then your total post-to-post distance would be 24 feet (4 x 6). Make sure that there is at least 3 feet overhang from each post so that it overlaps with the next one in line.
Installing fence panels between posts is a relatively simple job, but it does require some tools and equipment. If you’re just installing a few panels, you can probably handle the job yourself. If you’re installing many panels, then it might be better to hire someone to do it for you.
1. Measure the distance between each post in your fence line. This measurement is important so that your wood fence panels will fit between the posts properly.
2. Cut 2x4s at least 1-inch longer than the measurement between each post. These are called spacer boards or spacers and they will be used to hold up your new fence panel as you nail it into place on top of them.
3. Place one 2×4 on top of another so that they form an “L” shape that reaches from one end of a post to the other end of its neighbor (see photo). This will allow you to stand on top of them while nailing in your new fence panel so that it doesn’t slip out from underfoot while you nail it in place onto its spacer boards.
4. Nail one end of your new panel onto one side of each spacer board with two nails near
Installing fence panels between posts
1. Measure and cut the fence boards to length.
2. Install the first board by driving a 2-inch-long, 5/8-inch diameter wood screw at 6 inches on center along the top of the board, using a power screwdriver (see figure 3). Leave about 3/4 inch of the screw exposed above the surface of the board.
3. Attach a second board to the first by driving a second screw in line with and about 1/4 inch from the first one (figure 4). Make sure that each pair of screws is driven into opposite faces of the boards so that they are flush with one another on both sides of your fence panel.
4. Continue installing boards until you have completed one side of your gate or gate section (see figure 5).
Installing wood fence panels is a relatively easy project, but it can be time consuming. Here are the steps to follow:
1. Set up a level line on both sides of the fence post location. If you have a long stretch of fence to install, you may want to use a laser level to make sure it’s straight from one end to the other.
2. Dig holes for your fence posts so they’re at least two inches deeper than the soil in your area. This will allow for good drainage and won’t cause any problems with settling over time.
3. Install your posts using concrete and post caps or top plates that come with your panels or kit purchase. You’ll want to use cement around the entire base of each post so it doesn’t move around or rot over time from moisture getting into its base from ground water or rainwater runoff from nearby hillsides or driveways.
4. Place 2x4s into each hole (if required) before pouring in cement according to manufacturer specifications and then let dry overnight before continuing with construction of your fence panel layout line which should be parallel with the length of your property line if possible since this will ensure that all panels line up evenly when installed between