Building a deck gate can be as easy or difficult as you make it. There are many factors to consider when selecting the best material for your gate and how to build a deck gate with metal spindles As you plan for your new Wood Gate with Swing, keep in mind the following tips before you start building.
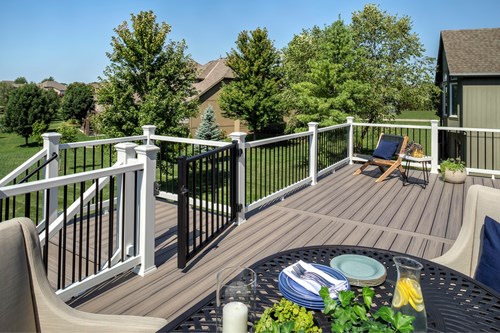
A deck gate can help divide space and provide privacy while it gives you an access to your entire backyard. It’s particularly useful if you don’t want to fence off your entire yard and spend hundreds or thousands of dollars on a wooden fence.
How to build a deck gate
In this DIY video, I show you how to build a sliding deck gate. I use metal spindles to create the gate and set it up so that it can be opened with one hand.
If you like this video and want to learn more about how I built it, check out my blog post here: http://www.plans4woodworking.com/build-a-sliding-deck-gate/
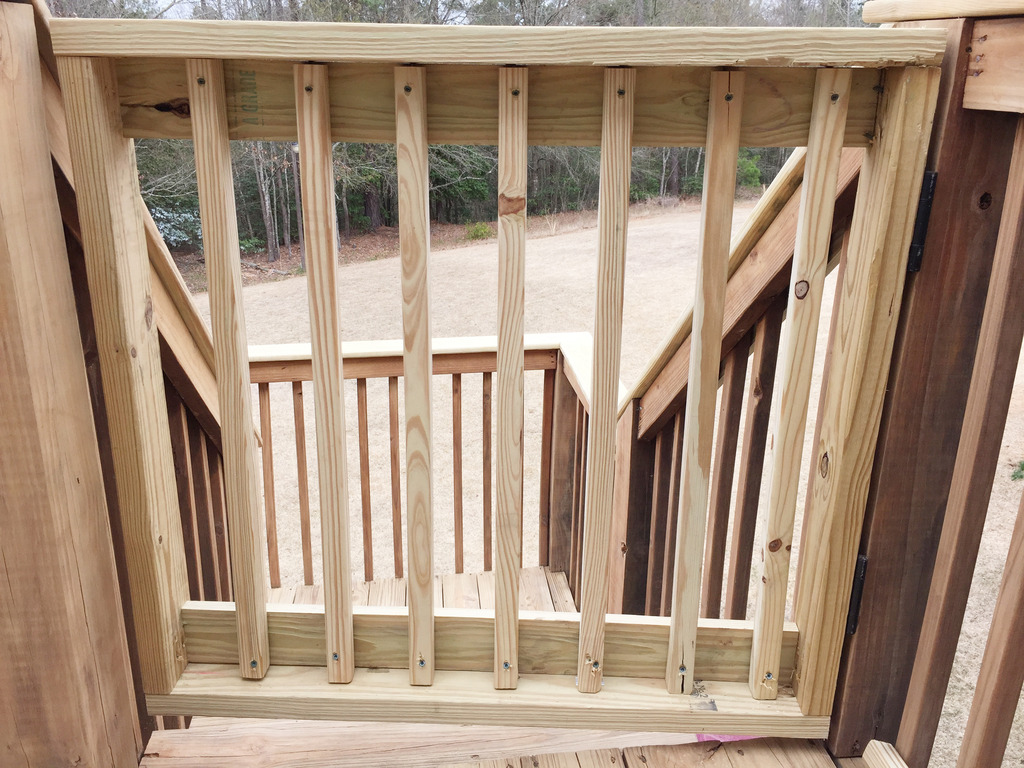
Building a deck gate can be a simple project, especially if you use metal spindles, which are essentially posts that support the top of your deck gate. The first step is to determine where to place your gate. Measure the distance between two posts and mark this spot on one of the posts. Use an angle calculator to determine the correct angle for your metal spindle.
The next step is to drill holes into both posts at a 45-degree angle. You’ll need to drill at least four holes per post, but more will provide better support. Drive in some wooden stakes at each end of the hole so that they extend above and below ground level.
Once your stakes are in place, you can install your metal spindle by driving it through one post and into the other stake. Make sure it’s straight before driving it all the way through.
Once you’ve installed both metal spindles, you can build your deck gate by attaching them together with wood screws or bolts and nuts through predrilled holes in each post.
How to Build a Deck Gate. Building a wooden deck gate is an excellent way to add value and beauty to your home. A deck gate can be built in any size or shape and can be used in many different applications. Many people like to use a deck gate as a way of keeping their children safe while they are outside playing or relaxing on their deck.
A sliding deck gate is probably the most common type of gate that you will see. This type of gate is designed to slide on metal tracks that have been attached to your deck railing posts. If you do not want to install metal tracks, then you can use tension springs instead. These springs are installed around each post and allow the gates to be opened easily when needed but hold them closed when not in use.
Another type of sliding gate that is often used is one that has hinges on both sides of the opening. You can purchase these types of gates at any home improvement store or online retailer such as Amazon or Ebay for less than $100 if you buy them new from the manufacturer or from someone else who has already purchased them at full price from an online store like Amazon or Ebay.
If you want to build your own sliding deck gate, then there are several things that you need
If you want to build a sliding deck gate, you will need to make sure that it’s sturdy, durable and safe. Here are some tips on how to build a sliding deck gate:
1. Measure the opening where you want to put your sliding deck gate. You’ll be using this measurement when calculating how long your rails will be.
2. Purchase 1-by-2 boards at least 2 inches longer than the width of your opening (the width of your door plus 1 inch). This will allow for proper spacing between the rails and siding. If you are using pressure-treated lumber (and you should), buy enough so that there is at least 2 inches of overlap when attaching boards to each other.
3. Attach 3/4-inch plywood or particle board to the bottom of each rail with glue and finish nails; then screw them together by drilling pilot holes through both sides and driving screws through them from one side into the other end of the rail (for extra strength). If you have access to a drill press, use it instead of a hand drill so that all screws are perfectly straight and perpendicular to the wood grain (this makes for stronger joints).
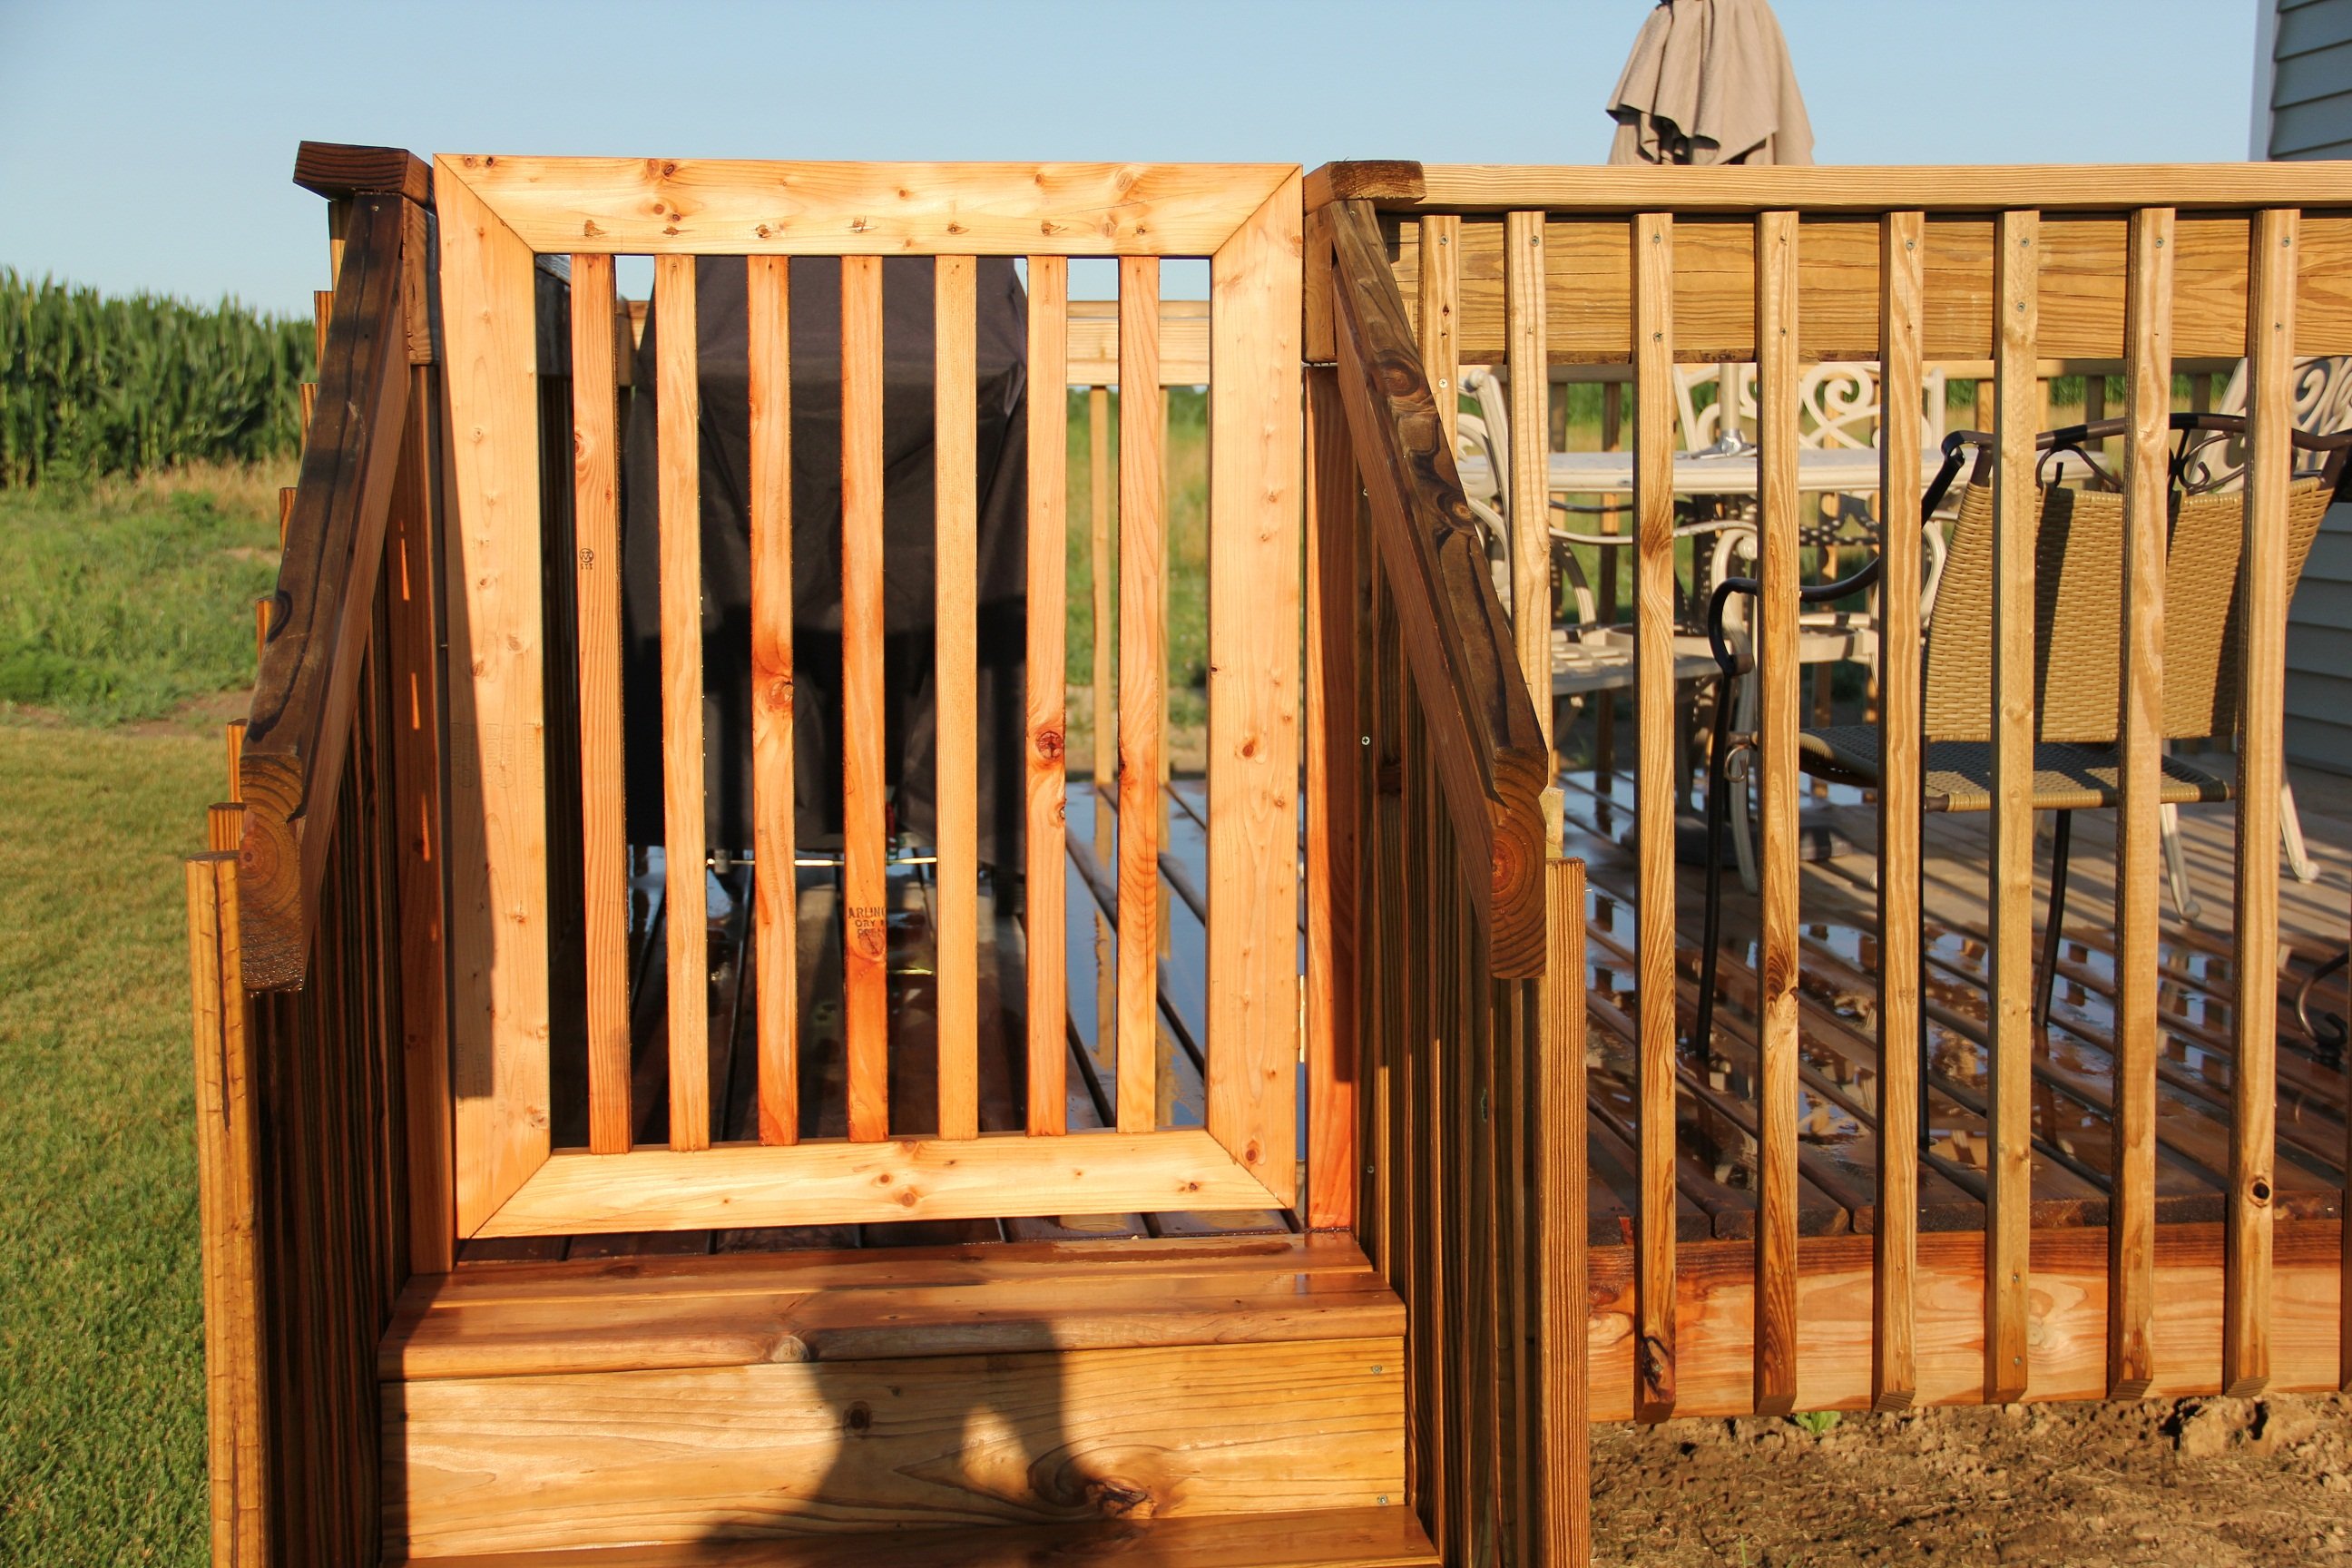
A deck gate can be used to enclose a deck, create a play area or crate an area off from the rest of your yard. It’s also a great way to add privacy to your home. You’ll need a few basic tools and materials to build this project.
Materials:
4×4 pressure treated lumber (8) for posts*
2×4 pressure treated lumber (8) for rails*
Deck railing hardware*
Screws or nails*
Wood stain or paint (optional)*
Tools:
Circular saw or table saw with miter gauge*
Drill/driver and bits*
In this article we are going to teach you how to build a sliding deck gate. This is a project that is simple and easy to do, so even if you are a beginner in carpentry, you will be able to build one of these gates.
We are going to show you how to build a sliding deck gate with metal spindles, but the same principle applies if you want to use wood instead of metal.
First of all, let’s talk about what kind of materials you need for this project. We recommend using 2×6 lumber for the frame and 2×4 lumber for the panels. You will also need some metal spindles and end caps for the top and bottom rails.
The first step is to cut the boards into pieces that will fit together perfectly (without any gaps or overlaps). You can use a circular saw or miter saw for this job, depending on how accurate you want your cuts to be.
Once all of your wood has been cut into pieces, it’s time to start assembling them together! We recommend using nails or screws since they hold better than screws alone (especially when using treated lumber).
After you have assembled everything together and attached it securely with nails/screws, it’s time
If you want to build a sliding deck gate, the first thing you need is a metal spindle. A spindle is a long, thin piece of metal that has a groove down its center. The two sides of the groove are called flanges
.
A sliding deck gate uses one or more metal spindles. Each spindle has two holes in it, one on each end. You use screws to attach the spindles to your deck railings and posts.
The next step is to cut your PVC pipe into pieces that fit inside of each spindle groove. The PVC pipe should be about 2 inches longer than your desired length for the gate. This extra length allows for space between each individual piece of pipe so that they can slide smoothly without rubbing against each other when opening or closing the gate.
Place some wood glue along one side of the groove on each PVC pipe piece and place it into its corresponding groove in one of your metal spindles (it doesn’t matter which side). Use a hammer to tap on each end of the pipe until it’s firmly in place inside of its groove (this will also help ensure there are no gaps between each individual piece).
Repeat this process with all remaining pipes until they’re all
How to Build a Sliding Deck Gate
Step 1: Marking the Location of the Fence Posts
The first step in building a sliding deck gate is to mark the location of your fence posts. Use a tape measure and a level to determine the exact length of each post, and then mark it using a chalk line or chalk paint. If you don’t have access to either of these tools, use your hand as a level. Hold your hand up against one end of the post and then measure from that point down to the ground. Make sure there’s enough room on each side of your marked post so that it won’t get stuck on anything when you slide open or closed.
Step 2: Digging Holes for the Posts
To dig holes for your fence posts, use an auger bit attached to a drill or impact driver (drill). You may be able to rent this tool from your local hardware store or home center if you’re not familiar with using it yourself yet. It’s important that you do not use a shovel for this step because it will leave loose dirt behind that might cause problems later on during construction when trying to insert bolts into concrete blocks or other materials used for building fences. After digging through the topsoil
The most important thing to remember is that the deck gate must be able to withstand the weight of the door. If you’re building a wooden deck, it’s often best to use pressure-treated lumber for this project. If you’re using metal spindles or posts, make sure that they are strong enough to hold up your deck gate.
Once you have your plans drawn up and ready for building, you’ll need to break out some power tools. A circular saw will help with cutting through any lumber needed for the project. You may also want to invest in a jig saw or miter saw if you don’t already own one. These tools will allow you to cut angles and make more intricate cuts than would otherwise be possible with just a circular saw alone.
For this project we will assume that you have an existing deck railing with posts that are spaced every 16″ on center (OC). If these measurements do not work for your application then adjust accordingly as needed:
The first step is to cut all of your spindles out of pressure treated wood at 6″ OC then sand them down smooth so they slide easily when pushed by hand (no grease required).
Step 1: Cut the rails and stiles to length. Mark the cut line on both ends of each piece. Use a circular saw or jigsaw to make the cuts.
Step 2: Sand all of the edges and faces of each rail and stile with 150-grit sandpaper. Clean off any sawdust and debris from your work area.
Step 3: Apply wood glue to one end of each rail and stile, then clamp them together in pairs (see photo). Secure them with two 2-in. screws at each joint, driven into pilot holes drilled through both pieces. Let dry overnight.
Step 4: Attach the stile on one end of the gate to the post using two 3/4-in.-dia. lag screws with washers through countersunk pilot holes drilled in both pieces (photo). Then attach the other stile using two more lag screws, driven through pilot holes drilled in both pieces from inside the post (photo). The resulting joints should be flush at their top edges; if not, adjust by moving one or more lag screw into position until everything lines up correctly (photo).