You’ve seen so many different types of decks, you’re tired of thinking about it. It’s time to finally learn how to build a deck. A deck is a great place to relax. It gives you more space to entertain friends and family; you get the feeling that your yard has been enlarged. If you need some extra space for entertainment, consider installing a deck. There are many ways to construct decks; however, most can be broken down into two categories: freestanding decks and those attached to the house. These two types have their own pros and cons, which is why knowing how to build a deck for dummies is beneficial before making a decision on your construction plans.
How to Build a Raised Deck All of us are familiar with the typical deck, which is attached to the side of your house. But why should you always build the deck in this way? There are endless possibilities available to those who want to build a deck, but don’t have much space or large amounts of money. If you want to create a new deck but are on a budget, or don’t have a lot of extra time and energy, it is time to try out raising your deck off the ground.

How to build a deck for dummies
There are a number of different ways to build a deck, but the most common is a simple one-level deck. This type of deck is also known as a free-standing deck because it doesn’t attach to the house. It’s usually built on the ground, but can be raised above ground level with piers or posts.
A one-level deck is easy to build and can be customized to suit your needs. You can add railings, lighting and stairs later if you want them.
In this article, we’ll take you through all the steps involved in building your own basic one-level deck.
We’ll start by showing you how to design your deck and choose the right materials for your project. Then we’ll walk you through how to build each part of your deck — from footing piers to posts and beams — using standard carpentry techniques.
How to Build a Deck: The Complete Guide
Building a deck is a great way to expand your outdoor living space and bring friends and family together. While it is possible to hire someone to build your deck, you can save money by doing the work yourself. You’ll need some basic carpentry skills, but the process isn’t complicated if you follow the steps in this guide.
What Is a Deck?
A deck is an elevated platform built on top of one or more posts or beams that support the structure. A framed and enclosed porch or patio with a roof can also be considered a type of deck, but most people think of decks as open structures without walls or roofs. Decks are typically built with wood and are used for outdoor recreation and entertainment areas like dining areas and lounges. They are also useful for improving safety around swimming pools by giving homeowners another place to sit when they aren’t swimming.
How to Build a Deck
Building a deck is a great way to increase the enjoyment and value of your home. It’s also a great project for those who may have never done any carpentry work before. There are many different types of decks, including freestanding decks and attached decks.
A freestanding deck is one that stands alone from the house, whereas an attached deck is connected to the house by structure. For example, if you have a home with an attached garage, then you can build a deck over the garage so that it extends out from the house itself.
A freestanding deck has its own foundation or footing, while an attached deck can be built on top of your existing foundation or footing. You’ll need to make sure that your foundation or footing is strong enough to support both your new deck and any additional weight it will carry (such as people).
Most homeowners want their new deck to be attractive and functional at the same time. This means choosing materials that are durable as well as easy to maintain. For example, pressure treated wood is resistant to rot and other damage caused by moisture; however, this type of wood can splinter when cut with power tools so use caution when working with it

Building a deck is a fun and rewarding project. As with any home improvement project, it’s important to plan ahead and make sure you have the right tools for the job.
The first step in building a deck is choosing the right materials for your budget. Wood is the most popular material for decks, but you may also want to consider composite materials such as vinyl or plastic. Other options include cedar, redwood and pressure-treated wood.
When shopping for lumber, look for straight pieces that are free of knots and cracks. You’ll also need screws, nails and fasteners; metal connectors to hold the boards together; wood stain; sealer; screws or nails for attaching railings; sandpaper; paintbrush; bucket or tarpaulin to protect your work area from spills; measuring tape; hammer (or rubber mallet) and circular saw with carbide teeth if cutting lumber yourself isn
If you want to build a deck, you probably have a lot of questions. How do you choose the right lumber? What about the tools and materials? And how much will it cost?
Here’s a simple guide to help you get started.
Here are the basics:
Decks can be built with treated or untreated lumber, but they need to be maintained regularly. Treated lumber is usually more expensive than untreated, but it can last longer in harsh environments such as coastal areas and near bodies of water. If you live in an area where termites are common, pressure-treated lumber is recommended because it contains chemicals that prevent infestations. Other types of treated lumber may include preservatives that prevent rot or mildew or special finishes that offer UV protection against sun damage
If you’re building a deck on top of concrete blocks or pavers, you may want to consider using pressure-treated wood for your joists (the support beams for your deck), posts (vertical supports) and any other framing materials. Pressure-treated wood is treated with chemicals that prevent fungal decay from occurring in the wood. Pressure treating also causes the wood to darken significantly over time
How to Build a Deck on the Ground
Build a deck on the ground to make it easier to access. This type of deck is easy to build and requires no special tools. You can use cinder blocks or concrete footings for support, but it is not necessary if you are building the deck over grass. Use pressure-treated lumber or composite materials for the framing material and stain or paint it to match your house.
How to Build a Raised Deck Attached to House
A raised deck attached to your house can be constructed using pressure-treated wood or composite materials. The main advantage of this type of deck is that you do not need as much headroom underneath it as compared with an elevated deck, which allows you to easily access your yard from inside your home.
Building a raised deck on the ground, or even on a concrete pad, is fairly easy. Building a raised deck attached to your house, however, can be more challenging. The structural engineering involved in supporting the weight of the deck and its occupants is more complex than simply building the deck on top of the ground.
Before you begin planning your new deck and discovering how much it will cost to build one attached to your house, it’s important to understand that there are two basic types of attachments:
Independent Attachment: This involves building an independent structure that sits on top of or next to your house. The independent structure supports itself and does not rely on the house for any part of its support system.
Attached Attachment: This involves attaching parts of your house — such as siding or structural beams — directly to support parts of your deck. When done carefully and properly, this type of attachment can be very strong and safe. However, if done incorrectly or without proper design expertise, this type of attachment can weaken both your house and its foundations.
Building a deck on the ground is an easy way to get started with a DIY project. A raised deck is a more advanced and challenging project, but it has many benefits: it’s more durable, better insulated, and easier to maintain. If you’re ready to build your own raised deck, here’s how to do it yourself.
1. Measure your space. Before you can begin building your deck, you need to measure out the area where you want to put it. Make sure that there is enough room for all of your furniture, including chairs and tables (if applicable). If there isn’t enough room for what you need, consider moving some things around or adding more space with another structure on the property (like an addition).
2. Check local codes and regulations. Before you buy any materials or start building anything, make sure that your local codes allow decks in this location (typically they do). Also check with your homeowner’s association or landlord if they have any restrictions on what types of structures can be built in certain areas of the property or if there are restrictions on size and height of structures like decks (this
Building a deck on the ground is a great way to get started, but it’s not the only way. If you have a sloping yard or a lot of steps and you want to build a deck that’s attached to your house, here’s how to do it.
1. Get Started
The first step is to survey your property. Make sure that you have enough room for your deck and that there are no trees or other obstacles in the way.
2. Measure Your Space
Once you’ve decided where you want your deck to be built, measure the area and make sure it will fit in with all of your measurements and plans.
3. Lay Out Your Footings
You can buy pre-cut footings from most building supply stores or lumber yards, or if you’re handy with tools, make them yourself out of concrete blocks or bricks (make sure they’re level). Set them into place according to your plans and then pour concrete into each one until it’s full (this may take several days). Let them dry overnight before continuing onto the next step.
4. Install Framing Members
Once all of your footings are installed, use 2x4s or other framing members (see diagram) to create
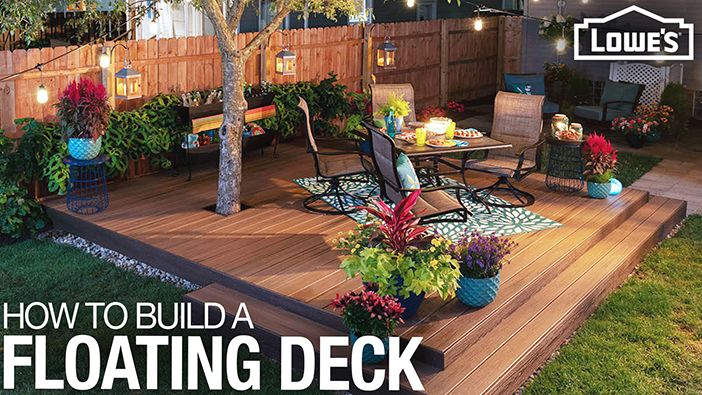
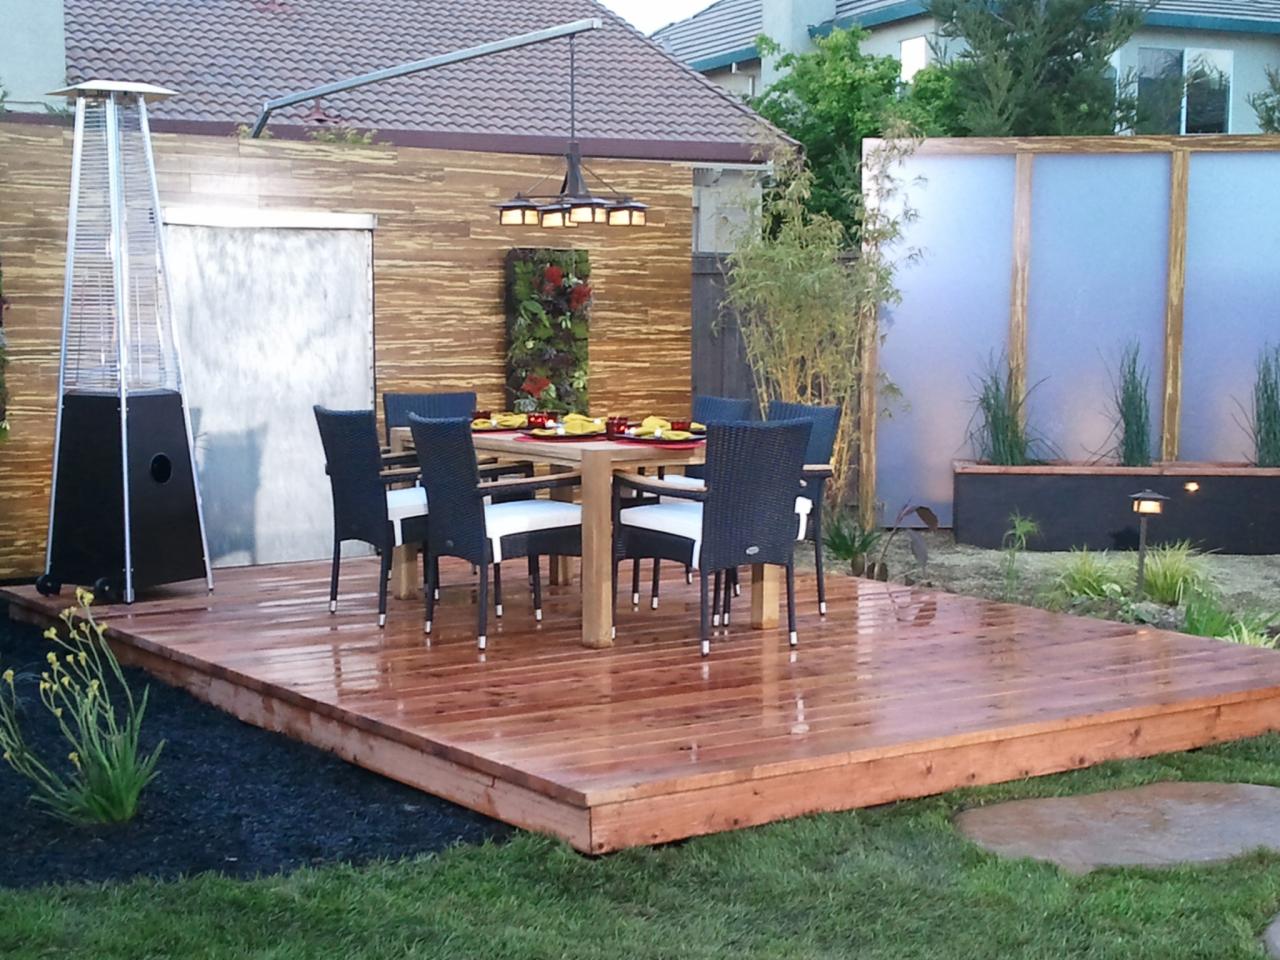
Raised decks are an attractive and easy way to extend a home’s living space. This structure, which is built on top of a concrete slab, is also known as a floating deck and can be built in a weekend.
How to Build a Raised Deck
Step 1: Measure the area where you want to build your deck. Make sure it is level, with no dips or bumps that may cause uneven support for your deck. If necessary, dig up any grassy areas and replace them with gravel or crushed rock to make them level.
Step 2: Lay out your deck plans following local building codes and using pressure-treated lumber. The deck should be 3 inches higher than surrounding ground level so water will drain away from it easily. The deck plan should include two sets of stairs leading from ground level to the elevated patio surface — one set at each end of the patio area.
Step 3: Build the frame for your floating deck by attaching pressure-treated lumber boards together with 3-inch galvanized nails or screws driven in every 6 inches along each side of each board; use galvanized screws if you have treated wood that has been stained dark brown or green color. Use composite wood materials for any other parts of the frame such as stair stringers.