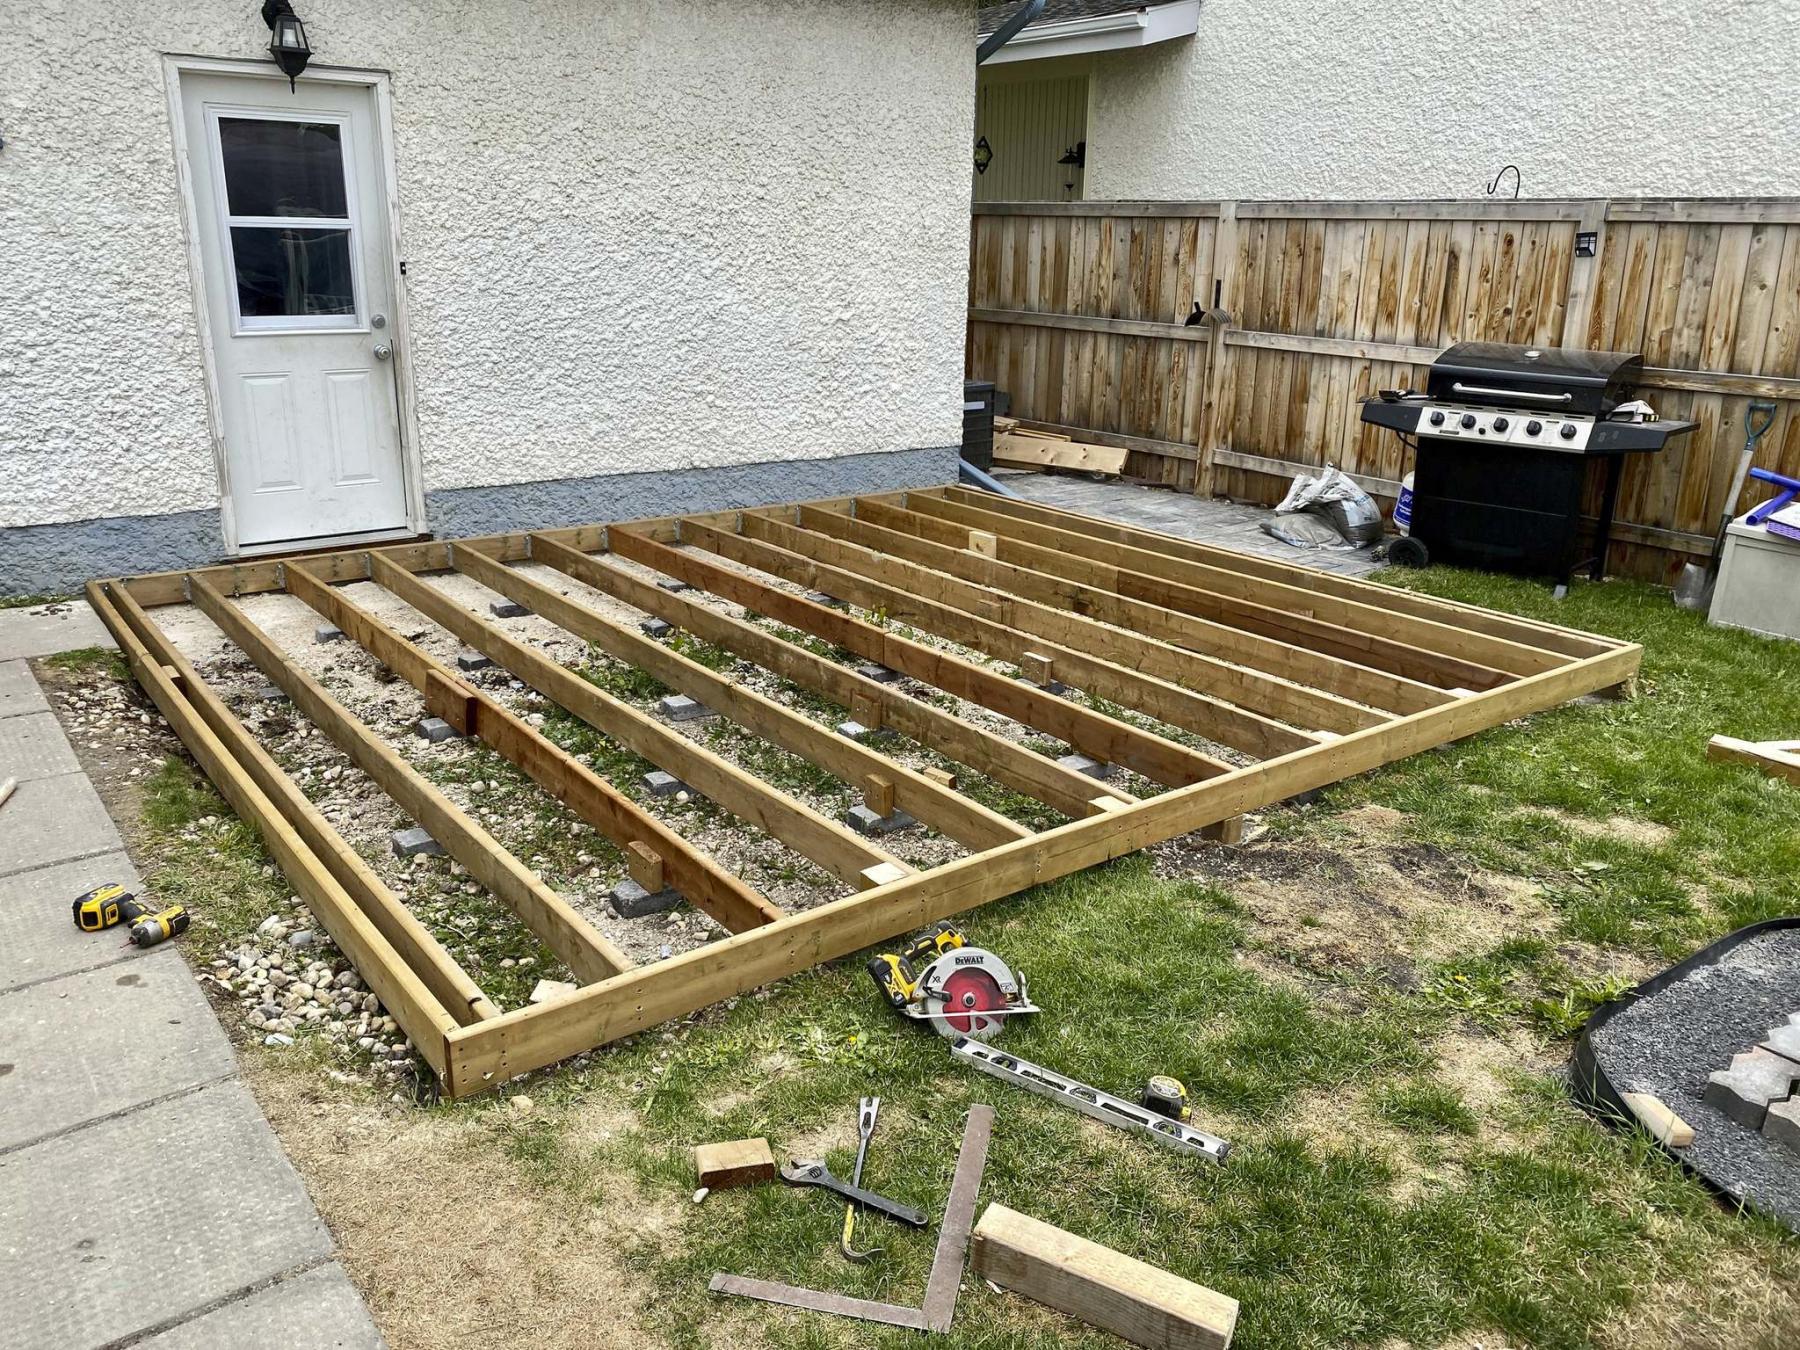
Building a ten foot by ten foot deck is a job which can be accomplished in a day. It isn’t very expensive, and doesn’t require a great deal of tools. Deck floor boards come in a variety of sizes and looks. It is important to choose how you want your deck to look before you begin.
First, we will need footings for that deck. All jurisdictions require deck footings to be deeper than the frost level. Well, that’s anywhere from 6” in Florida to 100” in Minnesota. Check that frost level where you at, dig down below it.

How to build a deck 10×10
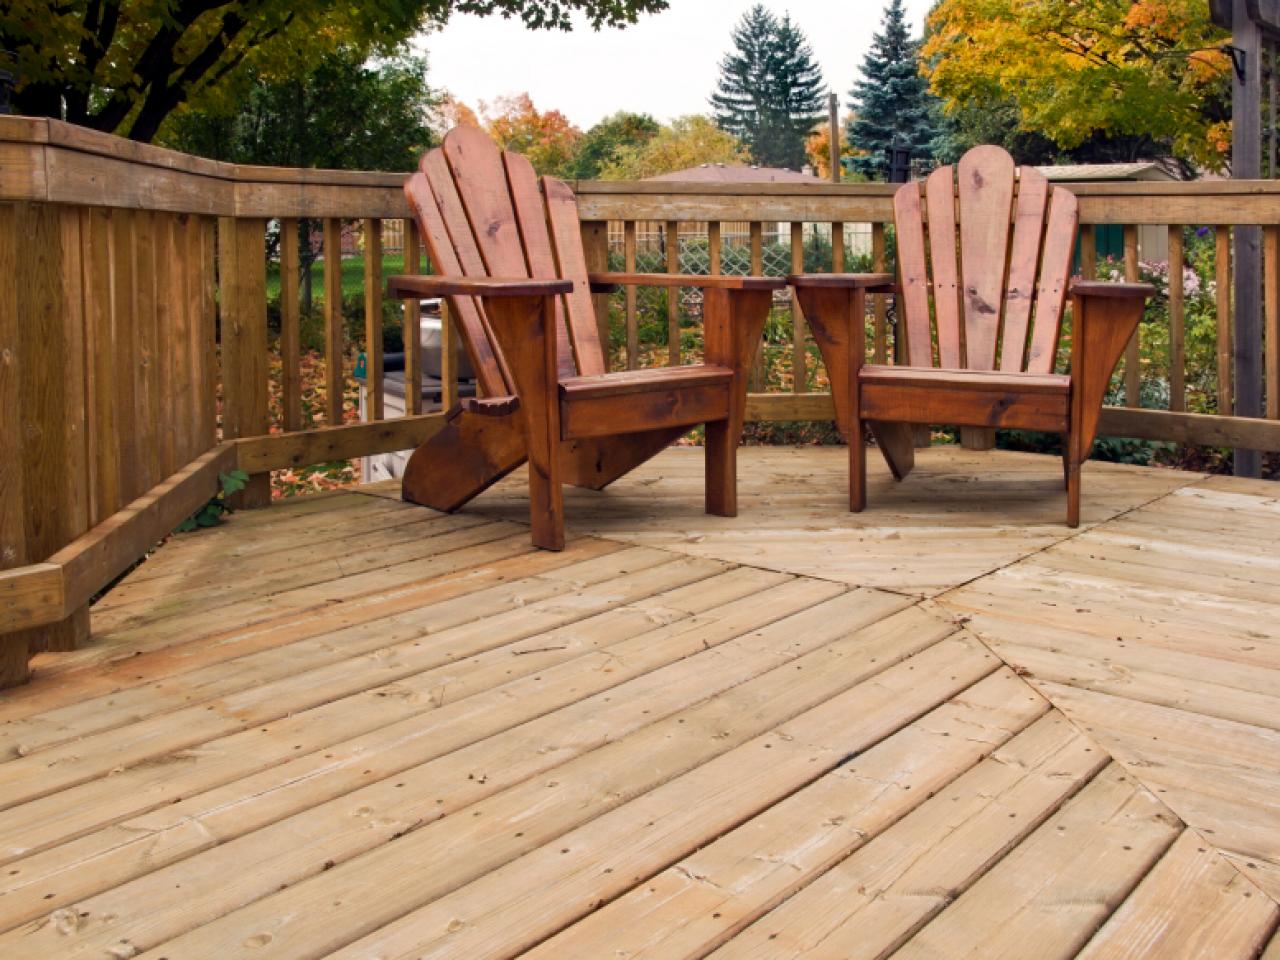
The deck shown here features a pressure-treated floor frame that’s supported by a ledger board and concrete piers, and topped with 5/4-inch decking. And because the deck is only a one step high, no railing was required. Now just follow Tom’s tips and build your own backyard oasis. It’s a great way to make your neighbors jealous.
Anatomy of a Deck
:no_upscale()/cdn.vox-cdn.com/uploads/chorus_asset/file/19495097/build_simple_deck_illo_web.jpg)
An on-grade deck—one built just above the ground—doesn’t require posts, steps, or railings. But it has the same structural elements as any deck—ledger, joists, beams and piers. Building one begins with determining the sizes of the framing material.
Tom Silva uses these rules fo thumb: for rim joists or beams made of doubled-up 2x lumber, the boards’ nominal width (in inches) should match the span (in feet). So a rim joist spanning 10 feet requires two 2x10s. The ledger is made from a single board of the same width. For interior joists, Tom halves the span then adds two—a joist spanning 8 feet warrants a 2×6. (In all cases, round up odd numbers or fractions to the next even number.)
Steps for Building a Deck
Step 1: Attach the Ledger
Remove the building’s trim and siding to 1 foot above the top of where the ledger will sit. Cover the exposed sheathing with self-adhering waterproof membrane.
Mark the exact location of the top of the ledger. (By code, any step down to the finish decking, which sits atop the ledger, must be 4 to 7¾ inches below the door sill.) Snap a level chalk line.
Cut a 2-inch-wide, 1½-inch-thick treated wood spacer for every 2 feet of ledger length. Align the top of each spacer with the chalk line and fasten with a 6d nail.
Align the ledger with the tops of the spacers and nail it to the wall at each spacer with a 16d nail. (Joints between ledger boards should fall on a spacer.)
Drill a 3⅜-inch pilot hole through the ledger and into the house’s rim joist at each spacer, following a zigzag pattern. In each hole insert a ½-inch lag screw and tighten it against a washer using an impact wrench or socket wrench.
Step 2: Protect the Ledger
![Cheapest Way To Build A Deck [DIY Guide]](https://plasticinehouse.com/wp-content/uploads/2021/09/Building-Cheap-Deck.jpg)
Fold the membrane lengthwise along its center line to form a right angle. Apply it over the ledger-to-house joint so one leg covers the top of the spacer blocks and ledger and the other leg extends up the wall.
Cut a strip of metal flashing at least 6 inches wide and as long as the ledger. (If more than one strip of flashing is needed, overlap the ends by 3 inches and bed them in siliconized acrylic caulk.)
Fold the metal lengthwise to form a right angle. Apply it over the waterproof membrane.
Drive roofing nails through the flashing’s top edge every 8 inches.
Fasten concealed-flange double joist hangers at both ends of the ledger and flush with its bottom edge, using joist hanger nails.
Step 3: Set Footings and Piers
 Photo by David Carmack
Set up batter boards and mason’s strings and determine footing locations at the deck’s outside corners and at 8-foot intervals along the front rim joist. Mark each location, then temporarily remove the mason’s strings.
At each footing location, dig a hole wide enough to hold the footing form and deep enough to extend below frost line.
Assemble footing and pier forms according to the manufacturer’s instructions, then position one in each hole. Gently backfill.
To determine each pier’s finish height, run a level line from the top of the ledger to the pier tube. From this line, measure down 1/16 inch per foot of the pier’s distance from the house, plus the height of the rim joist and post base. Mark the form at this point. Repeat for each pier. Trim pier tubes at these marks.
Check the positioning of the piers and adjust if necessary. Fill with concrete, using a shovel to work out air pockets (above). Allow the concrete to cure for one week.
Step 4: Install Post Bases and Side Rim Joists
Place a post base atop a pier, positioning it so it will not interfere with joist hangers, and mark its location. Remove post base and bore into pier with a hammer drill equipped with a masonry bit. Reposition post base, insert an anchor bolt, and tighten with an impact wrench. Repeat for each pier.
Cut pressure-treated 2x stock for the doubled side rim joists and beams. Glue them up with construction adhesive and nail them together from both sides with 12d nails, spaced every 16 inches in a zigzag pattern.
Fit a side rim joist into a joist hanger at one end of the ledger, square the corner, and toenail through the hanger into the ledger with 16d nails. Rest the joist’s opposite end on a corner pier. Repeat with the other side joist, removing mason’s strings as necessary.
Cut pressure-treated 2x stock for the deck’s front rim joist. Stagger any butt joints by varying board lengths, making sure joints fall in the middle of post anchors.
Step 5: Install Front Rim Joist, Beams, and Interior Joists
 k
kFasten concealed-flange double joist hangers on the ends of the front rim joist’s inner 2xs. Then fit the inner 2xs into the post bases.
Fit a side rim joist into a front hanger, and square the corner. Secure the front rim joist 2x to the post bases with hanger nails. Then drive six 16d nails through the face of the front rim joist into the end of the side rim joist. Repeat with the other side rim joist.
Fasten face-mounted double joist hangers for beams every 8 feet on center along the front rim joist and ledger, flush with their bottom edges.
Fit and nail each beam as described above.
Complete the doubled front rim joist by gluing and nailing the outer 2xs to the inner 2xs.
Install 2x joist hangers along the beams, 16 inches on center. (Joists, once inserted, should be flush with the top edge of the ledger, rim joists, and beams.)
Step 6: Install Front Rim Joist, Beams, and Interior Joists (continued)
Then, fit and toenail the joists through the hangers.
TIP: If the joist has a crown—a slight arc along its edge—install it crown-side up.
Step 7: Attach Trim and Decking
Nail paint-grade trim boards as wide as the rim joists to their outside faces with two 8d hot-dipped galvanized or stainless finish nails spaced every 12 to 16 inches. Scarf any joints in the run; miter joints at the corners.
Measure the distance from the wall to the outside of the trim board and add 1 inch for overhang. Cut the deck boards to this length.
Squeeze a bead of polyurethane marine sealant on the top edge of a side rim joist. (This adhesive actually fastens the decking in place.) Lay a straight deck board in the adhesive so its long edge overhangs the trim board by 1 inch. Secure each end of the deck board with an 8d finish nail.
Tack 8d finish nails into the joists alongside the first board to maintain consistent spacing. Squeeze dabs of adhesive onto the top edge of each joist. Lay and nail the next deck board as before. Continue gluing and nailing until the deck is complete. (Add more nails only if a board does not lie straight or flat.)