It’s hard to know where to start. Where do you find your content? Can you write naturally, like you speak? How do you know what people want to read? You’re a blogger, but that doesn’t mean people are going to magically flock to your blog. You need to show people what you’ve got. And how you can help them.
A photo gallery is a type of post format that has gotten plenty of use and can come in handy in many ways. A photo gallery allows you to feature an entire album of pictures, often sorted by category, how to create image gallery in blogger, where are my blogger photos stored, inside a post. The pictures will usually fill up the space on the screen and scroll when they reach the end of the screen. You can have a graphically designed header image with a description area showing above the image and one or two buttons below it:

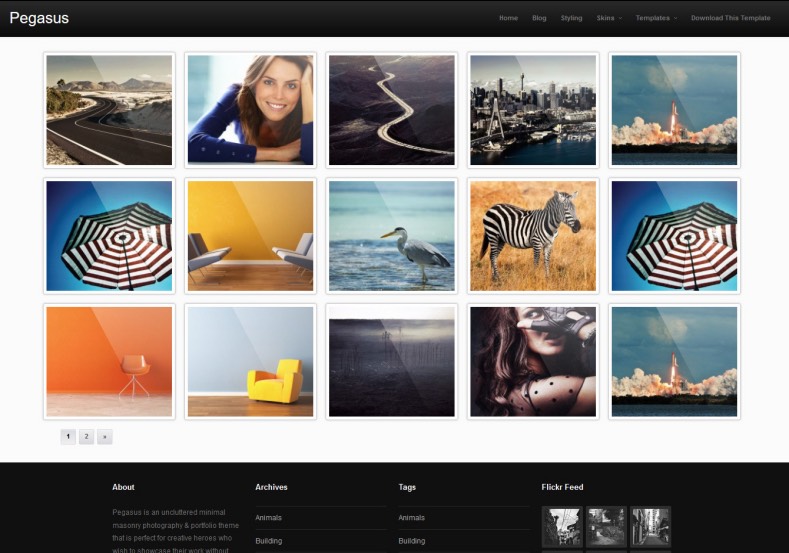
Photo gallery for blogger
Image gallery is one of the most common features in any blog. If you are using a premium theme, then it’s very easy to create your own image gallery. But if you are using a free theme, then you will have to do a little bit more work to get your desired result.
In this post, I will show you how to create an image gallery in blogger.
1) Where are my blogger photos stored?
2) How to create image gallery in blogger?
3) Free website photo gallery
A photo gallery is an easy way to showcase your photos on your blog or website. It’s a great way to show off your family, pets, travel photos and more. If you have a lot of images, it can be time-consuming to upload them one by one. Fortunately, there are many online image galleries that make it easy to upload all your pictures at once. In this article, we’ll look at how to create an image gallery in blogger and other ways you can use to display your photos online.
Create a Photo Gallery in Blogger
If you’re using the new Blogger editor, you can create an image gallery by going to Posts > Add New and selecting Galleries from the Add Media dropdown menu. This will open the Gallery Settings panel where you can choose how many columns you want in your gallery and which images should appear first:
If you’re using an older version of Blogger (or don’t want to create a new post), simply click on the Add Media button at the top of your page and select Galleries from the dropdown menu:
This will open the Gallery Settings panel where you can choose how many columns you want in your gallery and which images should appear first:
How to Create Image Gallery in Blogger
In this post we will see how to create image gallery in blogger. So, let’s get started
1. Creating a New Post:

First of all, you need to log into your blogger dashboard and then click on the ‘New Post’ button in the top right corner of your dashboard. This will open a new window where you can start writing your post. You can also use the ‘Quick Post’ box if you want to write something quickly without opening any new windows or tabs. Also, you can use the ‘Visual Editor’ tab if you want to use rich text formatting features like bold, italics etc…
2. Adding Images:
You will see an ‘Add Media’ button on the left side of your text box after typing some text into it. Clicking on that button will open up a popup window where you can upload an image from your computer or take a new picture using your webcam or mobile device’s camera by clicking on ‘Take Photo or Video’ button under ‘Upload Photos & Videos’ heading in this popup window. You can also select an image from your computer or Dropbox account by clicking on
Image Gallery
In this post, I will be showing you how to create a simple image gallery in blogger. Image galleries are one of the most common types of content on the web, and they’re often used to showcase different aspects of a company or organization.
You can use an image gallery in your blog posts if you want to show off pictures or other images related to that post.
If you’re looking for a more professional-looking blog design, then you may want to consider using a WordPress theme that comes with built-in image gallery functionality (such as Divi). However, if you just need an easy way to display multiple images within one blog post, then this tutorial will show you how to do it.
Blogger’s photo gallery feature is very simple, but it can be used to create some interesting layouts. All you have to do is add images to the ‘galleries’ section of your blog and then use the shortcode
to display them.
Here are a few tips for creating a better-looking photo gallery with Blogger:
Create a grid layout
A grid layout is one of the most popular ways to display photos on a website. You can create a grid by adding images in rows and columns, or by arranging them in rows and rows with no columns. Use the code below for each row and column:
Where are my blogger photos stored
Your photos are stored in a folder on your computer called “Blogger.” You can find it in your Documents, Pictures, or My Pictures folder. If you’re on Windows, your photos are stored in a folder called “Blogger” that’s inside your Pictures folder.
The free website photo gallery allows you to add images to your blog posts and pages, and then display them as galleries of thumbnails that visitors can click through to see full-size versions of each image. The gallery also has built-in support for several different types of layouts, so it’s easy to create an attractive gallery without having to write any code yourself.
You can upload your pictures to Blogger via the Blogger Media Library. The following is an example of how you can add a picture to your blog post.
Here are some steps:
1. Log in to blogger.com and click on “Write” or “Edit” button of your blog post
2. Click on “Upload media” button
3. Click on “Browse” button of “Upload files from computer” area, navigate to the folder where your photos are stored and select one photo from it
4. Click on “Open” button, then click on “Upload file” button
5. After uploading the photo successfully, click on “Insert into post” button
6. Now you can see the photo in your blog post