The cPanel File Manager makes it easy to upload a file to your account. Sometimes this is necessary, for example, when trying to verify ownership of the site for Google Search Console. If you are unfamiliar with File Manager in cPanel, please see our article on Using the cPanel File Manager.
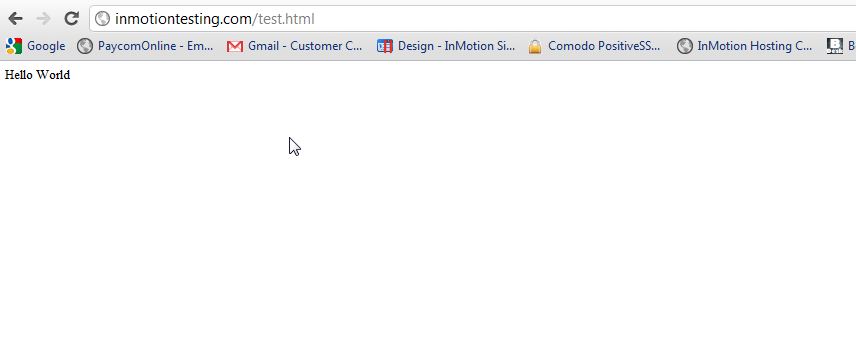
In this example, we’re going to upload a test.html file to the public_html folder in File Manager. So when you visit the file through a web browser, you’d go to example.com/test.html. This is important to know so you can ensure you are testing the right file.
If you wanted to place the file in a subfolder called test, then to visit the file in a browser you’d go to:
example.com/test/test.html
Upload a File In cPanel
- Login to cPanel.
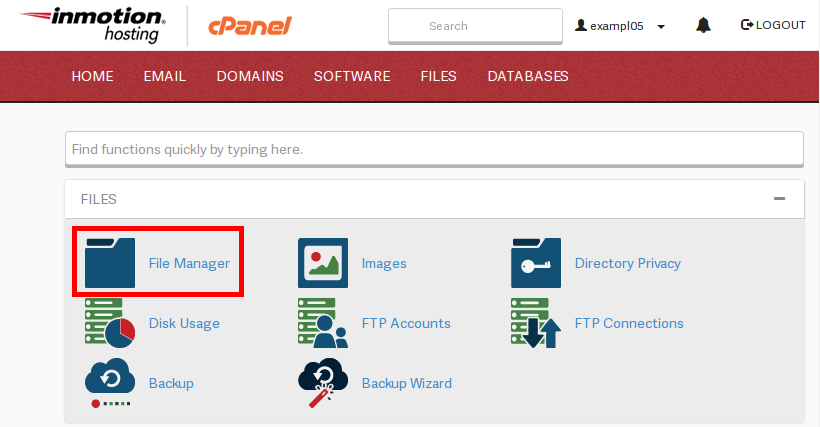
- On the home screen under the Files section choose File Manager.
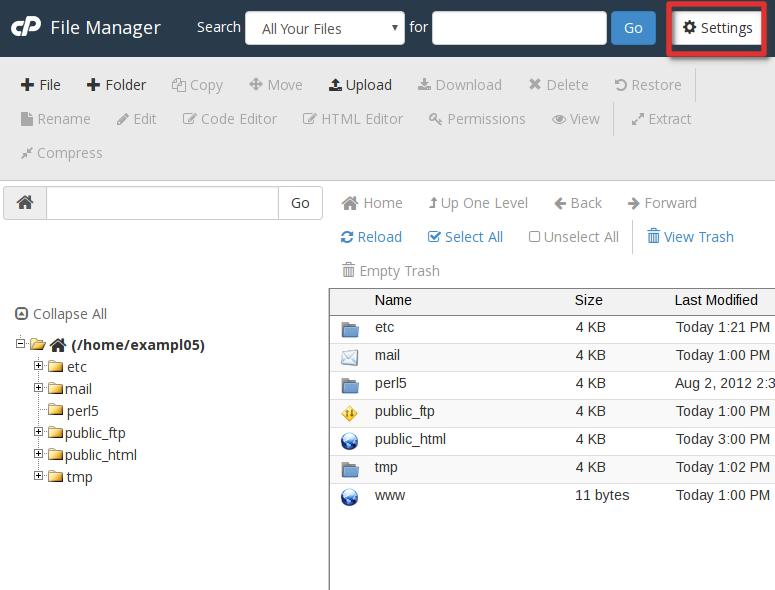
- Click the Settings icon in your File Manager window.
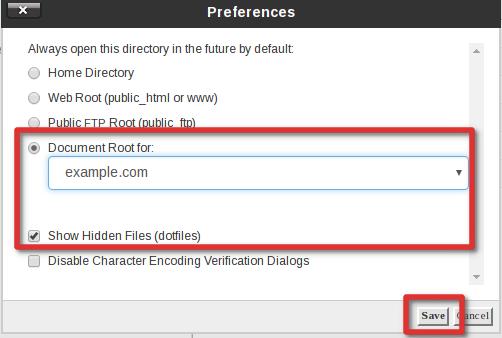
- Next, choose the folder location you’d like to start in. For this example, we’re going to use the Document Root for our website.
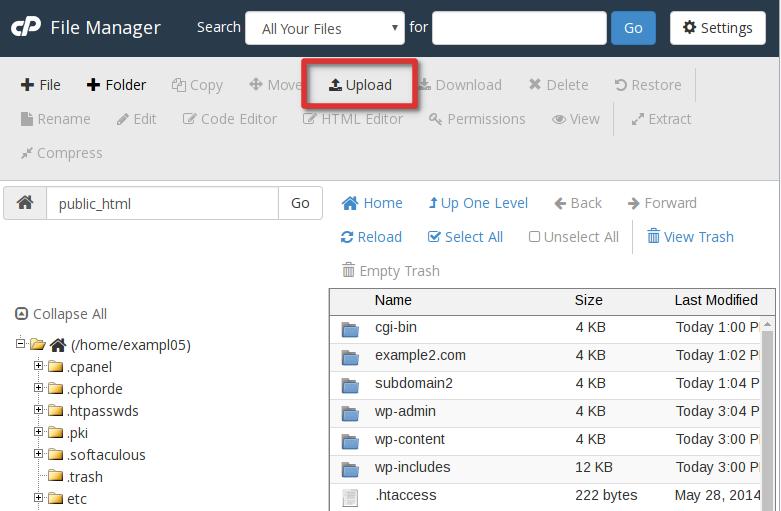
- Select Upload from the icons at the top.
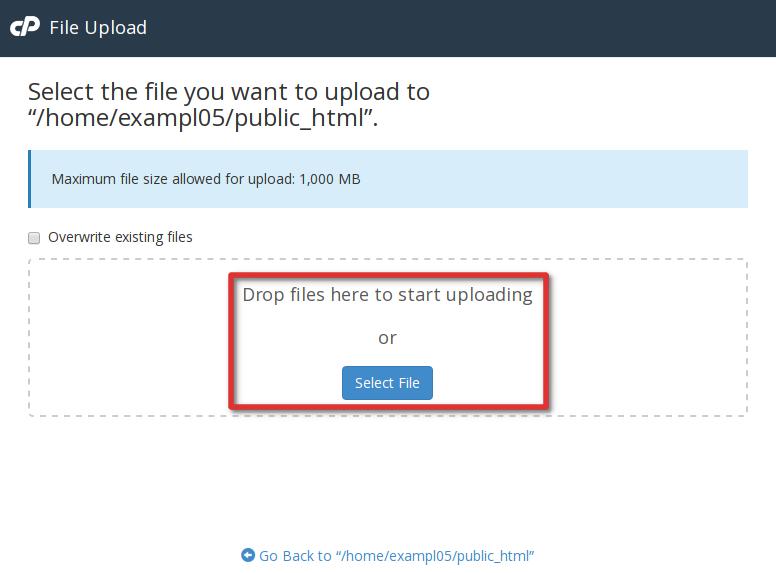
- Navigate to the file you want to upload on your local computer by clicking the “Select File” button.
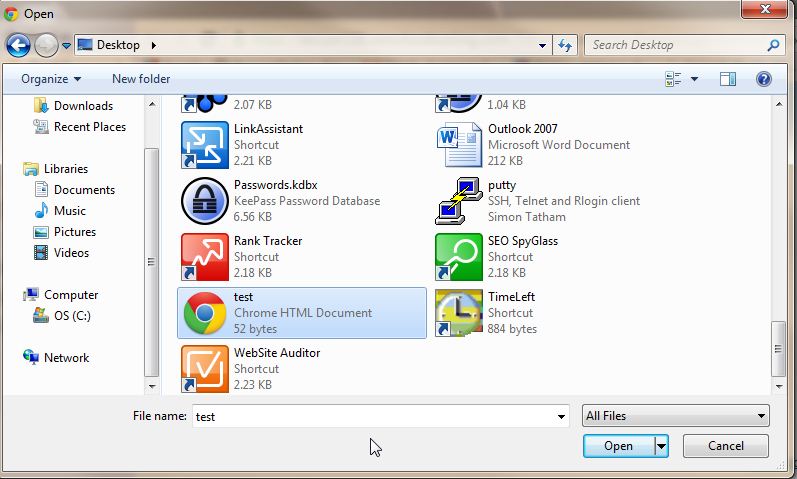
- Select the file and click Open. Once the file is finished uploading you can click on the link in the center of the screen to return to the folder you uploaded the file to.
- Now, in a web browser, we can visit the file and verify it uploaded to the location correctly.