The size of the featured image is used as the background for the single post page, archive listing pages, and category pages.
In WordPress, you can use either a thumbnail or a full-size image as your featured image.
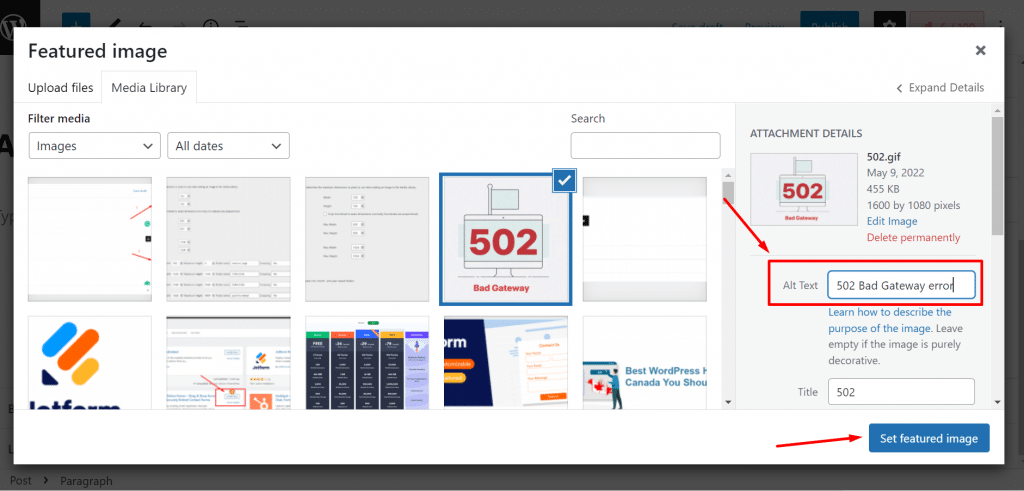
A thumbnail is a small version of your image. It’s typically 180 pixels wide by 150 pixels tall, but it can be any size you want. You can upload this image through the media library section of your WordPress Dashboard.
A full-size image is larger than a thumbnail and can be up to 2MB in size. This type of image will have its own URL on your website, so it’s important that you don’t link to an image that doesn’t exist anywhere on the web!

Size For WordPress Featured Image
The featured image is the first thing people see when they visit your site. It’s an important part of your design that should reflect the content on your site, and be relevant to what you’re trying to convey.
WordPress has a variety of options for setting a featured image, but most sites use the default option: a square image that’s 400 x 400 pixels. This works well for most uses, but there are cases where it’s not ideal.
If your image is taller than it is wide, or if you want to use something other than a square aspect ratio (such as portrait), this guide will show you how to adjust the featured image size in WordPress so it looks just right.
The featured image is the most important image of your post. It’s the first thing that visitors see when they visit your blog or website. A good size for a featured image will make your blog look more professional and attractive to readers.
The size of a featured image in WordPress can be adjusted by changing the setting under “Media” in the Settings menu:
You can select the size of your images from these options: “Thumbnail”, “Medium”, “Large”, “Full Size” and “Custom Size”.
The featured image is the first thing that someone sees when they visit your site. It’s the first impression and can make or break whether someone decides to stay on your website.
Featured images are the most important part of any blog post. They are used in a variety of ways, including:
As an image-based link to an external site (as seen in this blog post)
As a placeholder for text when you don’t have an image available
As a header image or background image for your blog content
As a featured snippet in search results
The featured image is displayed at the top of your post, below the title, and above the content area. It’s often used as a thumbnail for social media posts, too.
WordPress does a lot of things automatically for you when it comes to creating new content, but sometimes you’ll need to adjust how things look after they’ve been created. This tutorial will show you how to change the size and position of your featured image so that it looks perfect on every page of your site!
The featured image is the image that appears on the post page and in the post listing. The featured image can be set to use any size, using CSS and HTML.
The most common sizes are:
Thumbnail aspect ratio: 1.91:1 (large)
Medium aspect ratio: 4:3 (small)
Large aspect ratio: 16:9 (medium)
It’s essential to get the right size for your featured image, as it can make a big impact on your website. It’s an important part of your theme design and helps represent your brand.
When you create posts or pages in WordPress, there are two ways to add an image:
1. Upload from computer
2. Use the “Insert from URL” option
In this post, I will explain the best way to use the “Insert from URL” option so that your images are sized correctly and don’t look pixelated or blurry when they are displayed on your website.
WordPress featured images are the images you see at the top of your blog posts and pages. They can also be used as your header image.
Featured images are ideal when you want to include a large image in your post or page content but don’t want it to take up too much space.
WordPress Featured Image Size and Aspect Ratio
There’s no official standard for the size of a WordPress featured image, but many people use a ratio of 1:1 which means the width is the same as the height (e.g., 1024 x 1024 pixels). This is a good starting point so that your images look sharp on any screen size.
However, you can use any aspect ratio you like because WordPress automatically crops your image as needed to fit within the available space.
The default maximum size for WordPress featured images is 1920 x 1200 pixels, which is slightly larger than 1080p HD video (1920 x 1080 pixels). If you don’t have an image that big, there are two ways to make it bigger:
Use a different aspect ratio (see above).
Use one of these plugins:
WordPress featured image size is the maximum image size that WordPress will allow. The default size for WordPress featured images is 1500 x 1000 pixels, but you can change this in the “Settings” panel of your WordPress dashboard.
To change the size of your WordPress featured images, follow these steps:
1. Log in to your WordPress account and click on “Appearance” in the sidebar menu on the left-hand side of your browser window. This will take you to the main page where you can manage all aspects of your blog’s design and content.
2. Click on “Editor.” This will open up a new window with several tabs showing different options for editing different parts of your site’s design (e.g., Widgets).
3. Click on “Featured Image” in the left-hand column of this new window — this tab allows you to edit any images used as part of your blog’s design (usually this includes using them as a header image or as an icon).
4. Scroll down until you see a box marked “Publish Settings” near the bottom of this page — this box allows you to set various permissions for each image uploaded to your site; it also has a dropdown menu which allows you to choose whether or not each image
WordPress featured images are a great way to add a little more personality to your blog posts. When you edit an image in WordPress, it will automatically be saved as a thumbnail for use as a featured image.
WordPress uses the following aspect ratios for its featured images:
Thumbnail (160 x 160 pixels)
Medium (300 x 300 pixels)
Large (512 x 512 pixels)
Featured images are a vital part of your blog posts. They help your readers get a better idea of what they’re about to read, and they also make your blog posts look more professional.
Featured images also play a key role in search engine optimization (SEO). You can use them as an image sitemap which helps search engines “crawl” your site and index the content they find there.
In this article, we’ll show you how to create featured images for WordPress pages and posts. We’ll also show you how to set their dimensions so that they appear correctly when viewed on different devices.
It’s good to think about what size your image should be before you upload it.
If you’re using a theme that has a grid layout, the image featured in your post will need dimensions that match with other images in the grid.
For example, if your theme has a 3×2 grid and you have an image that is 500px wide, then it will not fit into the grid. Instead, try shrinking it down to 400px or less and see how it looks. If you want more control over the size of your featured image, check out our guide on how to change the size of your featured images in WordPress.
Be sure to also check out our guide on how to make sure that all of your images are optimized for speed in WordPress!