Ubuntu Server is a free operating system. It is easy to install and use, and it provides a solid foundation for building your network. It also contains all the software you need to set up a web server, email server, file server or any other type of server application.
It is really simple to install Ubuntu Server on your computer or virtual machine. This article will show you how to install Ubuntu Server 18.04 LTS on your computer or virtual machine. It will also show you how to configure remote access so that you can manage your server remotely from another computer or mobile device.
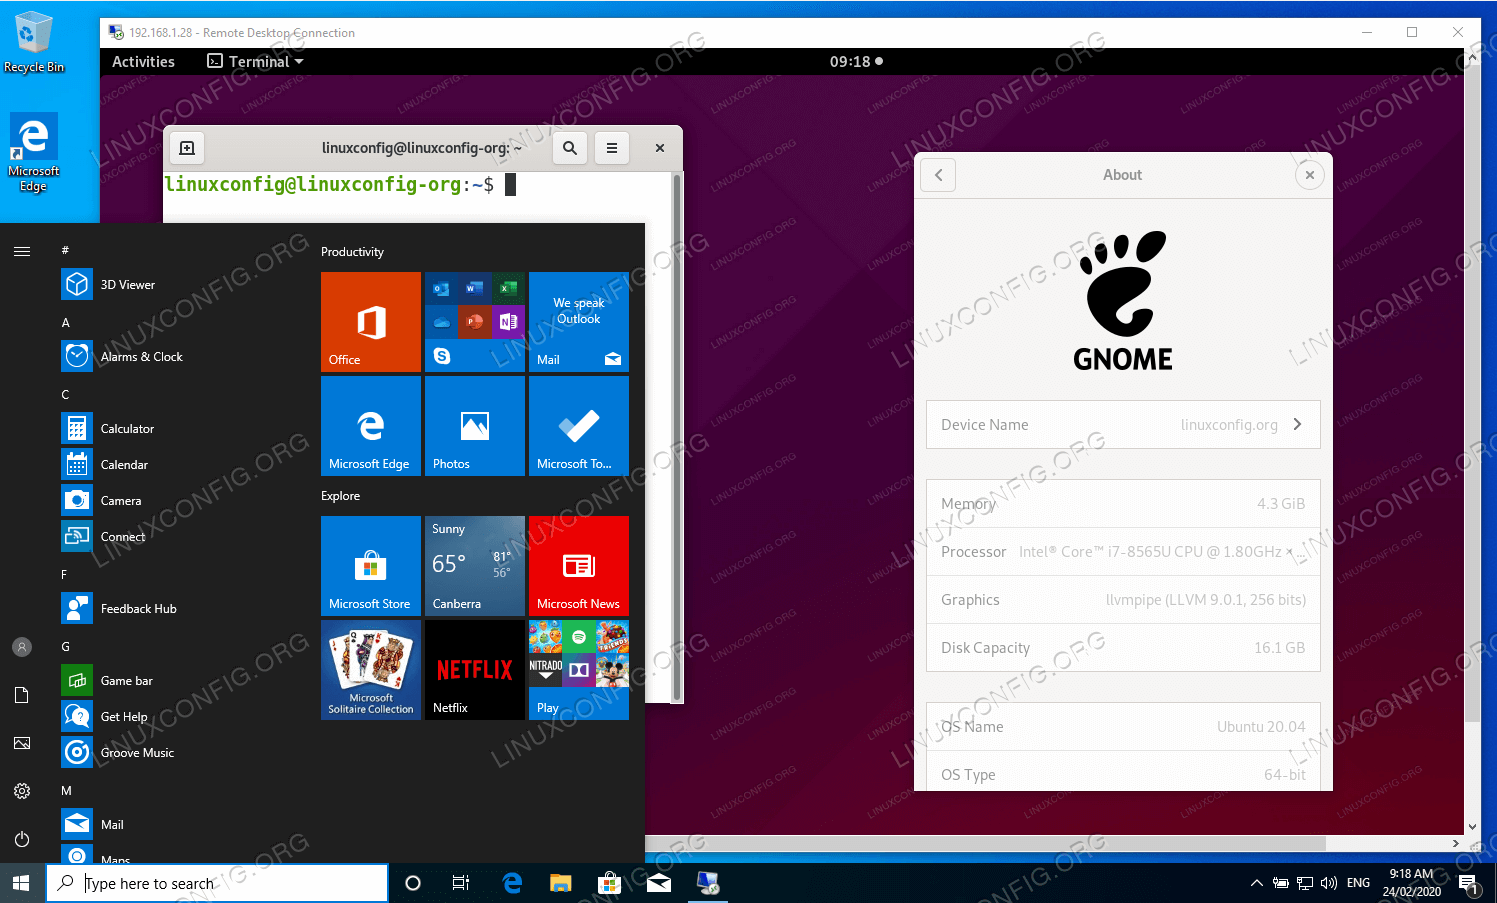
Setup Ubuntu Server For Remote Access
Ubuntu is a Linux-based operating system that provides a slick interface for users. It’s also easy to configure and maintain, making it ideal for both personal and business use.
In this article we’ll show you how to set up Ubuntu Server so that you can access it from anywhere in the world. With this setup, you’ll be able to access your files via FTP or SFTP and even run programs remotely over SSH.
Installing Ubuntu Server on Windows 7
First things first: you need to install Ubuntu Server on your computer. You can download it here (for free) if you don’t already have it installed on your computer already. After downloading the ISO file, mount it using Daemon Tools or Alcohol 120% (or any other virtual drive software) and install Ubuntu Server as usual.
Ubuntu Server is a powerful and flexible operating system. It’s ideal for hosting websites, email and other applications.
You can also use it to set up a remote desktop server. In this guide, we’ll show you how to install Ubuntu Server on your computer and then access that system remotely from another computer.
Installing Ubuntu Server
To get started, download the latest version of Ubuntu Server from the official website. You’ll need a free account to log in to the site.
Click on the link for your preferred architecture (32-bit or 64-bit), then save the file to your computer. The file will have an extension such as .iso or .img — these are disk images that you can use to install Ubuntu in place of your current operating system.
Next, open VirtualBox if it’s not already running, click New in the menu bar at the top left of the window, then click Create New Virtual Machine on the right side of the window that appears:
In the next window (see below) select Linux as your operating system type and Ubuntu (64 bit) as your version:
Ubuntu Server is a good choice for setting up a remote access server. It is easy to install and use, provides a wide range of applications, and has a large community to support you.
The current version, Ubuntu 16.04 LTS (Xenial Xerus), is supported until 2021. It’s also the most popular version, with more than half of all servers running it.
In this guide, I will show you how to set up an Ubuntu Server for remote access purposes. This means that you will be able to access your server from anywhere in the world—even if you are on the go with your laptop or smartphone.
Before we start with the installation process, let’s go through some considerations:
What kind of server do you need? In this guide I will show you how to set up an Ubuntu Server for remote access purposes; this means that any computer can access it from anywhere in the world as long as they have software installed on their device that allows them to do so (more on that later). You can also set up other types of servers such as web servers or FTP servers using the same method outlined below; however, if your goal is something different then please refer to the official Ubuntu documentation instead
The best way to access your Ubuntu installation remotely is through the use of SSH. SSH (Secure Shell) is a protocol that allows you to connect and control remote servers using a command line interface.
In this article, we’ll show you how to set up SSH on your Ubuntu server so that you can connect from anywhere in the world.
First, let’s make sure you have the latest version of Ubuntu installed. You can do this by typing:
apt update && apt upgrade -y && apt dist-upgrade -y
This will update all software packages on your system, then upgrade them and finally perform a complete system upgrade. Once this has finished running, reboot your server with:

reboot now
Ubuntu Server is a version of the Ubuntu operating system that has been designed for use in data centers and other mission-critical environments. It is not intended for desktop use.
Ubuntu Server may be installed in a number of different ways depending on your requirements. The following steps will guide you through the process of installing Ubuntu Server on a virtual machine with VMware Player, which is a free application that allows you to run multiple operating systems on your computer at the same time.
Installing Ubuntu Server with VMware Player
To install Ubuntu Server with VMware Player:
Download and install the latest version of VMware Player from www.vmware.com/products/player/.
Open VMware Player and click “Create a New Virtual Machine.” Enter “Ubuntu Server” as the name for your virtual machine, choose “Linux” as its type and click Next. Select “Ubuntu” as your distribution (64-bit) and select an appropriate memory size based on your needs. Then click Next again to continue.
Next, select a Location where you would like to save your virtual machine file and then click Next one last time to create it automatically.
1. Ubuntu Remote Desktop Client: Install Ubuntu Remote Desktop Client on Windows 10 (RDP) or Mac OS X and enjoy the benefits of the Ubuntu Unity or GNOME desktop interface.
2. Ubuntu Remote Desktop Client: Get the latest version of Ubuntu Remote Desktop Client at https://apps.ubuntu.com/cat/remote-desktop-clients/ubuntu-remote-desktop-client/.
Ubuntu remote desktop from Windows 10
The Ubuntu operating system is a popular choice for Linux users around the world. Now, you can get the same experience on your Windows PC.
1. Open up the Remote Desktop Connection app by clicking on Start, then All Apps, and finally selecting Remote Desktop Connection.
2. Click on Options in the top right corner of the window, then click on Connections in the dropdown menu that appears below it.
3. On this screen, click on Add under Remote Desktop Protocol Clients and then click Next when prompted to continue.
4. Choose an account (this is where you will type in your login details) from the dropdown menu and enter any required credentials if requested by Windows 10 itself (this will depend on whether or not your user account has administrator privileges). You can also choose which version of Windows 10 you would like to connect with at this stage if you have multiple installations installed on your computer or laptop, but it is not essential unless you want to connect with a specific version rather than just using any available connection options (there are several different versions available here). Once done, click Finish and then click OK again when prompted to confirm your choices before continuing
Ubuntu Remote Desktop is a free application that allows you to connect to a Ubuntu computer from your Windows computer.
Ubuntu Remote Desktop Features:
– Control your Ubuntu desktop from your Windows desktop
– Share files with the remote session
– Encrypt the connection using SSL/TLS
– Use custom settings, such as sound redirection and clipboard sharing
Ubuntu Remote Desktop allows you to remotely access a Ubuntu desktop from another computer. It is designed for use with thin clients, and uses the NX technology to speed up screen updates. It can be used with an SSH tunnel or a direct connection through the Internet.
The newest version of Ubuntu Remote Desktop comes with new features like:
– Support for PulseAudio, which means that users can play audio on their remote desktop.
– The ability to use any web browser to connect with Ubuntu Desktop.
– Support for multiple monitors on the remote desktop, including 3D acceleration and full screen mode support on Linux screensaver software such as Compiz or Beryl.
Ubuntu is a Linux-based operating system. It was originally based on the Debian distribution, but it now has its own package management system called APT.
Ubuntu comes with many applications that are pre-installed, including LibreOffice and Firefox. You can also install other desktop environments such as GNOME or KDE.
Ubuntu can be installed on a hard drive or run from a live CD/DVD/USB. Follow the instructions below to install it on your computer:
Download Ubuntu from the official website and burn the image file to a DVD or USB stick. Insert your CD/DVD or USB device into your computer and boot from it. You should see “try ubuntu” on the screen after booting up. If you don’t see this option, go into your BIOS settings and change the boot order so that CD/DVD/USB is first in line. If this doesn’t work for you, search Google for instructions specific to your hardware configuration (e.g., HP Pavilion dv6 laptop).
When Ubuntu boots up for the first time, it will ask you several questions about language preferences and disk partitioning layout. Select your preferred language from the list of options provided and then click Continue; when asked for an user name.