Building a wood driveway gate is one of the most rewarding things you can do. It gives you a feeling of accomplishment and pride, knowing that you created something by yourself with your own two hands. You’ll be surprised at how much fun you will have while building a wood driveway gate.
How to build a wood driveway gate, how to make a wooden gate for driveway, how to build a gate for my driveway: Proper planning and assembly is key to building a wooden gate.

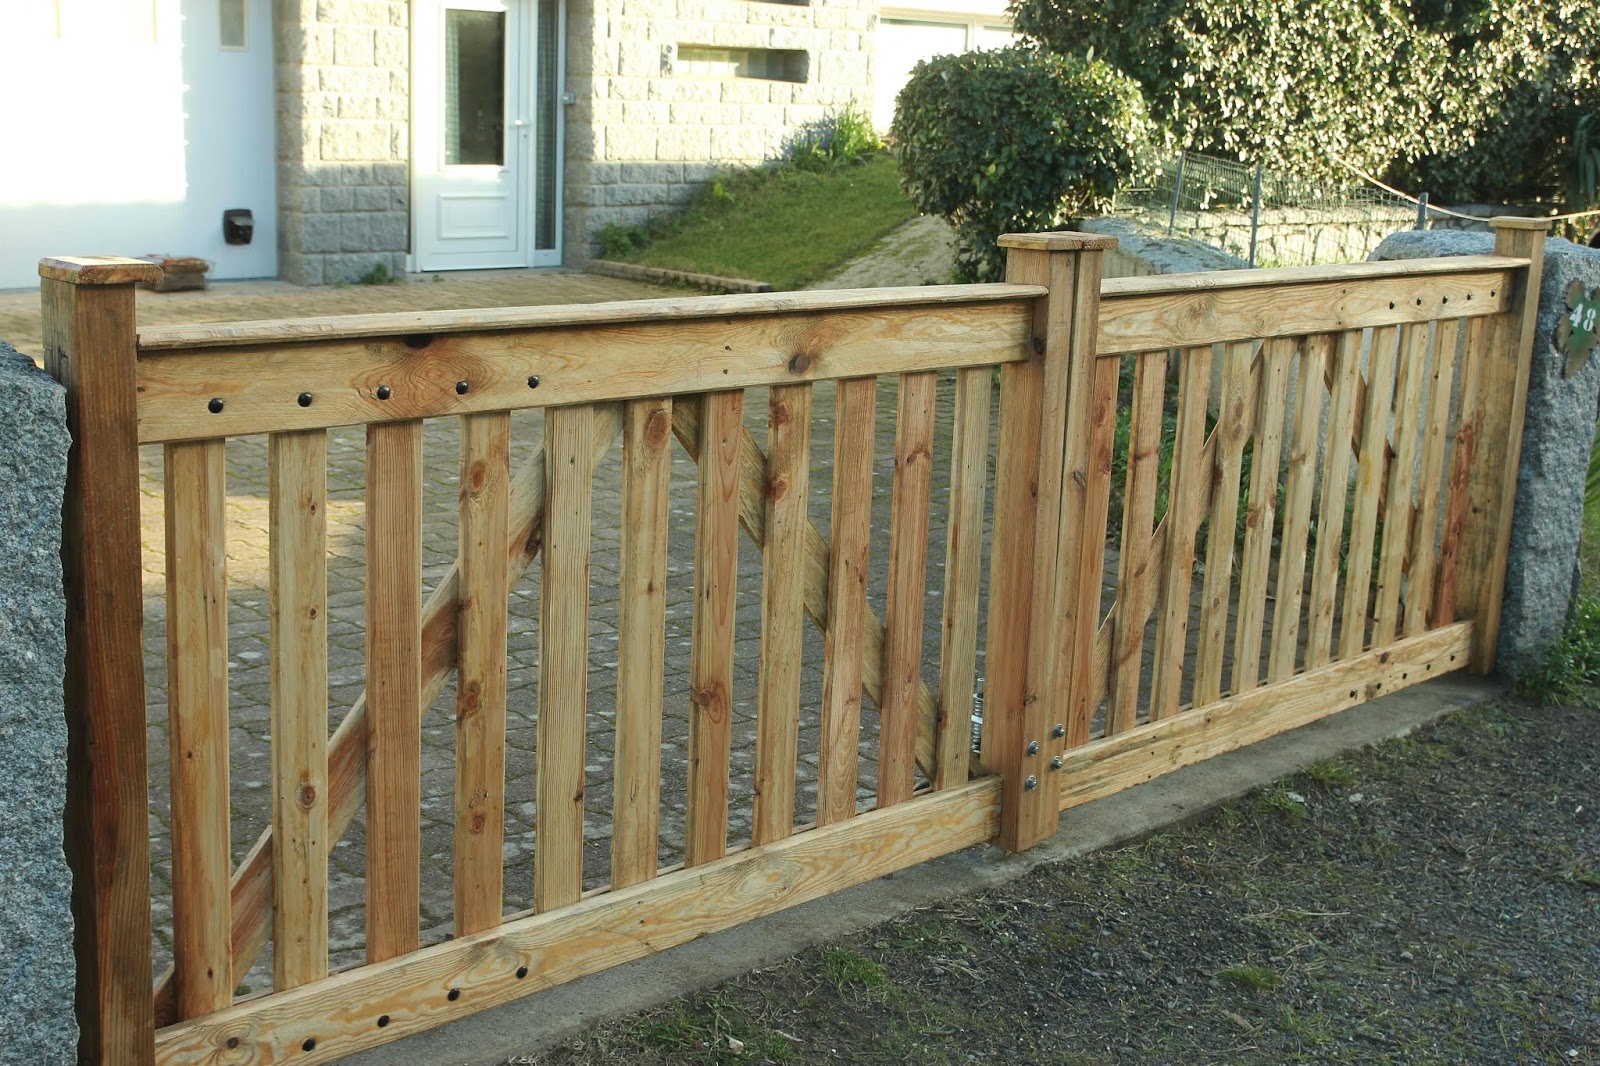
How to build a wood driveway gate
If you want to make a wooden gate for your driveway, there are several steps that you need to follow.
First, you will need to decide on the design. You can use a simple gate or go for something more elaborate. Then, you have to find out what materials you will need and where you can get them from. You also need to work out how much time it will take you to build the gate, as well as whether it is going to be worth the cost of materials. Once all these factors have been considered, then it’s time to start building!
How to build a wooden gate for your driveway
A wooden gate is a great addition to any home, whether you want to enclose a large yard or just want to add some privacy. As with most projects, making your own wooden gate can be a lot less expensive than buying one. Plus, you can customize it as much as you like to fit your home’s style and needs.
What You’ll Need:
A saw (circular or table)
Drill and drill bits
Hammer and nails (or screws)
Wood stain or paint
How to build a wooden driveway gate
Building a driveway gate is a great way to add value to your home. You can have it designed and built in any style that you like, and it’s a fun project that will give you a sense of accomplishment when it’s done. Here are some tips and tricks on how to build your own driveway gate.
How to Build A Wood Driveway Gate
The first step in building a wood driveway gate is to decide what kind of materials you want to use. For example, if you live in an area with extreme weather conditions, then you may want to use treated wood so that your driveway will last longer than if you used regular pine boards. However, if you’re using treated wood for your driveway gate, make sure that the wood is pressure treated properly before using it for construction purposes. If not, it could swell or warp when exposed too much moisture over time and become unusable for construction purposes after only a few years of use.
Once the material has been chosen, the next step is determining how big the gate needs to be based on where it will be placed.
Wooden driveway gates are a great way to add a touch of style to your home and make it more secure. The gates can be made from any type of wood, but redwood is a popular choice because of its strength and durability. A wooden driveway gate can be constructed in a variety of styles, including basic rectangular gates and arched gates.
Some people choose to build their own wooden driveway gates, while others prefer to hire an experienced professional to do the job. If you’re planning on building your own gate, keep in mind that it requires a lot of time and effort as well as some special tools and materials. You’ll also need to make sure that you have enough space for the gate before you start construction.
The first step in building a wooden driveway gate is to measure the width and height of the opening where the gate will go. This will help determine how much lumber needs to be cut for each piece of the gate frame. It’s also important to consider how far apart you want the vertical posts or uprights (the vertical pieces that hold up the horizontal slats) from one another and how wide they should be spaced apart from each other horizontally along the top rail (the horizontal bar that connects all vertical pieces together).
I’m building a wood driveway gate, and I’m wondering what is the best way to build a wooden gate for my driveway.
I’ve been looking at different plans online and I can’t seem to find one that works for what I want.
I want my gate to be about 6 feet tall, with a single door in the middle and two windows on each side of the door. The problem is that most of these plans are for gates that are too short or have too many windows, which makes them look tacky in my opinion.
So far I’ve come up with two ideas:
1) Build two separate gates, one on each side of the driveway. This would mean more work but would give me exactly what I want (a nice tall gate with just one door). The problem with this approach is that it might look strange having two identical gates right next to each other (i wouldn’t know since i don’t have any experience building stuff like this). Also, if there’s ever another driveway added on to our property then we’d have three identical gates right next to each other…which would look terrible!
2) Build one big gate that spans across both sides of the driveway so that it looks like there’s only one gate instead of two

How to make a wooden gate for driveway
The project of building a driveway gate can be challenging and fun. A driveway gate is an attractive way to keep your driveway safe and secure. If you have decided to build a driveway gate, then you are probably wondering how to make a wooden gate for your driveway. Here is some information that will help you build a beautiful and functional wooden gate for your driveway.
The first step in building a wooden gate for your driveway is to choose the type of wood that you want to use. You can use any type of wood that you like, but it must be strong enough to support the weight of the gate. You can also use composite materials such as fiberglass or steel if you do not want to use real wood. The second step is to measure and cut all of the pieces for your new gate. You need at least two posts that are 2x4s or larger depending on how wide your drive way is, two horizontal slats or rails between each post, two vertical slats or stiles between each rail or slat, hinges, screws and lag bolts (optional). The third step is putting together all of the pieces by screwing them together with screws along with using lag bolts on
Making a wooden gate for your driveway is easy if you follow these steps.
Step 1: Choose Your Wood
The first thing you should do when making a wooden gate for your driveway is choose which wood you want to use. The best wood for this project is cedar, as it is strong, durable and weathers well in both the sun and rain. If you don’t have access to cedar, any hardwood will work — just be sure it’s not treated with chemicals that could harm plants or animals. If all else fails, pine will also do the job nicely. In all cases, make sure that any planks are free of knots or cracks in the middle (which can weaken them).
Step 2: Carve Your Pattern into the Wood
Lay out your pattern on one side of the board so that it matches exactly at both ends. Then use an angle grinder with a diamond blade to carve out the design in one long pass through the center of each plank. Make sure you have adequate ventilation when working with power tools!
Step 3: Sand Down Any Rough Edges
Use a disc sander fitted with 100-grit sandpaper to smooth down any rough edges left by carving out your pattern.
It’s easy to build a gate for your driveway. You need to determine the size of your gate, pick out the wood and hardware, and then get started. This article will show you how to build a gate for a driveway.
Determine the Size of Your Gate
The first thing you need to do is determine what size you want your driveway gate to be. Pick out the right size lumber and cut it down to the right length with a circular saw or mitre saw. Then, mark where you want each piece of lumber in order to create your frame.
Pick Out Wood for Your Driveway Gate Frame
Now that you know what size you want your gate frame, it’s time to pick out some wood for it. You can use any type of wood for this project. Cedar is great because it lasts longer outdoors but any type of pressure treated lumber will do just fine too. There are lots of options when it comes to choosing what kind of wood you want for your driveway gate frame so take some time to look around at all the different types available in your area before making a decision on what type will work best in your situation.
The design of your wooden gate is a very important aspect. You should consider whether you want it to be a decorative piece or if you want it to be functional. If you want it to be both, then you will have to consider how much effort you are willing to put into it.
The easiest way for you to build a driveway gate is by using pressure treated pine boards which have been cut and shaped into the desired size. The boards should be placed on top of each other so that they form a rectangular shape. The next step involves using nails or screws so that the boards are secured in place and do not fall apart easily.
After this process has been completed, you can start working on the frame around the door which will provide additional support for your driveway gate. It is important for you to make sure that there are no gaps between any of these pieces so that they do not move away from each other when there is wind pressure exerted on them during storms or heavy rains.
There are many different types of materials available today, but wood remains one of the most popular options available because it is easy to work with and can be customized in any way that suits your needs perfectly!

Here are some tips for building a driveway gate.
Build a gate that’s as functional as it is beautiful.
Building your own driveway gate is no small project. It takes time, patience and some know-how to build a gate that will last.
Here are some tips for building your own driveway gate:
1. Use pressure-treated lumber
2. Build your gate with simple tools like framing squares and a circular saw
3. Save money by making your own hinges and latch hardware
4. Use bricks or stones to anchor the posts in concrete