Building a storage loft to add additional space and functionality is no small task. Structurally, the added area must be able to support the weight of potential occupants without buckling. Construction-wise, you’ll need to be especially careful that wood and wires don’t get in the way of your neighbors. And this doesn’t even account for how much work it is to build a storage loft yourself in the first place! Now that you know what challenges lie ahead, let’s go over how to build a storage loft in a shop, garage or playroom.
It is no secret that lofts are trending and that most people love them. Everyone who has loft wants to make it as useful and comfortable as possible. And a storage loft is the first thing that comes to their minds because they are the best when it comes to these two qualities. Many people think that using an attic or a top floor of their house will be great for them; however, they are wrong! Attics and top floors can never provide enough space for you and your family’s needs. If your house doesn’t have enough room, converting your garage or basement can be considered. Sometimes you may need more room but still don’t have enough money to invest into renovation. That is why it is obvious that you must try to use every cent in a smart way!
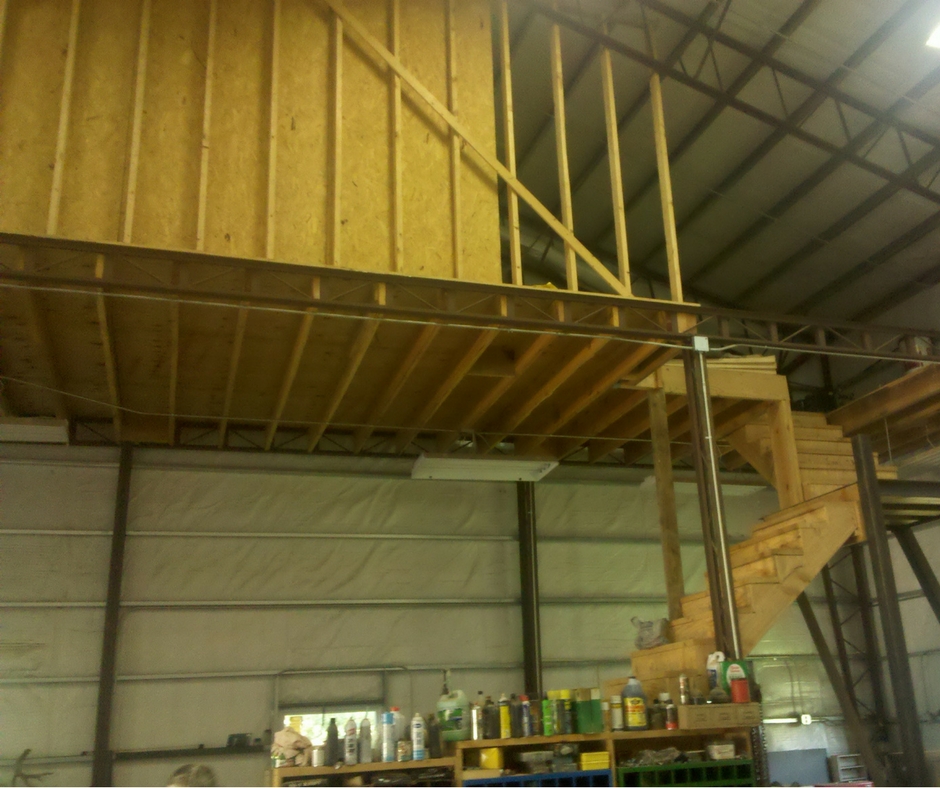
How to build a storage loft in a metal building
If you’re looking for a place to store all of your tools and equipment, you might want to consider building a loft in your metal shop. This can be a great way to add extra storage space and make more room for your tools.
You can also build a freestanding loft that can be moved around if you ever decide to sell your shop.
Here are some tips on how to build a storage loft in your shop:
Measure the area where you want to build the loft. Mark out the area with tape and make sure it will fit into the space without taking up too much room or being too close to walls or other structures in your building.
Draw up plans for the loft and determine what materials you will need. You may want to draw up an outline of what type of wood you need for this project, how much lumber and how many nails or screws are needed for each piece of wood and what type of hardware is needed for this project (such as hinges). Make sure that everything fits together properly before purchasing any supplies.
Build the structure by nailing or screwing together each piece of wood according to plan specifications until all pieces have been assembled into one unit that looks like a closet or bookshe
If you are looking for a way to add storage space to your shop or garage, consider building a freestanding loft. This type of loft can be customized to fit any size space and is easy to build.
You can purchase plans for a freestanding loft online or make your own design. The plan should include dimensions, materials list and step-by-step instructions on how to build the loft so that it will safely hold the weight of the objects being stored in it.
The basic materials needed for this project include lumber (2x4s), plywood sheets and screws or nails. A saw, drill/driver and level are also required tools for this project.
One of the most important aspects of building a freestanding loft is making sure that the structure is level and sturdy enough to support the load placed on it from above.
A loft can be an ideal place to store items that wouldn’t fit in the rest of your home. It’s also a great spot to create additional living space, such as a second bedroom or office.
If you’re looking for a way to make use of your unused attic space, building a storage loft is an affordable way to convert it into functional living space.
Building Your Own Loft
The first step in building your own loft is finding out whether or not you even have enough room for one. The majority of lofts are built over garages and garages are typically at least 10 feet tall, so if you have one on your property then you’ve got enough room for a loft. If not, there are other ways to get around this obstacle.
A freestanding loft is an alternative to building over your garage or attic and provides an extra floor without requiring any additional structural work on top of your existing roofing system. This option is perfect if you want an open-air design without having to tear down any walls or rooms in order to create more space within the house itself.

Building an overhead storage loft is a great way to maximize the space in your metal building. It’s also a project that can be completed by almost anyone with a few basic tools and some patience.
Basic Steps to Building an Overhead Storage Loft
Before you start work on your loft, make sure you have all of the materials you need on hand. These include:
Metal rafters and joists – You’ll need to purchase these from your supplier or from a hardware store. Most metal buildings come with some type of framing system, but if yours doesn’t, you’ll need to purchase them separately.
Nails or screws – You’ll need these for attaching the rafters and joists together.
Sheathing – This should be OSB (oriented strand board) or plywood sheathing that fits over your rafters and joists. It will help support the weight of items stored in your loft as well as provide insulation for the roof area below it.
If you’re looking for a place to store large items or bulky equipment, a loft is the perfect solution. A loft can be built on top of a metal building, giving you an extra room for storage. The loft is elevated above the floor, making it easier to reach items stored in it. You can add walls to create rooms within your loft if necessary.
The main advantage of adding a loft to your metal building is that it’s built to last. Metal buildings are durable and long-lasting, which means they’ll be around for years after you’ve finished using them.
If you have a shop, there are many things that can be done to make it more usable. One of the most useful is a storage loft. It provides extra space for storage, but also allows you to keep things off the floor.
Building this type of structure is not difficult and it doesn’t take much time or money. There are several different ways to build a freestanding storage loft, depending on the materials available and how much time is available for construction.
The first step in building any freestanding structure is to determine how much weight it will need to support. This can be done by using a scale and seeing how much weight it will hold before it tips over. The weight of the materials used to build the loft must be added together with the total weight of any items placed on top of it.
If this exceeds the maximum weight limit set by your building inspector, you may need additional supports such as posts or brackets installed in each corner of your structure so that they can hold up any excess weight without bending or breaking under pressure.
The first step in building your loft is choosing which materials you want to use for construction. The main material used should be wood because it’s inexpensive and easy to work with. If you’re
How to Build a Freestanding Storage Loft
A freestanding storage loft can be built in any size and shape, depending on your storage needs and the amount of space you have available. The most common sizes are about 8 feet by 8 feet, but you can make them as big as you need.
The first step is to build the frame for the loft by attaching 2-by-4 boards to 2-by-6 boards with 3/8-inch screws. The 2 x 6 should be positioned in such a way that they form an “X” shape when viewed from above. This will provide support for the floor and walls of the loft. Use two 1 x 12 pieces of wood for each side wall and two 1 x 10 pieces for each end wall. Attach them using 3/8-inch screws or nails.
Next, attach a piece of plywood that is slightly larger than your loft floor to one side of your frame using 3/8 inch screws or nails. This will serve as the flooring for your storage loft. Make sure that you do not attach it too tightly so that it can be removed easily if needed later on (for example, if there is a leak underneath). If no leaks occur later down
How to Build a Freestanding Storage Loft
Being able to store your tools and other items in an organized fashion is a must for any workshop, garage or shed. A freestanding storage loft is an easy and affordable way to add extra storage space, and it can be customized to fit the needs of your specific situation.
Materials Needed:
Two 2x4s – 8 feet long
One 2×4 – 6 feet long
Four 2x2s – 4 feet long
Four 2x2s – 3 feet long
Eight 1x4s – 4 feet long
Sixteen 1x3s – 4 feet long
Two 1x3s – 3 feet long
Four 2x6s – 16 inches long (for legs)
This is a simple and easy to build storage loft that can be used in your shop or garage.
It is made out of 2x4s and plywood. The lumber was purchased at home depot and cost approximately $200.
The loft has 4 shelves, each one 18″ deep by 24″ wide by about 48″ high.
This is a great way to organize and store tools, parts, etc inside your shop or garage.
The key to a good loft is careful planning. You can’t just throw stuff up there and expect it to stay put.
I always begin by measuring the dimensions of the area I want to use as a loft. This will give me a rough idea of how many square feet I have to work with, but it’s not enough information for me to design my loft.
I also need to know how much weight I can put on that floor space and how much weight I can safely lift off of it.
The easiest way to find out how much weight your floor can support is by doing some simple math.
To calculate the maximum amount of weight you can put on an area of floor space, simply multiply its length times its width times its height (in feet). That gives you the total number of pounds that can be supported by any given section of flooring. If you’re using plywood or OSB for your flooring material, use 1/4-inch thick boards for this calculation; if you’re using solid wood 2-by-4s or 2-by-6s, use full 2-by-4s or 2-by-6s (not their nominal sizes).
Now divide by 144 — because there are 144 inches in