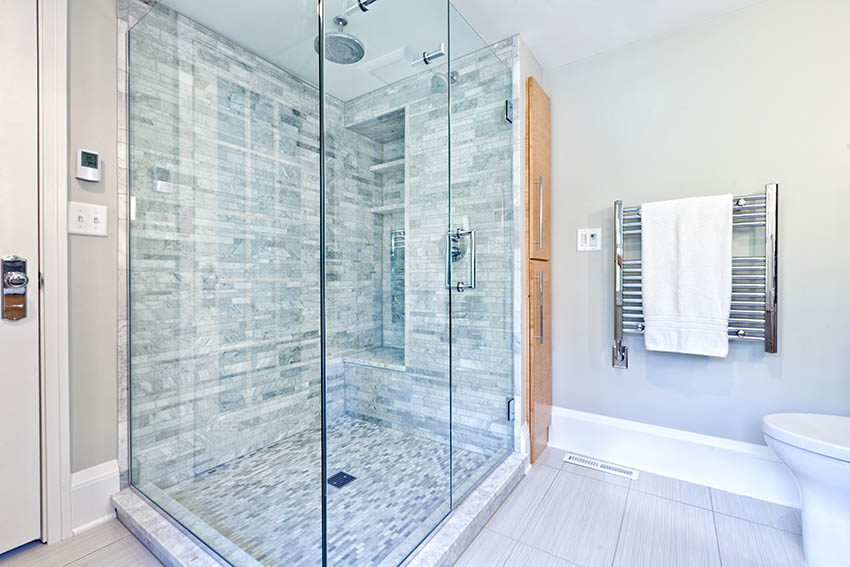
A walk-in shower is a type of bathtub enclosure where the surrounding walls and floor tiled, giving users a feeling of being in a room or enclosure rather than just using a plain old rectangular tub. The size of a walk-in shower makes it ideal for households with several occupants or those with limited space. There are also considerations to take into account when it comes to building your own walk-in shower. What design should you go for? What materials will you need to ensure that the bathroom is safe and sturdy? These questions and more will be answered in this article
The preliminary preparation work can be carried out using a circular saw with a fine-toothed blade if the plywood is of good quality. Otherwise, it may be necessary to use a hand saw.
How to build a standup shower
A shower pan is a base for the walls of your shower. Building a shower pan is not difficult, but it requires some materials and tools. You can build a shower pan out of wood or plastic. The most common material is plywood, which is light and easy to work with.
1 Lay out the location of the walls on the floor, using chalk lines to mark their edges. Cut plywood sheeting to fit within these lines, then screw the sheets together with 2-inch screws.
2 Lay down your level across one edge of your plywood flooring and make sure it’s level before moving on. If you don’t have a level handy, use masking tape to create temporary levels around the room that are easy to move as needed.
3 Set up your miter saw near one end of your shower’s wall (the end with less space between it and another wall). Set its table at 45 degrees so that one side of your plywood pieces will be cut at 45 degrees instead of 90 degrees (this makes them easier to slide into place). Make sure that when you cut these pieces they are exactly 12 inches high — this will provide support for any pipes or electrical wires running through
Step 1: Outline the shower area
For a walk-in shower, you’ll want to outline the area that will be covered by your shower pan using stakes, string and builder’s tape. The stakes should be placed in each corner of the shower pan and spaced evenly along its length. Use a level to make sure all four stakes are at the same height. Then stretch the builder’s tape across the area between two adjacent stakes, leaving about 1/2 inch of space between each piece of tape. The distance between these edges will be your shower pan’s width.
Step 2: Dig out and prepare the subfloor
Next, remove any existing subfloors in your shower area. If there is already tile down or other hard flooring (such as laminate), you’ll need to remove it before you begin digging out dirt underneath it. Depending on where you live and how much frost depth there is in your soil, this process may take some time. If possible, place a drainpipe under your home’s foundation so that water can drain away from where you’ll be digging (this isn’t absolutely necessary but makes digging easier).
Once that’s done and your subfloor has been removed, you’ll need to dig out dirt from inside
Here’s a step-by-step guide on how to build a walk-in shower from scratch. This is a project that will take some time, but you’ll be left with a beautiful new shower that looks like it was professionally installed.
The first thing you need to do is determine where you want your walk-in shower. The location of the drain, faucet and electrical outlets should be taken into account. It’s also important to consider the size of your bathroom and make sure there is enough room for a walk-in shower.
Once you have determined where your new shower will go, measure out the area using painter’s tape to mark off where the walls and flooring will be placed.
Next, cut out your plywood flooring using a circular saw or jig saw so that it fits perfectly into place on top of your subflooring (plywood). You can either leave the plywood bare or cover it with drywall before installing it into place. If you choose to cover it with drywall, follow these steps:
1. Apply drywall mud over all four sides of your plywood board using a trowel or float (this prevents air bubbles from forming).
2. Cut strips of fiberglass matting about
How to Build a Shower
If you have a small bathroom or are just looking to add some extra space, building a shower can be the perfect solution. Building a shower is not difficult and saves you money over buying one that is already made. The steps listed below will show you how to build a walk-in shower from scratch.
1. Measure and mark the area where you want to build your shower. Make sure there is enough room for you to get in and out easily and that it has enough head space for someone taller than 5’10” (1.78m).
2. Once marked out, cut out the drywall using a circular saw with a carbide blade (a masonry blade will also work) at least 1/4 inch (0.6 cm) thick and make sure not to cut through any pipes or electrical lines behind it (if there are any).
3. Install new water supply lines if necessary by running them through new holes drilled into the studs behind the drywall as well as any other necessary plumbing upgrades like adding drains or vents for moisture removal (see step 5 below).
The key to building a walk-in shower is to use the right materials, but also to understand how they should be installed.
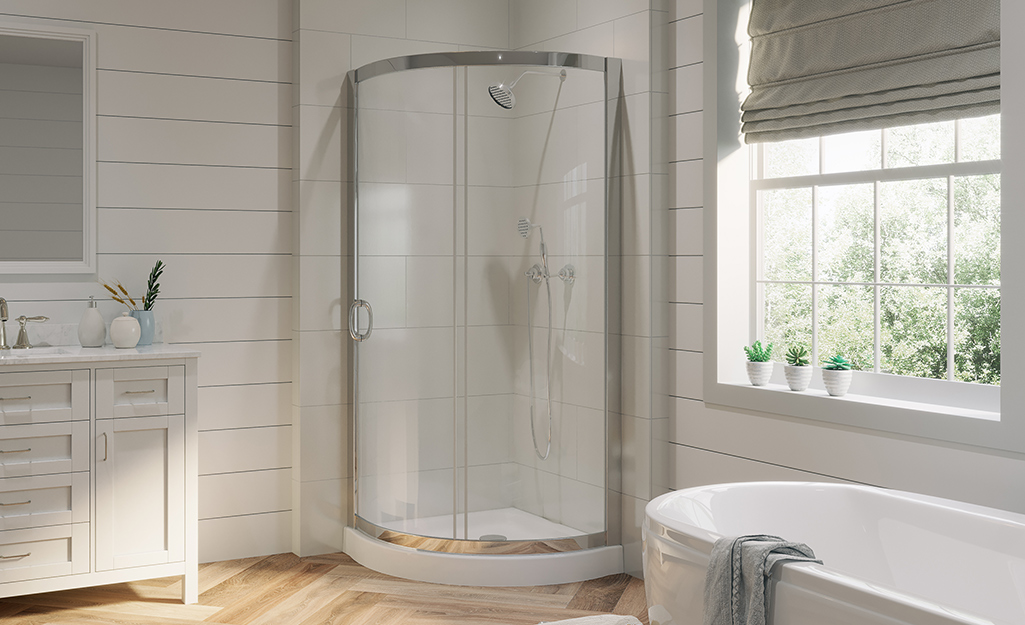
A walk-in shower is essentially a large tub with a door and shower head. You can build one from scratch, or you can purchase a prefabricated unit and place it in your bathroom. The installation process for either option is similar, although the latter may require more work because of the larger size.
First things first: Know your limits. If you’re not used to doing home improvement projects, then tackling this job may be too much for you. Some homeowners choose to hire professionals who specialize in installing shower units. If you’re comfortable with managing your own project but don’t have any experience doing so, consider hiring a contractor or contractor’s assistant who can help guide you through the process.
The first step in building a walk-in shower is to create a sturdy base on which it will rest. You’ll need plywood or another type of wood that’s strong enough for the weight of the structure and its contents (for example, water). Next, install some waterproofing membrane over this base layer before adding cement backer board and tile backer board as well as other materials needed for waterproofing purposes such as caulking
In this article, you’ll learn how to build a shower pan on plywood floor.
The flooring of your walk-in shower is an essential part of the overall design. You can choose from many different types of materials, such as concrete, tile or vinyl flooring.
We will focus on using plywood for the shower floor. This is a great option if you want a sturdy and durable surface that’s easy to clean and maintain.
The first step in building a walk-in shower is framing out the walls with 2x4s. The most common wall height for showers is 79 inches (2 m). If you need more space inside your shower, you can go taller or build two walls instead of one (an L-shaped configuration).
First, let’s talk about how to build a shower pan on plywood floor.
If the only thing holding up your shower is a concrete slab, you can skip this step. Otherwise, this is a good place to start. If you have an existing shower pan, you may want to replace it with plywood if it’s not in good shape.
Use 2 x 4s and 1/2-inch plywood to create a base for your new shower pan. The plywood should be at least one inch thick; thicker is better because it will give you more support later on when you’re pouring concrete into the base of your shower.
The easiest way to do this is just build a box with sides that are about 18 inches tall and 36 inches long (this will accommodate most standard sized showers). Then surround the bottom with 2 x 4s so that there are no gaps between the wood and the bottom of the bathtub or shower pan (if there are gaps, water will leak around them).
Cover these 2 x 4s with 1/2-inch plywood (or whatever size you choose) and make sure there are no gaps between any of the boards — especially near corners where water can collect (and leak out). Make sure
The two most popular ways to build a walk-in shower are to build out the existing floor or to build the shower pan on a new plywood subfloor. In this article, we’ll discuss how to build a shower pan from scratch.
Before you start, you should know that building a shower from scratch is not for the faint of heart. It can be extremely difficult and time consuming, but it’s possible if you’re willing to put in the time and effort.
If you are going to create your own subfloor, make sure that it’s level. If you don’t have access to a laser level or other type of measuring device, try using tape measures instead. Mark out all of your measurements on the tape measure with a pencil so that they’re easy to read when you need them later on during construction.
Build a Walk-In Shower From Scratch
Building a walk-in shower from scratch is not as difficult as it may seem. The first step is to build a frame that will hold up the walls of your new shower space. The frame will be built from 2x4s and plywood, but you can also use other materials such as OSB or metal studs. The next step is to install the subfloor for your new shower space. This can be done by building a simple wooden frame that will support your subflooring material. Once this is done, you can install it in place on top of your framing and secure it with screws or nails. Next, you need to prepare the walls for tiling by installing cement board over them using construction adhesive on all four sides of each piece of cement board before nailing them into place using galvanized nails or screws. Once this has been done, you can start tiling the walls of your new shower area using thinset mortar and ceramic tile cut to fit over each piece of cement board
The first step in installing a shower pan is to build the subfloor. This prevents any settling of the floor and provides a level surface for the shower pan.
The subfloor should be cut to size and installed before you begin installing the shower pan. The subfloor should be made from plywood or OSB (oriented strand board) that has been glued and screwed into place with 2-inch screws. The thickness of the subfloor will depend on how much weight it must support, but most people use 3/4-inch plywood as their subfloor material.
Once your subfloor is installed, you can begin building your shower pan by attaching a drain directly below the center of your opening with a cement board flange. This flange needs to be level, so make sure to check it before cutting through your cement board with a hammer drill and installing it on top of your drain. Once it is installed properly, attach two more flanges to each side of this one using 1/2-inch cement board screws so that they are level with it as well