Now that you’ve gotten your first snowboard, it’s time to build a snowboard box! Building a snowboard box doesn’t have to be difficult. In fact, it’s one of the easiest things you can do. However, if you get in over your head it might not turn out so well. Therefore, I’m going to take you step by step through the process of building your very own board box so that you can enjoy your new snowboard right away without having to wait for shipping.
Building snowboard boxes used to be a lot more involved than you might think. But with our easy-to-follow, step by step process, building your own box is as easy as building a snowman…if you can build one without being distracted by holiday music and light displays.
How to build a snowboard
A good box will be smooth and square, with no gaps or voids. It should also be tight, with no rattles or play in the box.
Step 1: Set up your router table with a straight bit and fence, with adequate dust collection. Make sure you have enough room on both sides of the bit for clamping two pieces together at once (see photo).
Step 2: Cut two sides of your box (I used ¾” thick birch plywood). Clamp them together so they’re square, then measure from one corner to another (see photo). Mark these measurements on both sides so they’ll line up when you glue them together.
Step 3: Mark out where the mounting holes will go (for mounting hardware), making sure they’re spaced evenly around the perimeter of each side piece. Drill these holes out with a brad point bit at least 1/8″ larger than the diameter of your screws or bolts that will mount your hardware (see photo). You may need to drill additional pilot holes first if your wood is hard or dense.
A snowboard box is a piece of wood that acts as the base of your board. It’s important to make sure that your snowboard box is properly sized and constructed because it’ll be what your board rests on while you ride.
A common mistake that people make when building their own boards is to make their snowboard box too big. This will result in an unstable ride, as the board will have too much leverage for you to control.
If you’re building a freestyle board, which requires more flexibility and maneuverability than downhill boards, then making your snowboard box too small will also cause problems. You’ll end up with a stiffer ride – which means less control over your board – and less space for mounting bindings, which leads to poor responsiveness when turning.
The proper size for your snowboard box depends on several factors: rider weight, age, skill level, and type of riding being done (freestyle vs downhill). For example, if you’re riding freestyle but weigh more than 180 pounds then you may need to use a larger box than someone who weighs less than 170 pounds and rides the same terrain type (freestyle).
Step 1: Lay Out Your Board
Start by laying out the board and tracing the outline onto the plywood. Make sure that it is centered and that you have plenty of room to work around it.
Step 2: Cut Out Your Board
Cut out the board with a jigsaw or circular saw. You can also use a band saw if you have one available, but be sure to work slowly so as not to damage your blade!
Step 3: Sand Down Edges and Corners
Use sandpaper to smooth down any rough edges or corners on your board. This will make them less likely to cut you as you ride down hill!
Step 4: Cut Out Parts for Rail System
Cut out any pieces that are needed for your rail system (if applicable). A good example would be a top sheet if you’re using one of our dropthrough designs. If there’s anything else that needs to be cut out, such as seat mounts or trucks, do this now too!
Snowboard Building Basics
Snowboarding is a sport that requires you to be in control of your board. If you can’t control it, then you will not be able to have fun on it.
The best way to learn how to snowboard is by building your own snowboard. This will allow you to customize your board, as well as get a feel for how it works. It is also a great way for beginners to learn about the different types of parts used on boards and how they work together.
Building your own snowboard can be done with just a few tools and materials, including:
Screwdriver
Hex wrench set
Sharpie marker
Before you begin, make sure you have the following items:
– Miter saw or hand saw
– Screw gun and drill bits
– Wood glue (optional)
– Sandpaper (100 grit or higher)
– Wax for skis and boards (optional)
– Wax remover (optional)
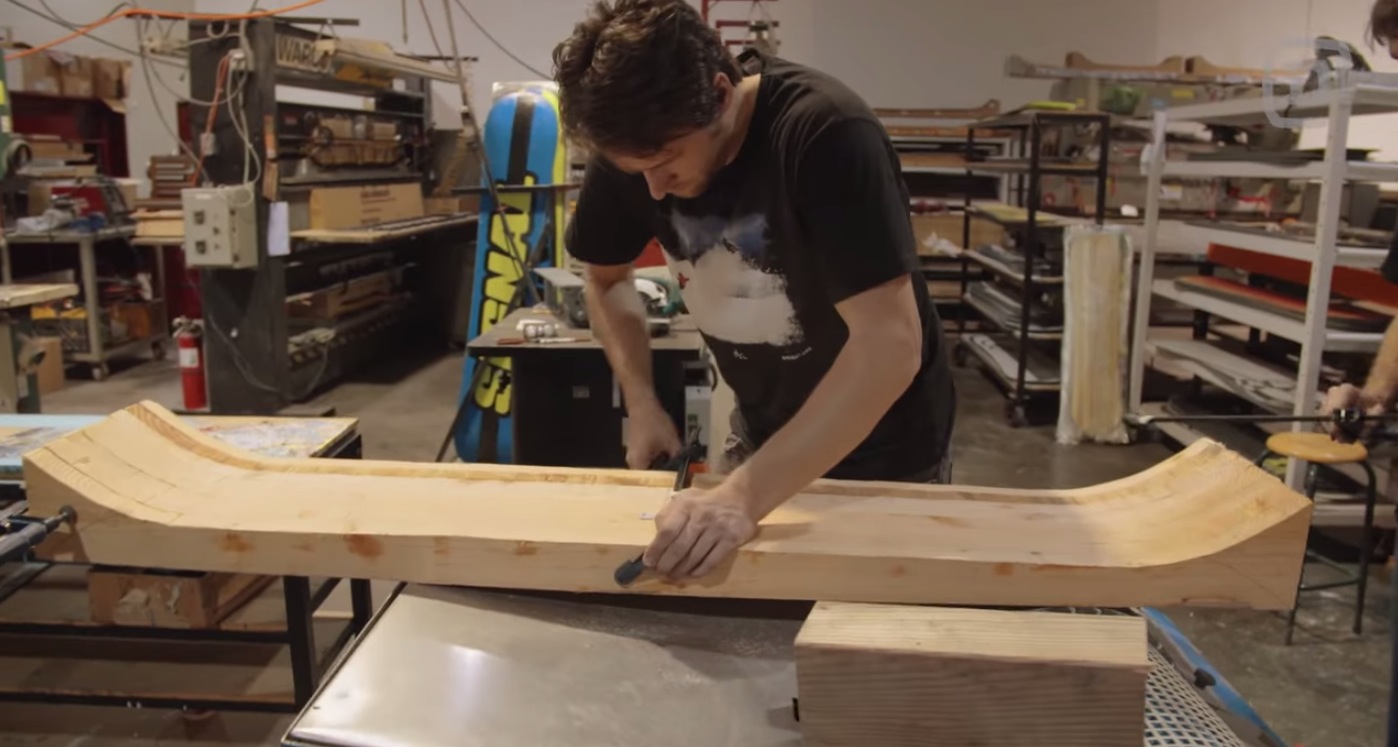
How to build a snowboard rail
The process of building a snowboard rail is simple and can be done in the comfort of your own home. It’s also an excellent project for the whole family, as it will help you bond together while you make something fun for your backyard. If you’re interested in building a snowboard rail for your property, here are some tips that will help you get started:
Materials needed:
-A shovel (or other digging tool)
-A saw or handsaw (depending on the size of your box)
-Wood glue and nails (you may need to purchase these from a hardware store)
Welcome to the world of snowboarding! If you are a beginner and want to know how to build a snowboard rail, then this article is for you.
In this post, we will discuss how to build a snowboard rail in details. You will learn what are the best materials that can be used to build a snowboard rail and how to use them. You will also know about the tools required for building your own snowboard rail.
So let’s get started!
Building a rail can be done by anyone with the right tools, but it requires some skill and patience. The process is not complicated, but it does require some time and effort. If you are up for the challenge and want to build your own rail, here is a simple guide on how to do so.
Materials needed:
-Spade shovel
-Shovel handle
-Shovel head (optional)
-Drainage pipe, PVC or metal (1/4 inch works best)
-Screws and wood screws (to attach the box)
Tools needed:
The snowboard rail is a staple of the sport. It’s one of the first obstacles you’ll encounter on a trail and it’s also one of the first features that you’ll learn how to ride.
The snowboard rail is simply a piece of metal that protrudes from the side of a trail. The rail can be anything from two to four feet wide and it usually has an overhang on one side so that riders can get their feet off the board while they slide it.
Snowboarding has become a very popular sport in the last decade. There are many reasons for this, but one of them is that it can be done almost anywhere there is snow. This means that you do not have to go on expensive vacations to enjoy the sport. You may even be able to find a good slope in your own backyard!

If you have never been snowboarding before, there are several things that you should know before attempting it. For example, it is important to choose the right equipment. This includes choosing the right boots, bindings and board. However, there is one more thing that you need in order to ride down the mountain: rails.
What are rails?
Rails are boards that riders use when they want to go around curves or corners on their way down a hill during a snowboarding trip. They help them turn without having to use their hands or feet and can help make their trip down the mountain much easier and safer for them as well as other people involved in the activity like other skiers or those who may be walking around in areas where people are riding down hillsides on their boards.