If you are going to build a snow dog then you should read about tips for building a snow dog. Snow is big, everyone likes snow and everyone who has seen snow have also seen a snow dog. Building a snow dog as I said is hard but I have tips that will help you to build one just like the pictures on this site for you to see and enjoy.
I think you want to know how to build a snow dog. If the answer is yes, you are right. You can start building it by studying your snow dog plans, you will get a better understanding of how you can build a snow dog.

How to build a snow dog
A snow dog is a type of dog that has been selectively bred to resemble the appearance of a Siberian Husky. The name “snow dog” is very common within the husky community, but it is not an official term.
The name is derived from the fact that most snow dogs are white like Siberian Huskies and have similar facial features. They can also be known as “husky dogs” or “Siberian husky lookalikes”, although both of these terms are somewhat controversial, as they may cause confusion with actual Siberian Huskies and Alaskan Malamutes. The term “Alaskan Malamute lookalike”, while less ambiguous, is often used by breeders who intend to sell their dogs as true Alaskan Malamutes but who fail to meet the breed standard for them.
In order to build a safe snow dog camping you need:
A big space for running around;
A secure place for your tent;
Space for cooking and eating;
A safe place where your pet will be able to enjoy himself;
A snow dog is a simple device that you can use to build a quick, safe campfire. It’s also known as a fire pan, and is relatively easy to make.
Step 1: Open the box, take out the contents and spread them out on your work surface so that you have plenty of room to work with. If you are using newspaper, gather up enough sheets for at least two layers. If you are using cardboard, tear off two squares about 12 inches (30 cm) square and stack them together vertically so that they overlap by about half an inch (1 cm).
Step 2: Lightly moisten one side of each piece of cardboard or newspaper with water. This will help keep it from blowing away when we place it over our fire pit later on.
Step 3: Spread out your material so that there is at least one layer on top and bottom (more is better). If you are using cardboard, place one piece on top and then another on the bottom; if you are using newspaper then just put down one layer at a time. Be sure to overlap
Building a snow dog is an easy way to make snowballs fast. You can make one in under a minute and it’s reusable for years.
Build them out of cardboard, or use an insulated cooler with a lid that opens easily.
To build your own snow dog, follow these steps:
1) Cut four pieces of cardboard that are the same size and shape (rectangles or squares).
2) Poke holes in each piece of cardboard with a pencil or pen. The holes should be evenly spaced along the edge of each piece.
3) Stack your four pieces together with the holes facing up, then fold the top part down over the bottom part so that all four pieces are connected together like a box.
4) If you have an insulated cooler with a lid that opens easily, you can use that as your snow dog! Just follow these instructions instead: poke holes in the side of your cooler near the bottom edge, then stack your cardboard pieces onto it with their holes facing up and fold over top to make sure they stay in place
Snow dogs are a fun way to get outside and get some exercise. They can be built out of any material that you have on hand and can be as simple or complex as your time and skills allow.
The best materials for snow dogs are light and strong. Some materials, such as PVC pipe, will not hold up under pressure, while other materials like wooden dowels are too heavy to move easily. Good materials include:
1 1/2″ diameter PVC pipe (3-4 feet long)
2x2s or 2x4s cut into 12″ lengths (6-7 feet long)
String or rope (optional)
The snow dog is a fun and simple project that will provide your kids with hours of entertainment. It’s also a great way to get them away from their electronic devices.
The best thing about this project is that it requires very little time, money and skill. All you need is some cardboard, duct tape, scissors and markers.
To make your snow dog, follow these simple steps:
Cut out two identical shapes from two sheets of cardboard. You can use an old cereal box or any other thick paperboard. For example, an empty cereal box would work perfectly well for this project. The shape should resemble a rectangle with rounded edges and a triangle-shaped head with two holes cut out for the eyes and one small hole on top for the mouth.
Use the scissors to trim the edges of your snow dog until they’re nice and smooth. Use the duct tape to cover all exposed surfaces except for the bottom so that your snow dog doesn’t blow away when it snows!
Use markers to draw facial features on each side of your cardboard snow dogs — eyes, nose and mouth — then decorate them however you like using crayons or colored pencils. For example, you could draw whiskers around each eye with black marker
How to build a safe snow dog
When it comes to winter camping, you can’t beat a good old-fashioned snow cave. They’re cheap, easy to build, and warm. Plus, they make for great campsite photo ops!
Snow caves are basically just holes in the ground with walls made of snow. The principle is simple: dig down into the snow until you reach the ground. Then dig out a floor and start building up walls until they are two feet thick at the base and six inches thick at the top. Leave an opening in one wall large enough for your body and gear so that you can crawl inside with all your gear on your back without having to try and wriggle through tight spaces with wet boots. Once inside, close up the entrance with a door or plug of snow or rocks if necessary (don’t forget about ventilation!).
It takes some practice to get it right but once mastered building a snow cave is pretty straightforward — and will give you bragging rights among friends!
Camping in the winter is an amazing experience. The cold, the snow, and the stars overhead create an atmosphere that is hard to duplicate at any other time of year. But when you’re camping in the snow there are some things to keep in mind that can make or break your trip.
One of the most important things is how you build your shelter. The safest way to build a shelter is with snow blocks or ice blocks instead of using wood from dead trees or branches. This has several benefits including:
It’s safer than using wood from dead trees because it doesn’t rot as fast as wood does when exposed to water for long periods of time like in a tent or shack built out of dead wood does. The use of snow blocks also means that there will be no rotting and molding materials inside your shelter making it easier to maintain and clean out if necessary.
Snow blocks are easy to make with just a few tools:
A shovel and a strong back! You’ll need these two things to collect snow (and ice) from around your campsite and carry it back to where you want it placed in your shelter. If you have an axe then this will help too but not necessary unless you want extra protection
Building a safe snow dog is easy. Here’s how to do it:
The Snow Dog is a simple design that can be built in an afternoon or two. It is based on the Alaskan Husky sled dogs and has been used successfully for over 30 years. This year I decided to build one of these puppies and see how she handled in the snow.
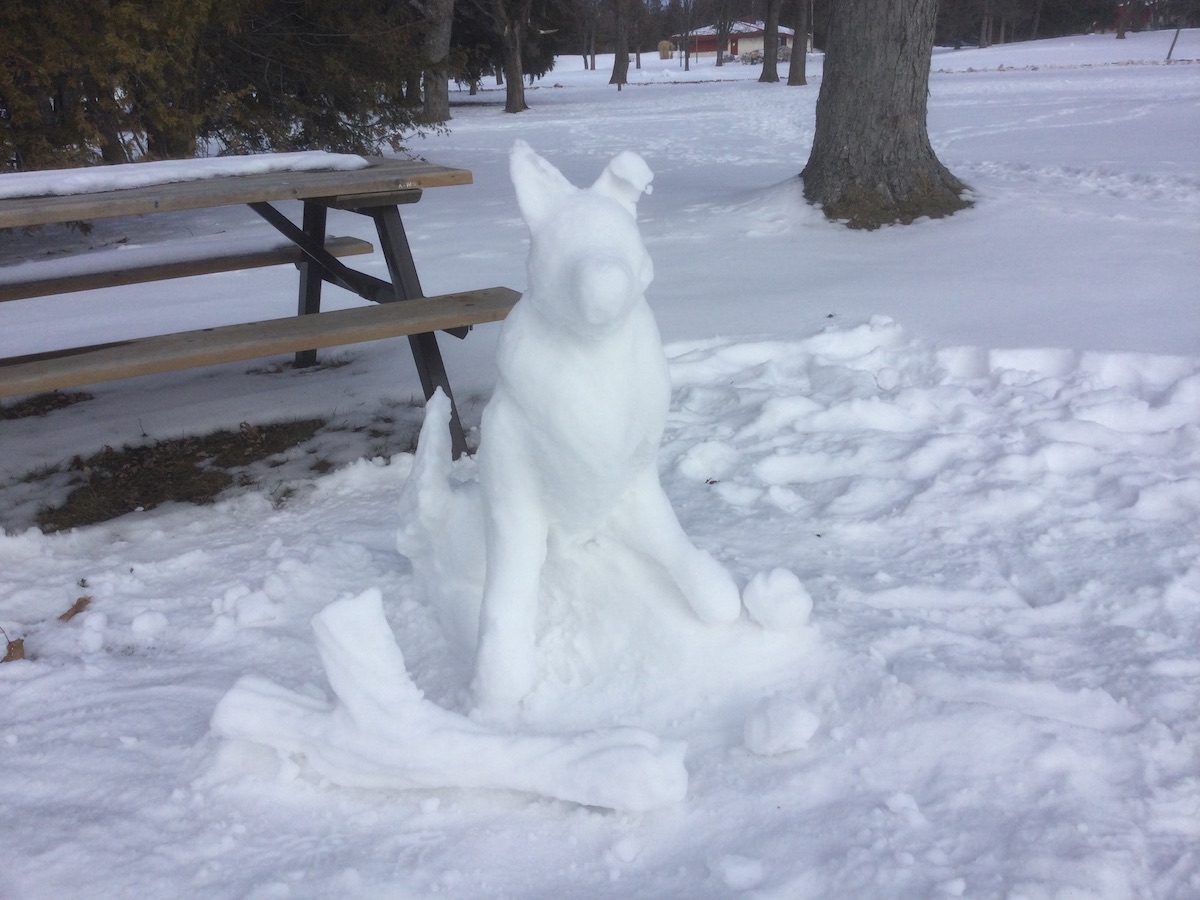
Here are some pictures of my finished product:
My snow dog is made of two pieces of 2×6 lumber with a piece of plywood between them, which makes it easy to carry around by myself. The front end has a piece of pipe welded onto it so that I can put the tow rope through it and tie it off to something solid (like another car).
Snow dogs are one of the most popular winter activities.
Snow dogs are great for kids and adults alike. In fact, snow dogs are a way for families to bond and have fun. They’re also a great way to exercise, especially if you’re looking for a good cardio workout.
As with any outdoor activity, there are some safety considerations that should be taken into account when building a snow dog. Here’s how to do it safely:
1) Make sure your dog is in good health before going outside. If your pet has any health issues or injuries, wait until they are healed before heading outside with your dog during the cold weather months.
2) Make sure your dog has plenty of water on hand at all times while out in the snow. Dogs need extra water during winter because they lose more through their paws and by breathing heavily due to heavy coats or sweaters they wear when playing outside in the winter weather conditions.
3) Provide snacks along with plenty of water throughout the day so that your pooch doesn’t get tired or sick from being out in the cold too long without food or water. If you feed them treats while playing outside, make sure that they don’t eat too much at once as this could cause an upset stomach or

There are a few things you need to know about building snow shelters.
1) A safe snow dog is not just about the shape of the structure but also about the inside of it.
2) The insulation, waterproofing, and windproofing should be good enough so that you can stay in it as long as possible while keeping yourself warm.
3) The materials used for this purpose should not be too heavy on your body and should be easy to carry around with you.
4) The dog house should be big enough for one person to sleep comfortably in it without any problem at all.