This article will teach you how to build a simple bookcase with pocket screws and a Kreg Jig. Why? Because I built one in the past and it was pretty awesome. However, if you’re looking for something more complicated, or don’t want to install real shelves then head over to Simple Built-In Bookcase
I just finished building a bookcase in my living room, and I’m feeling like writing a blog post about it. My goal was to do it with pocket screws and without using a power tool (since I don’t have any).
How to build a simple bookcase without power tools
This simple bookcase is built entirely with pocket screws, so it can be assembled in an afternoon. The materials cost about $50, and you’ll need a few tools: A drill/driver, a tape measure and a pencil. If you don’t have them, they’re relatively inexpensive.
After you build your first bookshelf, you can experiment with different designs and materials to come up with something unique. For example, how about a floating shelf? Or one that’s built around the corner of a room? Or maybe even two-story shelves? The possibilities are endless!
The bookcase is a simple and useful piece of furniture. You can use it as a room divider or as an element to store your books.
The following steps will help you build a simple bookcase without power tools:
1. Cut the wood pieces with a circular saw and sand them smooth with a sander. You can use pocket screws or nails to join them together (if you want to avoid making holes in your work).
2. Join the sides with the back and front using pocket screws or nails.
3. Install your shelves on top of the side boards, paying attention to their position so that they are level with each other and parallel to the floor.
4. Attach two small pieces of plywood (one at each end) using pocket screws or nails (or glue) to cover the exposed edges of your shelves.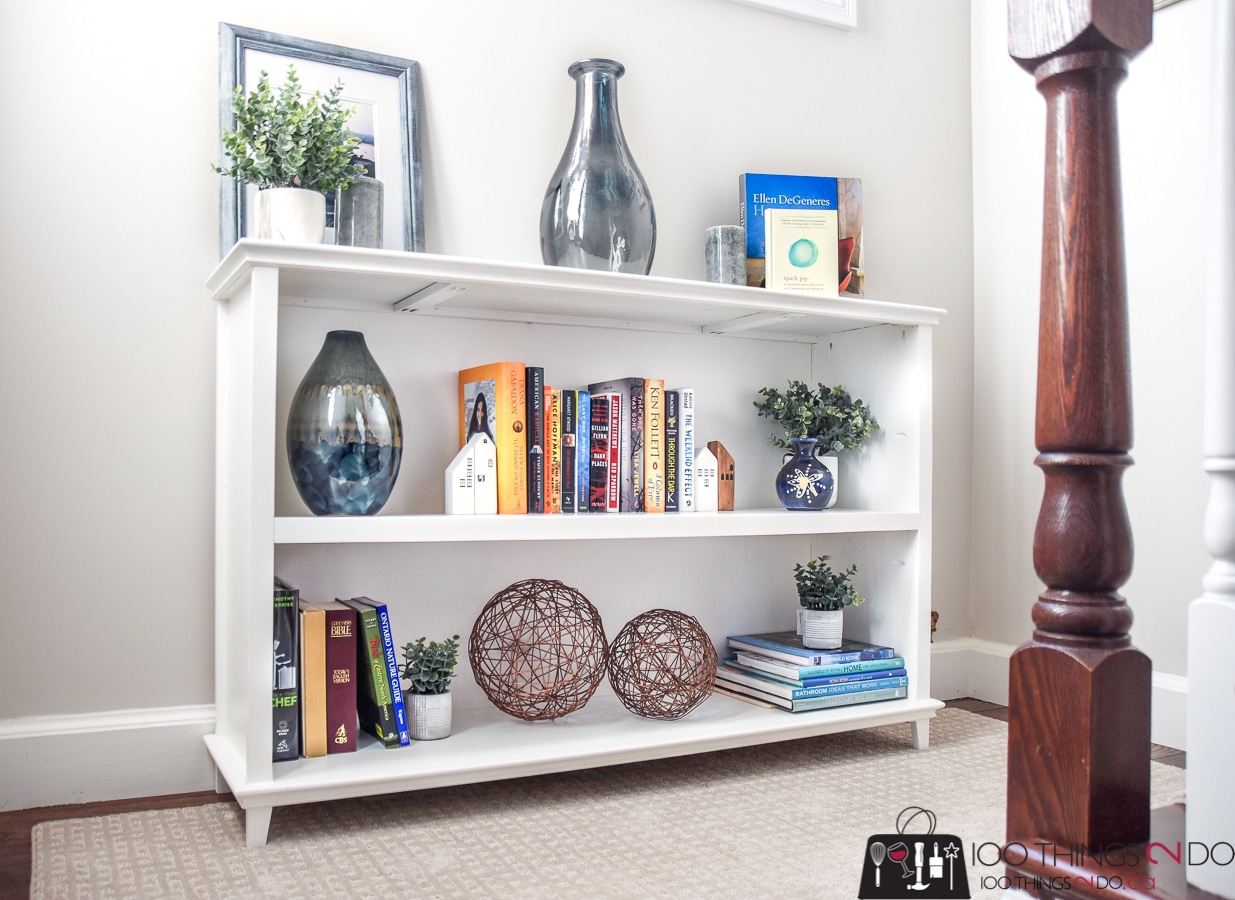
If you want to build a simple bookcase, start by cutting the plywood sheets to size. You can use any type of saw for this step, but a circular saw is usually the best choice. If you don’t have access to a table saw, use a straightedge and utility knife to cut them square.
Next, cut pocket holes in the front edges of each shelf using your Kreg jig and 1-1/2-inch pocket hole screws. Make sure that you drill into the edge of each board so that they are hidden when they are attached together.
Attach one side piece to both ends of the top and bottom pieces with glue and 3-inch screws drilled through the pocket holes. Make sure that all four corners line up perfectly before drilling any screws or driving too hard on them because it will cause misalignment if you don’t get it right the first time around. Once everything is lined up properly, tighten all of your screws down tightly with an impact driver or drill/driver equipped with a Phillips head bit so that there are no gaps between any of your joints (this will prevent moisture from getting trapped inside).
Attach another side piece to one end of each top piece by screwing through its pocket hole
If you’re looking for a simple project that only requires a few tools and can be completed in one weekend, then building a bookcase is the project for you. A bookcase is basically just a frame with shelves, but there are many different ways to build it. The most common way is to use pocket screws, but there are also other methods.
Here are some tips on how to build a simple bookcase:
1) Choose your wood wisely
2) Start with the right measurements
3) Add your fasteners
4) Use wood glue when necessary
This is a simple project that can be accomplished by anyone with basic carpentry skills.
I used pocket screws, but you could also use a Kreg jig, biscuit joiner or other clamping method.
You’ll need:
Two 1×6 boards (for top and bottom)
One 1×8 board (for sides)
Four 1×3 boards (for shelves)
Build this simple bookcase with pocket screws and plain-sawn lumber. The bookcase is built using a basic frame-and-panel design with plywood sides. The panels are nailed to the frame with finish nails, but if you have a pneumatic brad nailer, use that instead.
When building this bookcase, make sure you measure carefully and cut accurately. The joints should be snug and tight, but not overly so. If necessary, plane or sand them lightly to remove any small gaps at the joints.
The shelf depth is cut to accommodate standard hardcover books. If you have oversized reference volumes or other thick books, adjust the shelf depth accordingly so they fit on the shelf easily.
You can build this project using either solid wood or plywood for the sides and back panels. The solid wood version looks great with painted sides; however, plywood is easier to work with (especially if you’re new to woodworking) because it doesn’t require as much sanding before finishing. If you’re going to paint your project anyway, then choose plywood; otherwise go with solid wood if possible
The first step in building a simple built-in bookcase is to get the materials. You’ll need a stud finder, a hammer, a screwdriver and a tape measure. You’ll also need pocket screws, which are special screws with flat heads that allow them to be driven into the wood without pre-drilling. They’re available at most hardware stores and online.
Next, you’ll want to measure the area where you want to build your bookcase and mark it off with blue painter’s tape.
Use your stud finder to locate where the studs are located in your wall, then use your tape measure to determine how far apart they are from one another. This will help you determine where on the wall you should place your bookshelf brackets.
Once you have marked off where each bracket will go, use two pieces of scrap wood to create “L” shapes with two nails on each side of each bracket location (one nail for each side). This will help keep the shelf from falling out of place when we put it up later on.
Now all we need to do is drill holes through the brackets into the wall at each location using our drill/driver and 1/4-inch drill bit
If you’re looking to add some built-ins to your home, building them yourself is a great way to save money. And if you don’t have a lot of experience with woodworking, it can be an easy way to get started.
Today we’re going to show you how to build a simple built-in bookcase using pocket screws and plywood. This project is great for beginners because it doesn’t require any fancy joinery or complicated construction techniques. You can also customize it by changing the size and height of the shelves.
Materials:
2x4s (cut into 2x2s)
Plywood (cut into 1/4″ plywood)
Pocket screws (1 1/2″ #10)
Cut List:
Step 1: Draw the shape of your bookcase.
1. Use a tape measure and pencil to measure the length and width of the space that you want to fill with your bookcase.
2. Place the tape measure on a flat surface parallel to the floor, then set the tip of your pencil at one end of the tape measure and draw the line all the way across with your pencil.
3. Repeat this step for the other side of your bookcase, creating two identical rectangles.
4. Use a straightedge or ruler to draw vertical lines connecting each side of each rectangle at its top and bottom edges so they form an A-frame shape.
Step 2: Cut pieces for your bookcase baseboard and shelves (if applicable).
1. If you’re building an actual shelf into your wall, cut 2x4s based on how deep you want them to be (see Step 7). Then cut 2x2s down to fit between these boards as spacers between shelves, if desired (see Step 9).
1. Cut and drill the shelves
2. Attach the shelves
3. Attach the face frame
4. Build a back panel
5. Build a cabinet door
6. Install hardware and install!