If you’re reading this article, you’re probably aware that a roof is an integral part of any building. The roof protects your house from rain, snow and strong winds. But it’s also a highly complicated structural component that consists of many parts and techniques to be executed correctly – even more if the project deals with a high-rise building. Below I’ll give you some insight on how to build a roof.
Building a roof is one of the great joys of a carpenter’s life, especially for those that know How to build a roof and like to dabble in architecture and construction.
How to build a roof
Roof framing is the process of constructing the skeleton of a building. The framing includes the joists, rafters and ceiling joists that support the roof structure, as well as wall framing to support exterior walls. The placement of interior walls is typically done after framing is completed. Roof framing can be difficult, but it’s not impossible. Here are some tips on how to frame a roof, including how to build a pitched roof.
2×4 lumber: 2-by-4s are commonly used in framing, because they’re relatively straight and don’t split easily when nailed through with 16d nails.
Joist hangers: These metal brackets hold joists in place when they’re installed on top of beams or headers and rest on ledger boards attached to the wall studs below them.
Beams: A beam supports two or more joists or rafters at right angles to each other. Headers: A header is a horizontal member that supports vertical members such as rafters and floor joists at their ends; it’s also called an end beam or simply an end post.
A roof can be constructed in many different ways. The simplest is a flat roof, which is simply a layer of waterproof material laid over the joists. This type of construction is not suitable for all buildings, however, as it requires the use of sloping walls to direct water away from the structure.
Building a pitched roof is much more common than constructing a flat one. Pitched roofs are usually built with sloping sides and a ridge that runs down the middle of the structure. This allows rainwater to run off and keeps it from pooling on top of the structure or leaking through cracks or holes in the roofing material.
When building any kind of roof, including pitched ones, it’s important to ensure that the structure will be able to support its own weight plus any additional loads that might be placed on top of it (such as snow).
The first step to a new roof is to look at your roof. If you have a flat roof, follow the instructions below for how to build a gable roof.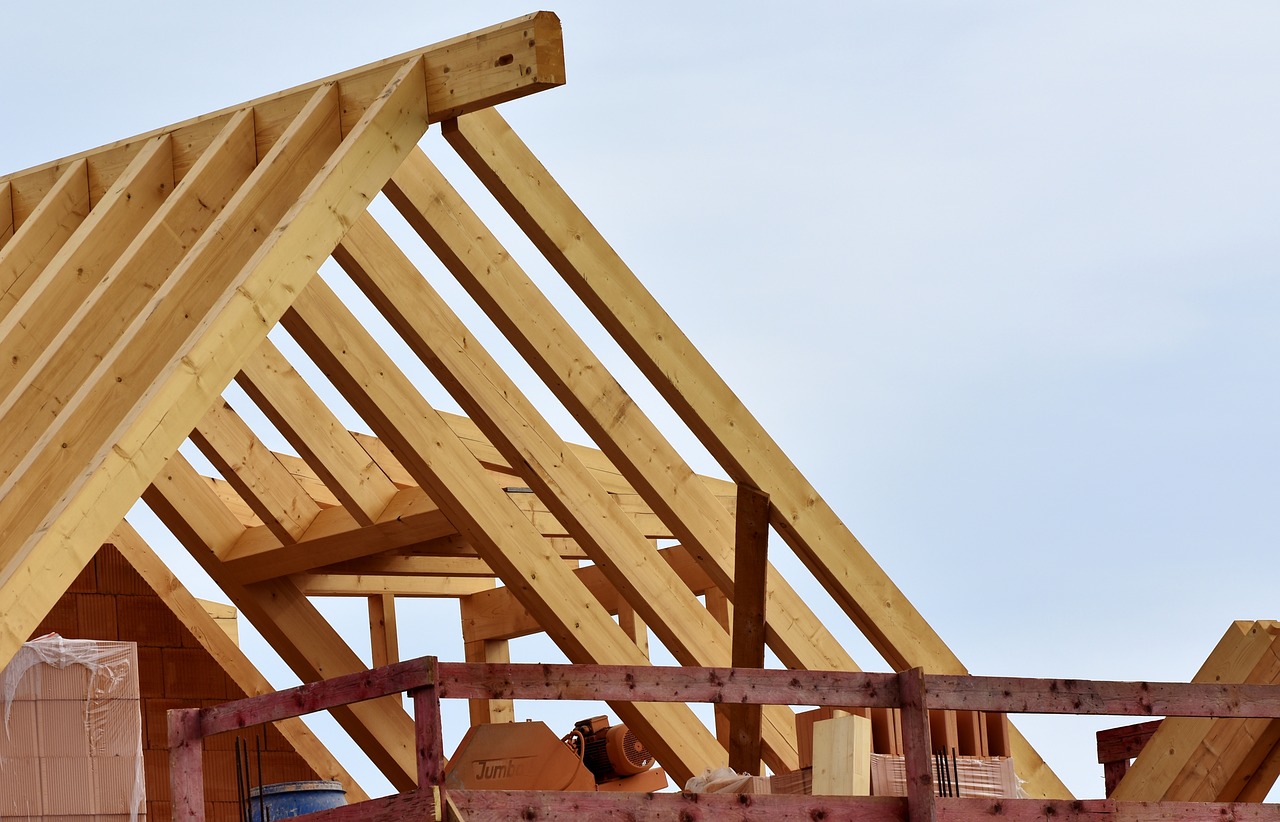
If you have a pitched roof, follow these instructions on how to build a gable roof:
Measure the length and width of your garage or building. Write these numbers down so you can use them later when ordering supplies.
Decide on which direction your roof will slope – most homes have their roofs sloping toward the back of the house, but some choose to have their roofs sloping toward the front. Check with local building codes before making this decision.
Calculate how many rafters you’ll need by dividing your measurements by 2 feet (48 inches). For example, if your garage measures 16 feet by 20 feet and you want your roof to slope at an angle of 12 degrees (or 1 foot of rise per 12 inches in run), then divide each measurement by 2 feet to get 40 inches and then divide that number by 1 foot rise per 12 inches run (1/12) to get 4 rafters needed per side of each section of the building. So using our example above, we would need 8 total rafters (4 on each side).
This tutorial will show you how to build a simple hip roof. A hip roof is a type of roof where all sides of the building meet at an angle, creating a ridgeline. The ridgeline can be straight or curved, but it should always be straight in modern construction. Hip roofs are very common on barns, farm buildings and homes in the Midwest United States. Some people call them “shed roofs,” because they’re so easy to build and because they look like small outbuildings on top of your home.
A hip roof is built by framing the rafters into a square shape, then nailing a ridge board along the highest point of each rafter and connecting them together at the corners with triangular braces called gussets. The center of each gusset connects to the ridge board with another rafter that extends past the end of the roof’s outer walls by 1 foot (0.3 meters). That way you can install shingles on both sides of this central section of your roof — which helps protect your home from rain runoff and snow meltwater.
There are two main types of hip roofs: “simple” hip roofs and “double” hip roofs (which I’ll explain later). In either case, there are two basic
A roof is the top covering over a building. The word also applies to the structure of the framing that supports this covering.
A roof protects the building and its contents against damage from precipitation, heat, hail, wind and water. The material of a roof can be complex; some roofs are built using clay tiles, zinc sheets, steel plates or wood boards covered with slate.
Pitched roofs have a slope, which causes them to drain rainwater into gutters or scuppers. Many types of roofs are designed for specific applications, such as solar heating, water filtration or insulation.
Types of roofing material include:
Asphalt shingles – Asphalt shingles are made from asphalt mixed with mineral granules and fibers that help bind the product together. They are made in several different styles including three-tab, architectural and dimensional shingles. They can be applied directly over sheathing or over an underlayment such as plywood or OSB (oriented strand board). Asphalt shingles are generally inexpensive but last 10 to 25 years depending on their quality and application method.
Clay tiles – Clay roof tiles are made of fired clay similar to pottery but thinner than regular ceramics
How to Build a Roof Frame
Building a roof frame is an essential part of constructing any house, and it’s also one of the most important parts of building a roof. The roof frame provides support for the roofing materials and protects them from wind, rain and snow.
You can make the roof frame yourself or hire a professional to build it for you. If you want to make sure that your roof will last as long as possible, it’s best to hire someone with experience in building roofs. However, if this is not an option, here are some tips on how to build a pitched roof:
Choose Your Materials
The first step in building any kind of structure is choosing the right materials for the job. For your pitched roof, you’ll need wood to construct the frame and nails or screws to hold everything together while you’re constructing it. You’ll also need shingles or other materials for covering the frame once it’s finished.

Measure Your Roof Size
Before you start building anything, measure your entire house so you know exactly how big your roof needs to be. This will help ensure that your measurements are correct when you start cutting pieces of wood for each part of your roof frame.
Construct Your Frame
Step 1: Install the rafters
The first step in building a pitched roof is to install the rafters. Lay out the rafters spaced about 3 feet apart on top of the ridge beam, with their bottom ends resting on top of the beam.
Step 2: Attach the ridge board and fascia boards
After you’ve laid out your rafters, attach them together with metal brackets called ridge ties and then attach them to the ridge beam using metal clips called hangers. After that, install fascia boards along both sides of the roof. Fascia boards are usually made of wood but can also be made of metal or vinyl. They cover up all of those holes that you drilled through your rafters when you installed them and give you something to attach your shingles or other materials too.
Step 3: Attach siding materials to your roof frame
Next comes installing siding materials like plywood or OSB (Oriented Strand Board) directly onto your roof frame as well as installing any additional wood trim around windows and doors if desired. You want this stuff nailed or screwed down pretty well because it will be taking most of the weight from all those shingles plus snow, etc., so make sure that it’s very secure!
A pitched roof is a roof where all sides slope downwards to the walls or parapet. Pitched roofs are very common in Australia, and are used to protect buildings from the elements, as well as adding extra living space.
Pitched roofs can be built with many different materials, however in this article we will focus on how to build a pitched roof using timber framing.
A pitched roof is constructed by first building out the frame of the roof with timber framing. This is done by fixing a series of joists into place at regular intervals along the length of your home. Once these joists have been fixed into place they will form the base of your new pitched roof.
Next you will need to build a rafter for each side of your house that will run perpendicular to these joists, this will allow you to create an angled surface for your new pitched roof.
You can then fix these rafters onto each side of your house by putting them through holes cut in each joist and then attaching them together at their ends by screwing them together with nails or screws (depending on what type of material you use)
Once this has been done you should ensure that all joints are secure before proceeding any further with building your new pitched roof
Pitched roofs are usually the most common type of roof, and they can be found on houses all over the world. A pitched roof is typically sloped at an angle of about 30 degrees. The pitch helps the water run off the roof quickly and prevents any water from pooling up and damaging your home.
Pitched roofs are built in one of two ways: with rafters or trusses. Rafter roofs are typically easier to build for an amateur DIYer, but trusses have their advantages too, especially if your home has a complicated design.
Rafters are made out of wood boards that run perpendicular to each other and attached together with nails or screws. Trusses are made out of metal bars that are shaped like triangles and connected together at different angles to form a triangle shape.
A pitched roof is a type of roof where all sides slope downwards to a single point, typically in the center of the building. The pitch of a roof is determined by its slope. A one-pitch roof has a slope of 1:12, two-pitch has a slope of 1:8 and three-pitch has a slope of 1:6.
A pitched roof can be constructed using many different materials, but the most common are wooden planks and asphalt shingles.
The first step in building a pitched roof is to create the frame using girders, trusses and rafters. This basic structure is then covered with sheets of plywood or OSB (oriented strand board) panels that are nailed into place.
Once this structural framework is complete, it’s time for shingles or tiles on top! It’s important that these materials fit properly onto your roof because if they don’t then you’ll have leakage problems later on down the road.