Building a raised sandbox is a fun and easy project that allows you to make your own sandbox for your kids. Building it yourself can really save you money because the cost of pre-built sandboxes are expensive. This article will show you how to build a raised sandbox.
Building a raised sandbox is not as easy as one might think. However, there are many fantastic guides available with step-by-step instructions for the whole process. The following guide was created in order to walk you through the proper steps to build a raised sandbox in your own backyard;how to build a raised sandbox,how to build a giant sandbox and how to build a backyard sandbox.

How to build a raised sandbox
Building a sandbox can be a fun project that gives your kids a place they can play and dig without having to worry about them getting hurt. A sandbox is also an excellent place to store toys, keep them out of the way and off the floor.
A sandbox is easy to make from wood, concrete or plastic. If you want something that can be moved around, you should use wood or plastic. If you want something more permanent, concrete might be the best option for you.
Step 1: Measure and Cut Wood
Measure the area where you want to put your sandbox and cut 2 pieces of plywood or planks using this measurement. Cut one piece roughly 2 inches shorter than the other piece so that they fit together nicely when placed side by side next to each other.
Step 2: Fit Together
Fit together the 2 pieces of plywood so that they form a rectangular shape with no gaps between them at all (or as few gaps as possible). This will form the base of your raised sandbox.
Step 3: Secure Lid On Top
Securely fasten down both sheets of plywood together with screws or nails so that they form an enclosed space with no gaps between them whatsoever (or as few gaps
how to build a giant sandbox
Sandboxes are a great way for children to interact with the outdoors. There are many different types of sandboxes available, but the most common is the raised sandbox. The raised sandbox provides plenty of room for kids to play in and is easy to clean up after they’re done.
If you’re ready to build your own raised sandbox, here’s how to get started:
Step 1: Choose Your Location
The first step in building any sandbox is choosing where you want it located. A good spot for a sandbox is somewhere that gets lots of sunlight during the day and has some protection from wind at night. You also want to make sure there is enough room around it so that kids won’t accidentally run into it when playing.
Step 2: Gather Materials
Once you’ve chosen where you want your sandbox, gather all of the materials needed for construction. You’ll need two 8-foot pieces of lumber (4x4s), four 4x4s cut down to 3 feet long, eight 4x4s cut down to 2 feet long and four 8-foot pieces of 2×6 lumber. These materials can be purchased at any home improvement store or lumberyard.
Raised sandbox plans
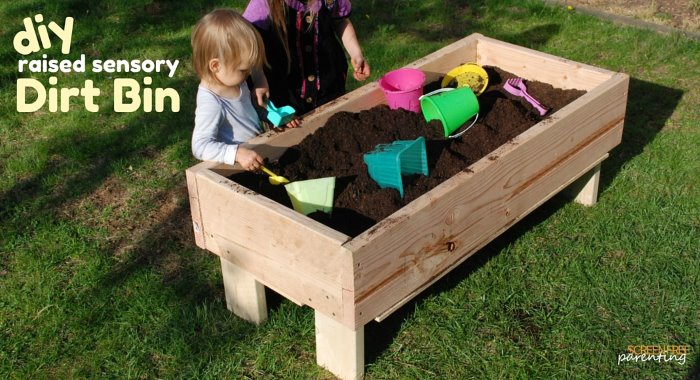
A raised sandbox is a great way to keep your kids busy and entertained during the summer months. It’s also a great way to teach them about building things and how to use tools.
If you have kids, then you know that they love playing in sandboxes. Kids love the feel of it between their toes and it’s just plain fun to play with. But what if they want their own sandbox? You certainly don’t want them digging up your yard, destroying the grass and potentially ruining your irrigation system.
The best way to avoid this is by building a raised sandbox for them! A raised sandbox gives kids a place to go play without ruining your lawn or garden beds. Plus, if you build it big enough, you can even fit some toys in there with them!
What about building an adult-sized sandbox? That’s another option! If you have enough room in your yard, then why not try making a giant sandbox for both kids and adults? This could be an awesome addition to your yard parties or barbecues.

how to build a backyard sandbox
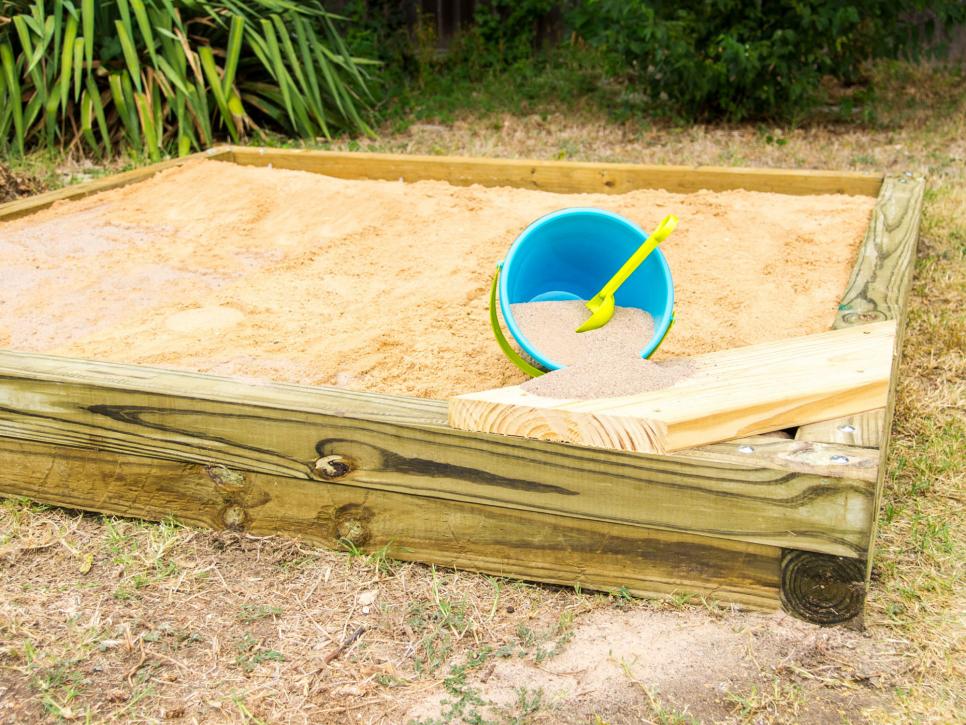
The best way to build a backyard sandbox is with the help of an experienced contractor. If you have the time, the resources and the confidence, however, there are some things you should know before starting.
First, you need to choose your location carefully. The sun needs to be able to reach your sandbox, so it’s best if it’s in an open area away from trees and buildings. The ground will need to be level – most people use sandboxes in their backyards rather than their front lawns because they can be easily raked clean at the end of each day.
Next is choosing what type of wood you want for your sandbox. Pressure-treated lumber is ideal because it is both durable and resistant to rot – but it can also stain easily and be difficult to paint or stain later on down the road. You may also want to consider using cedar or redwood as these woods are naturally resistant to rot and decay while being easy on the eyes as well. Finally, make sure that whatever wood you choose is not treated with chemicals like chromated copper arsenate (CCA), which has been linked with cancerous growths in humans after long-term exposure.
Sandboxes are a great way to keep kids entertained. The sandbox can be built in any shape and size, depending on how much space you have available.
Sandboxes can be made from a variety of materials, including wood, plastic and concrete. Sandboxes made from wood are easier to build than those made from concrete or plastic.
The most common type of sandbox is the one that is shaped like a rectangle with sides that are about 3 feet tall. However, if you want your kids to have more space for playing in the sand, then you should consider building a larger sandbox that is shaped like an octagon or a circle.
The easiest way to build a sandbox is by using cinder blocks for the base and then filling it with sand. However, this method does not look very attractive and it will not last very long before it begins to fall apart from constant use by children. There are many other methods that can be used to build an attractive sand box though some of them require more skill than others but all of them will provide your children with hours of fun in the sun.