Paving stones are used for patios and flooring. Paving stones are available in several sizes and various shapes such as rectangles and hexagons. Paver patio kits with a stamped surface allow the option of numerous color combinations.
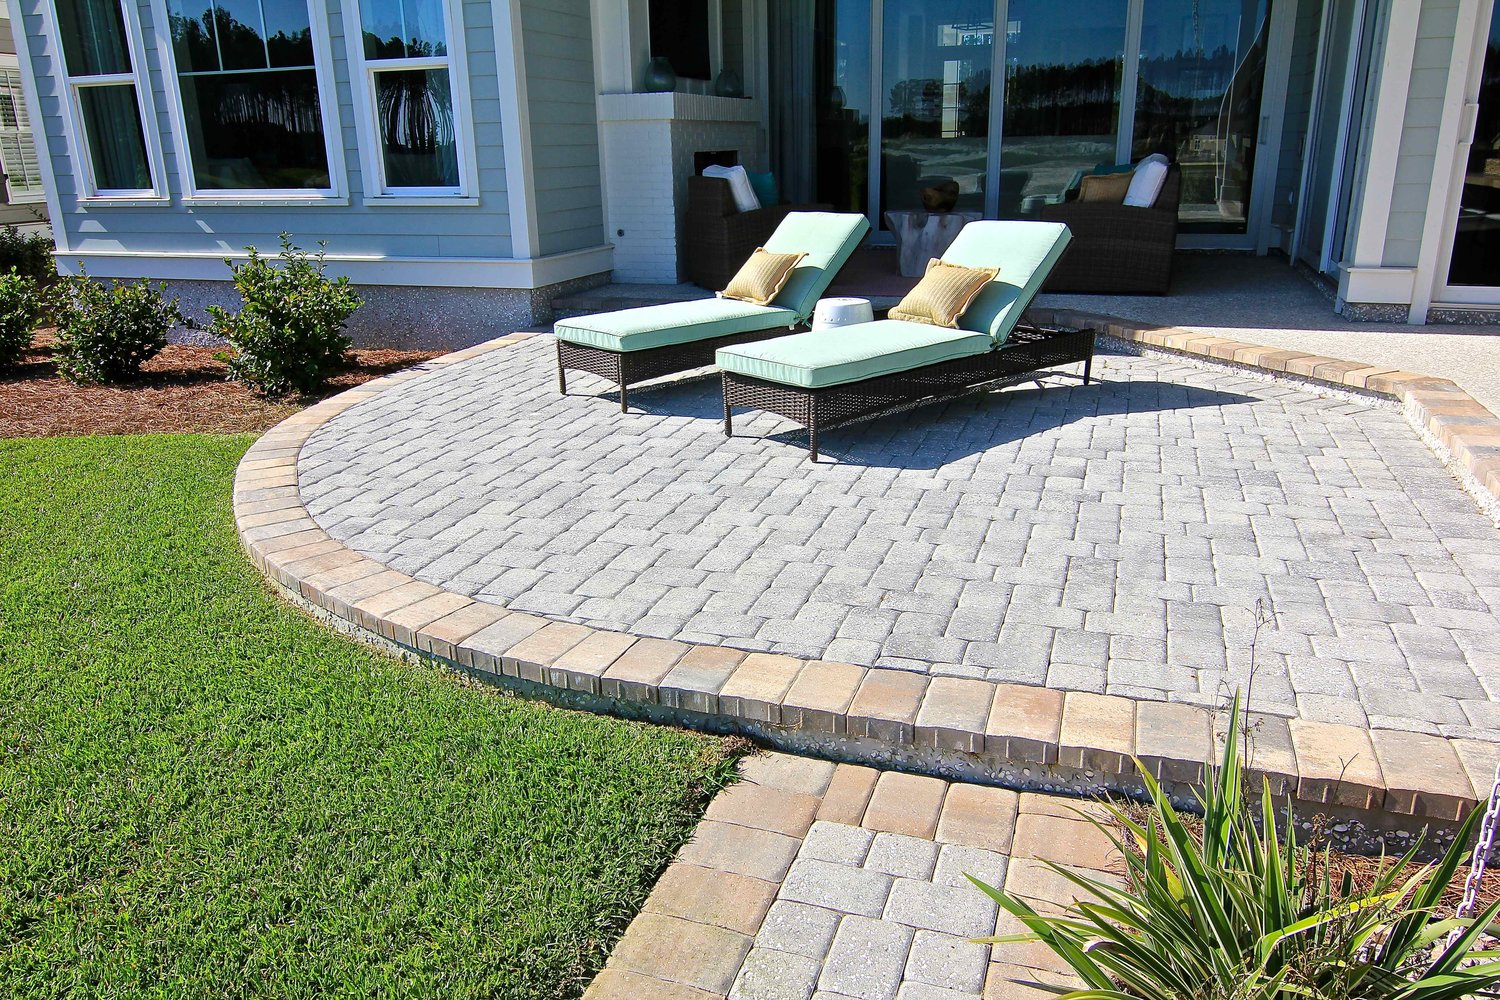
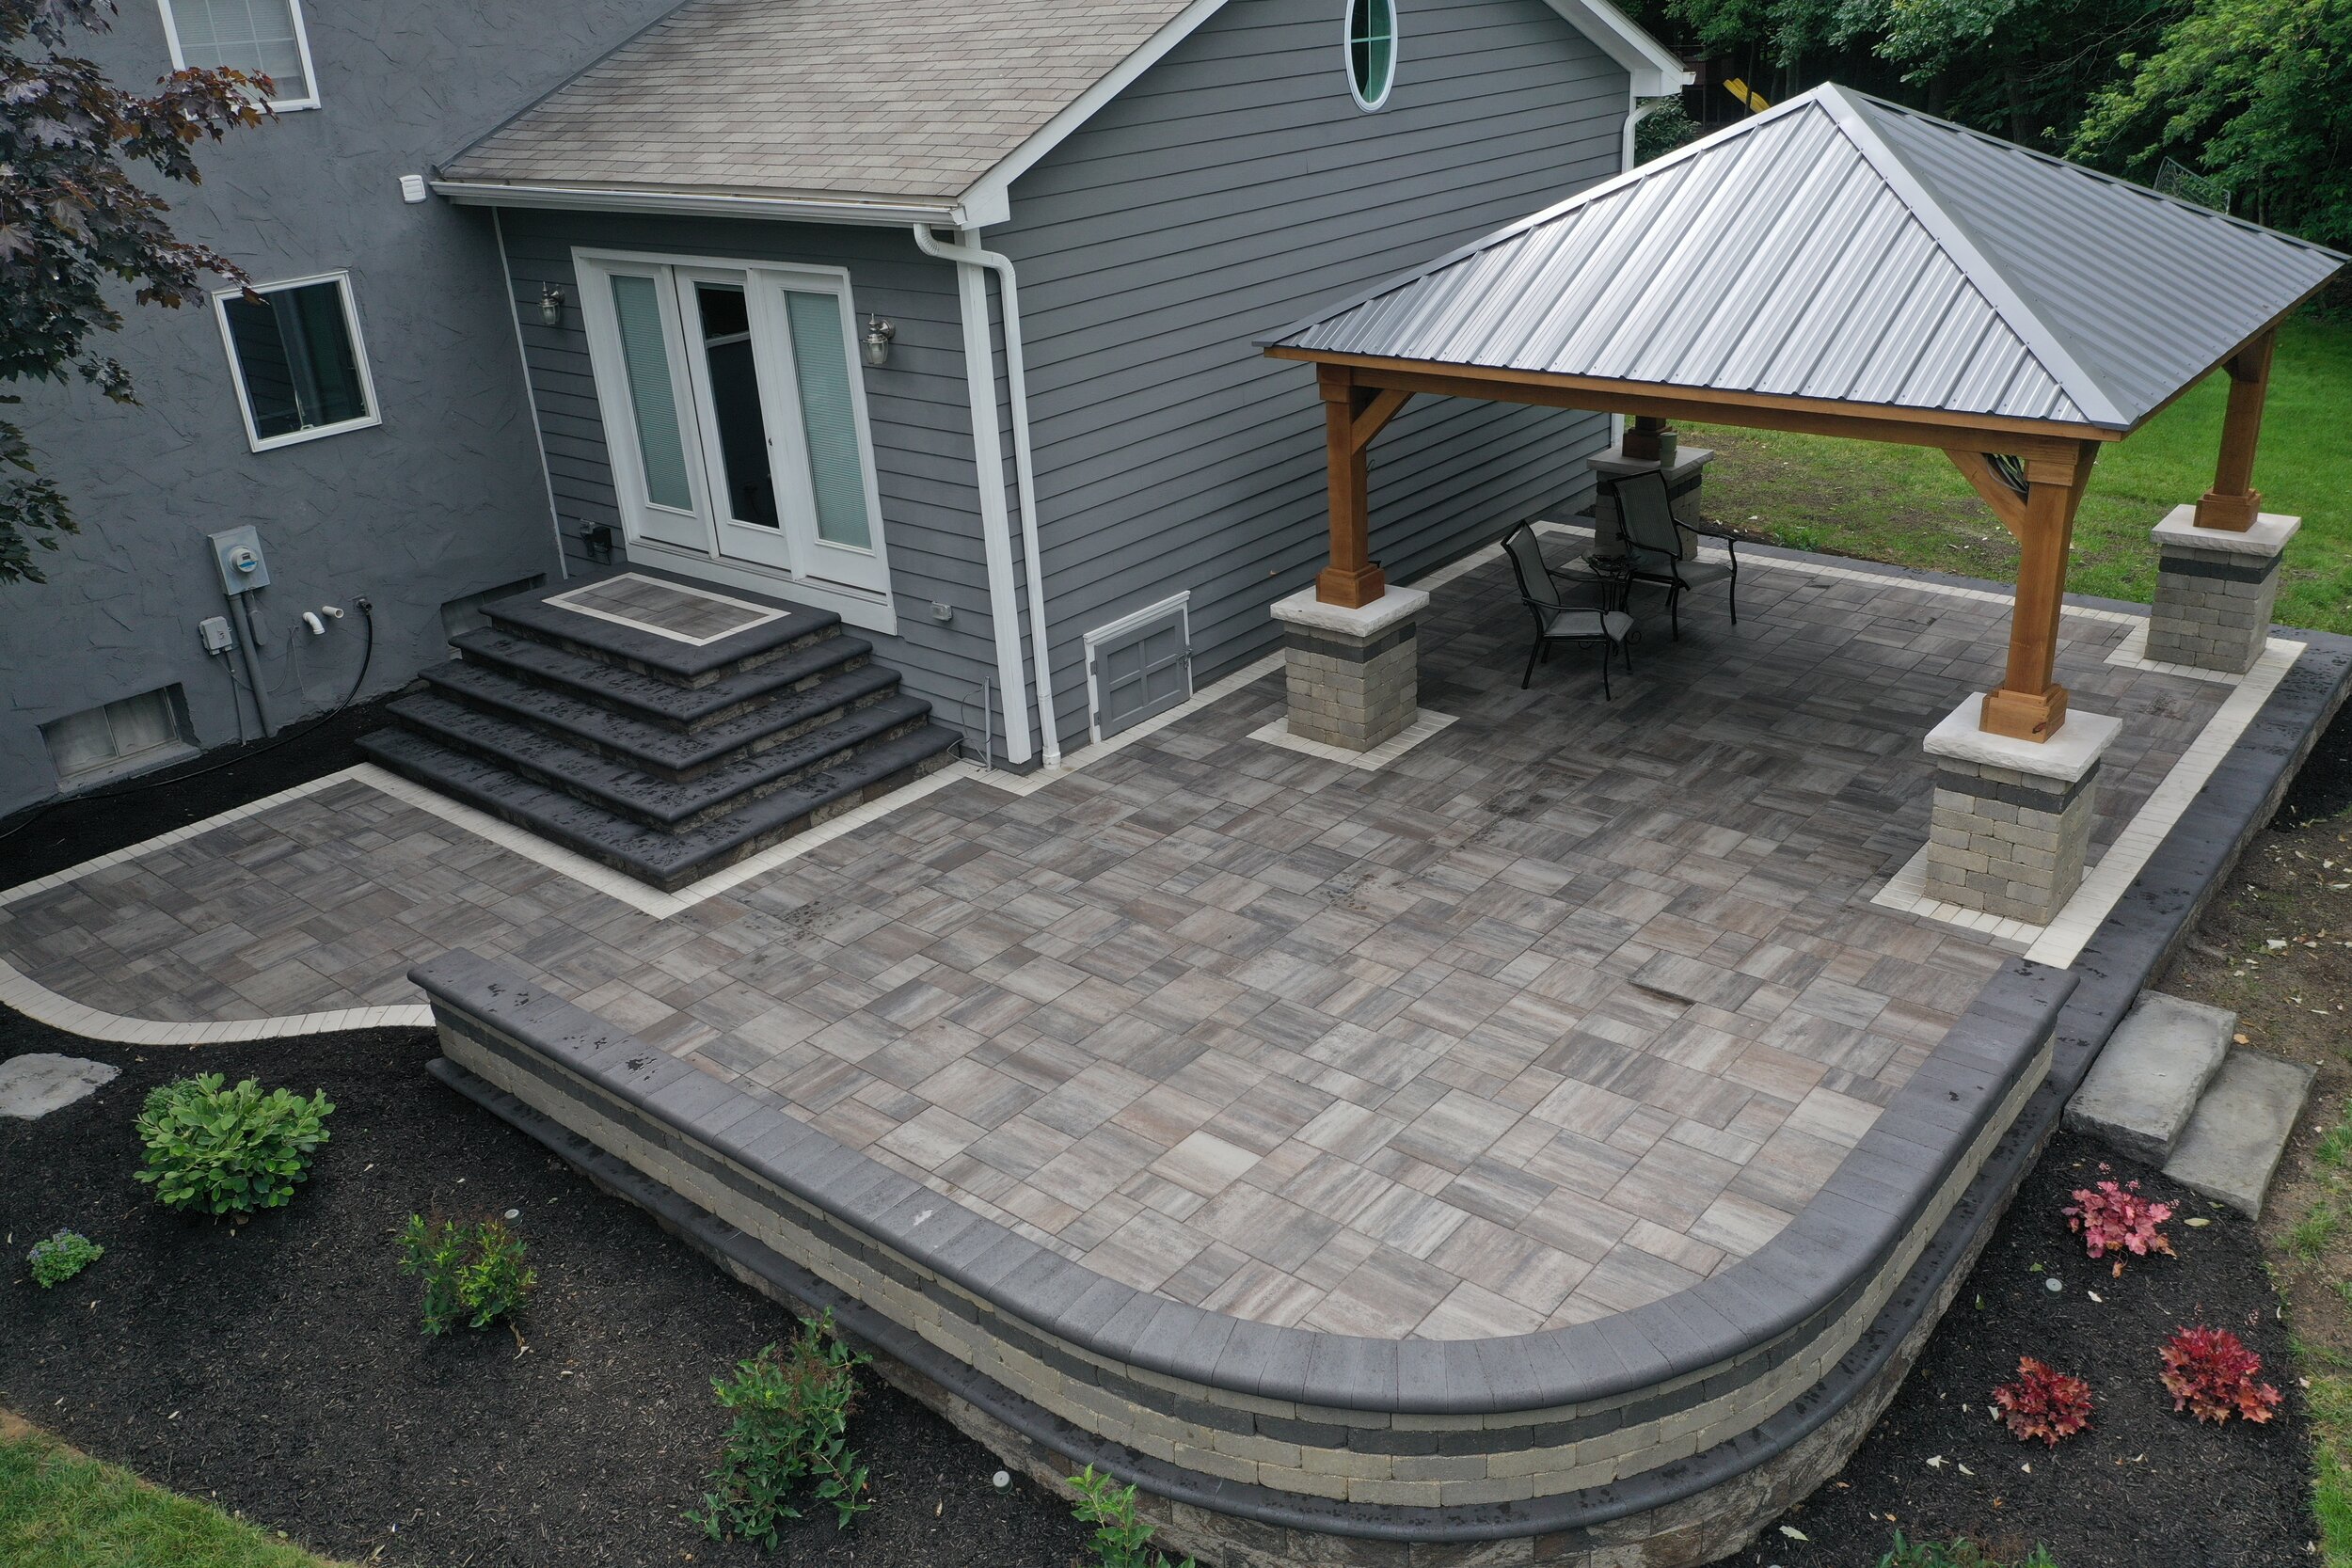
Raised patios can be a great solution for homeowners who are looking for an attractive and low-maintenance outdoor space. They are often built with composite or natural materials and include a fluid shape and design that helps you add extra square footage to your property, while also increasing the curb appeal of your house.

How to build a raised patio with pavers
If you want to create a patio with pavers, there are a few things you should know before starting. Raised patios are great for creating an outdoor living space where you can entertain friends and family. You can also use them as a gathering place for outdoor activities such as grilling or playing horseshoes.
Before building your raised patio, make sure that the area already has drainage installed that is adequate for the size of your patio. You will also need to make sure that the ground is level so that water does not pool in one area of the patio. You will want to use a professional contractor if you do not feel comfortable doing it yourself.
Step 1- Prep Work
The first thing that needs to be done before installing any pavers is removing any debris from the area where your new patio will be placed. Then, remove any sod and dirt from the area using a sod cutter or shovel.
Step 2- Install Base Layer
Next, install a base layer of sand with gravel on top of the existing soil so that it won’t become muddy when wet weather comes around. This base layer should only be about 6 inches thick and covered.
how to make a raised paver patio
If you’re planning to build a raised patio, the first step is choosing the right material. You can use a variety of materials including concrete and stone, but the most popular choice is pavers. Pavers are often used for patios because they’re easy to install, look great and are durable enough for outdoor use. Follow these steps to learn how to build a raised patio with pavers:
Step 1 – Choose Your Paver Type
There are many types of paver available on the market today. Before you begin building your patio, take some time to research which ones will work best for your project. Some options include:
Concrete pavers – These are extremely durable and long-lasting, but they tend to be more expensive than other options like brick or natural stone pavers. They also need to cure before they can be installed outdoors (this takes several weeks) so they may not be ideal if you’re in a rush or need something that’s quick and easy. Concrete pavers come in many colors and styles, so you can customize them however you’d like.

how to build a patio with large pavers
Building a raised patio with pavers can be a great way to create an outdoor living space that’s both functional and beautiful. Here’s how to do it:
Step 1: Choose your materials.
There are several types of materials that you can use for patios. If you’re working on a budget, concrete is one of the most affordable options available. You’ll need about $4 worth of Portland cement for every square foot of concrete patio you plan to install. If you’re looking for something more visually appealing, consider using brick or stone pavers. You’ll need about $1 per square foot for these materials instead of the $4 per square foot for concrete, but keep in mind that installing them will require more labor-intensive work as well as some additional tools if you don’t already have them on hand (such as a hammer drill).
Step 2: Dig out the base.
Before installing any patio material, it’s important to ensure that your yard has good drainage so water doesn’t pool up on top of it after rainstorms or snow melts off nearby roofs during winter months. To do this, dig out the ground underneath your patio area so there’s approximately 6 inches.
how to build a patio with pavers on a slope
A sloped area of your yard, such as a hillside or natural feature, can be turned into a beautiful paver patio. If you’re looking for an easy way to create more usable space in your yard, building a patio out of pavers is a great option. Making sure that the slope is properly prepared before you begin is essential for making sure that your patio stays stable and level.
Pavers come in many different shapes and sizes, so you can easily find one that works well with your project. Before you start building your paver patio, gather all of the supplies that you’ll need. You’ll also want to make sure that you have plenty of help available once you start laying down the pavers because they can be heavy and difficult to move once they’ve been placed on top of the ground.
Preparing Your Landscape For Your Paver Patio
The first thing that you need to do when building a paver patio on a slope is prepare the landscape for the project. This means removing any plants or trees that are growing on top of the area where you want to build your new patio. You should also remove any rocks or other debris from this area as well because these.
A raised patio is an ideal way to create a backyard living space that’s functional, beautiful and easy to maintain. With the right materials and construction techniques, you can build a raised patio that stands up to years of use.
Materials
Large pavers
Leveling compound
Concrete edging
Step 1: Install edging around your yard. Anchor the edging in the ground with stakes or concrete screws every 6 inches. Align the top edge of each piece with the top of your existing lawn and make sure they stay level. Leveling compound will help keep them in place once you pour concrete over them.
Step 2: Dig out the area where you want your raised patio to go. Dig down about 3 inches below ground level and add some leveling compound if needed so that it’s close to level with existing ground conditions. .