If you really want to get the relaxation and comfort, choose to buy a quality outdoor chair. Most of the time for outdoor seating needs, people can choose an outdoor chair as their favorite investment.
How to build a outdoor chair with step-by-step instructions, how to build a outdoor wooden rocking chair, how to build a outdoor deck chair, illustrations and diagrams. A simple weekend project to create your very own comfortable outdoor chair using inexpensive wood and materials.Includes cutting diagrams, notes, and tips on how to use angles and curves to make stairs, ramps and other similar types of platforms.

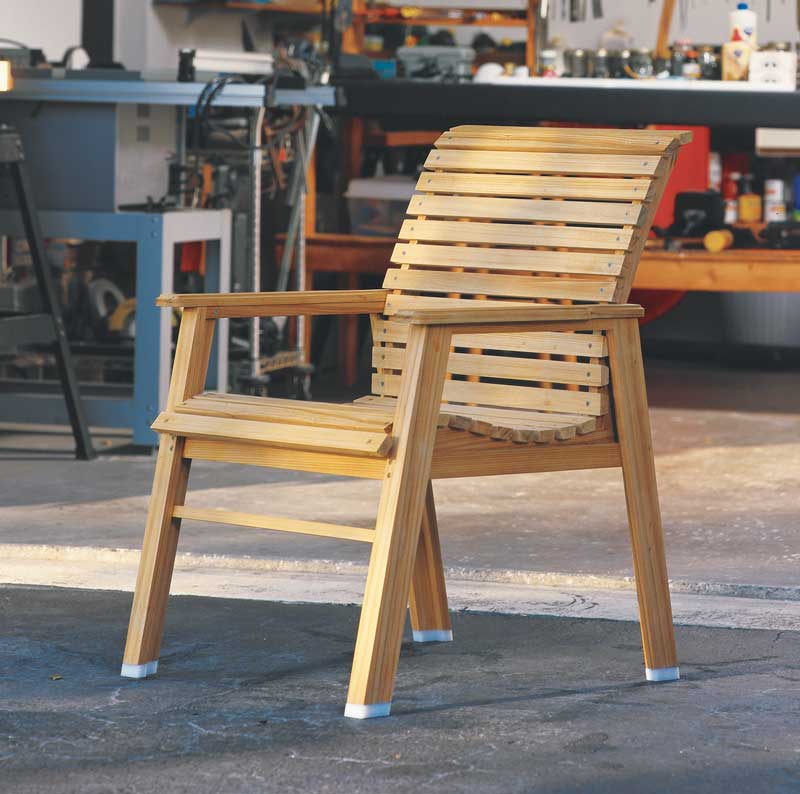
How to build a outdoor chair
Building your own outdoor chair is a rewarding project that will give you years of enjoyment. Whether you’re looking for a simple rocking chair, an Adirondack-style chair or a modern lounge, these plans cover all the bases.
Rocking Chairs
Rocking chairs are among the simplest of all woodworking projects. They’re typically made from pine or cedar lumber, which are inexpensive and easy to work with. In most cases, one board is all that’s needed to make the seat and back of the chair. The only other parts required are a few screws and nails for assembly.
Adirondack Chairs
The Adirondack chair is one of America’s most popular outdoor chairs because it’s so easy to build and looks great in any yard or garden setting. These chairs can be made from various types of wood — cedar, pine or oak — depending on your taste and budget. If you want something more durable than pine, oak will last much longer outdoors without warping or rotting over time.
Modern Lounge Chairs
Modern lounge chairs are designed for lounging around poolside or on your patio after dinner with friends and family members
How to build a outdoor wooden rocking chair
The first step is to choose your wood. For this project, I chose cedar because it’s durable and easy to work with. Cedar also has a tendency to repel insects and decay.
Step 1: Cut the parts
Cut the legs and arms to size depending on how tall you want your chair to be. The slats will fit between these pieces, so make sure they’re long enough to span those distances.
Step 2: Drill pocket holes in each end of the slats and one end of each leg or arm piece. Use clamps to hold everything together while you drill the pocket holes. Then use pocket hole screws (1/2″) to secure them in place as shown below:
Step 3: Cut a 45 degree bevel on each end of each slat so that it fits correctly into the notches on the legs or arms:
Step 4: Assemble all components together using wood glue and coarse thread screws (3″). Make sure that everything is square before moving onto the next step!
How to Build a Wooden Rocking Chair
Step 1: Cut the parts. Use a circular saw to cut two 24-inch pieces from 1×4 lumber and one 36-inch piece from 1×6 lumber. Set all three pieces aside.
Step 2: Attach the legs. Lay one 24-inch piece flat on top of one 36-inch piece, with the ends flush at each end of the 36-inch piece. Mark two points on each end of the 24-inch piece, approximately 3 inches from its edge; these will be where you attach the legs to the base frame. Drill pilot holes through both pieces at each mark then use 1¼-inch deck screws to secure them together. Repeat for other side of chair frame.
Step 3: Attach seat slats. Lay seat slats across top of chair frame in desired location, spacing them evenly apart with pencil marks underneath each slat as guides for placement on top of chair base later. Using a combination square, transfer pencil marks under each slat onto bottom side of chair base at marked line locations; set aside so they don’t get covered up when attaching sides of chair back later on in step

Outdoor rocking chairs are a great way to relax and enjoy the weather. They can be made from a variety of materials, including wood, metal, plastic and even recycled materials. If you want to make your own rocking chair, here are some tips on how to build your own outdoor rocking chair.
Choose the Right Materials. The first step in building an outdoor rocking chair is choosing the right materials for it. You’ll need lumber for the frame of the chair itself, as well as any hardware that will be needed for assembly (such as nails or screws). You may also need other materials such as paint or stain if you’re using unpainted lumber.
Rough Cut Lumber. Once you’ve chosen what type of wood you want, rough cut it at home with a saw and then sand it down to remove any rough edges or splinters that could injure someone sitting in the chair. Sanding will also give your finished product a smoother look overall.
This is the first project I have ever done with wood, and I’m so proud of myself! This is a very easy project that anyone can do. I made this chair for my mother as a birthday present. She has been wanting an outdoor rocking chair for a while now, so I decided to build her one!
I am not sure what type of wood it is, but it worked perfectly for this project. It was fairly inexpensive, too.
You will need:
Wooden rocking chair kit (I got mine at Home Depot)
Sandpaper (optional)
How to build a outdoor wooden rocking chair
In this guide we will be explaining how to make a simple wood rocking chair. This is a great project for all skill levels, and can be made in any size. The only tools required are an electric drill and jig saw. If you don’t have access to these tools, you can use hand tools instead.
Materials Needed:
2×8 lumber – 4 pieces (cut into four 1′ 8″ lengths)
1×4 lumber – 2 pieces (cut into two 30″ lengths)
How to Build a Wooden Rocking Chair
Building a rocking chair is not as difficult as it may seem. With a little time and some basic woodworking skills, you can build a rocking chair in your backyard or even in your living room. The hardest part of building this type of chair is getting the curves right on the seat and back slats. If you have no experience with making curved cuts in wood, you might want to practice on some scrap pieces before attempting to build one of these chairs.
Step 1: Cut the Wood Pieces
Cut all the pieces for your rocking chair using simple straight cuts and miter joints. For example, cut two pieces at 2 feet long for the rails and two pieces at 1 foot long for the legs. Use whatever type of wood you prefer for this project; however, make sure that it is strong enough to support a person’s weight as this chair will be used by adults who will sit on it regularly. You can also add decorative details to make your rocker more attractive such as carvings or paint colors; however, these are not necessary if you just want an attractive piece of furniture that rocks well.
Step 2: Attach Rails to Legs
Attach one end of each rail to each leg using screws
How to Build a Wooden Rocking Chair
Building a rocking chair is a great way to relax after a long day. It is also a good way to spend time with your family and friends. Here’s how you can build one for yourself.
:max_bytes(150000):strip_icc()/skiptomylou-7d735b6f2ac5434c9f501913e987ce9f.jpg)
Materials Needed:
Wooden slats or 2x4s (for the legs)
Wood screws (to hold the slats together)
Nails or staples (to attach the seat and back)
Sandpaper or paint if you want to give it an attractive finish
How to Build an Outdoor Rocking Chair
If you have a backyard or patio, it’s a great place to relax in the evening and enjoy some fresh air. One of the best ways to enjoy your outdoor space is with a rocking chair. You can build one yourself using simple tools and materials.
Rockers are easy to make, but there are some things you need to consider before construction starts. The first thing is the size of your rocker. A large rocker will take more wood than a small one, so if you want an extra-large rocker, you’ll need more wood than if you want a smaller one.
Next, think about how much weight each rocker needs to support. If you’re just using it for yourself, then it doesn’t need to be as strong as if you plan on having several people sitting on it at once.
Rocking chairs are made from many different types of wood such as oak or pine depending on what type of look you want them to have or what type of budget you have for building them.
This DIY outdoor rocking chair is a great project that you can easily build in a weekend. The design features a simple rocking mechanism and an easy-to-build frame.
You’ll need some basic woodworking skills and tools, but don’t worry if you’ve never made furniture before — this is a great project for beginners.
I designed this rocking chair to be durable and comfortable, so it will last through many years of outdoor use. It’s also easy to build, even if you’re new to woodworking.
The materials list includes everything you need except the hardware, which I included in the video tutorial. And since there are no complicated joinery techniques involved, you won’t need any special tools either (except maybe a table saw).