Before you think of your business strategy and test it, you must also determine where you are right now. This helps you in assessing your current needs, on how to push things forward. Incubators help small businesses grow faster and become more profitable by supporting them with the right business planning and financial assistance.
Scaling your company’s revenue and hiring can be challenging. Yet, at the same time incubators are offering free office space, to use their legal and accounting services, to supply potential hires through their networks. This can be extremely helpful for early stage companies.

How to build a incubator
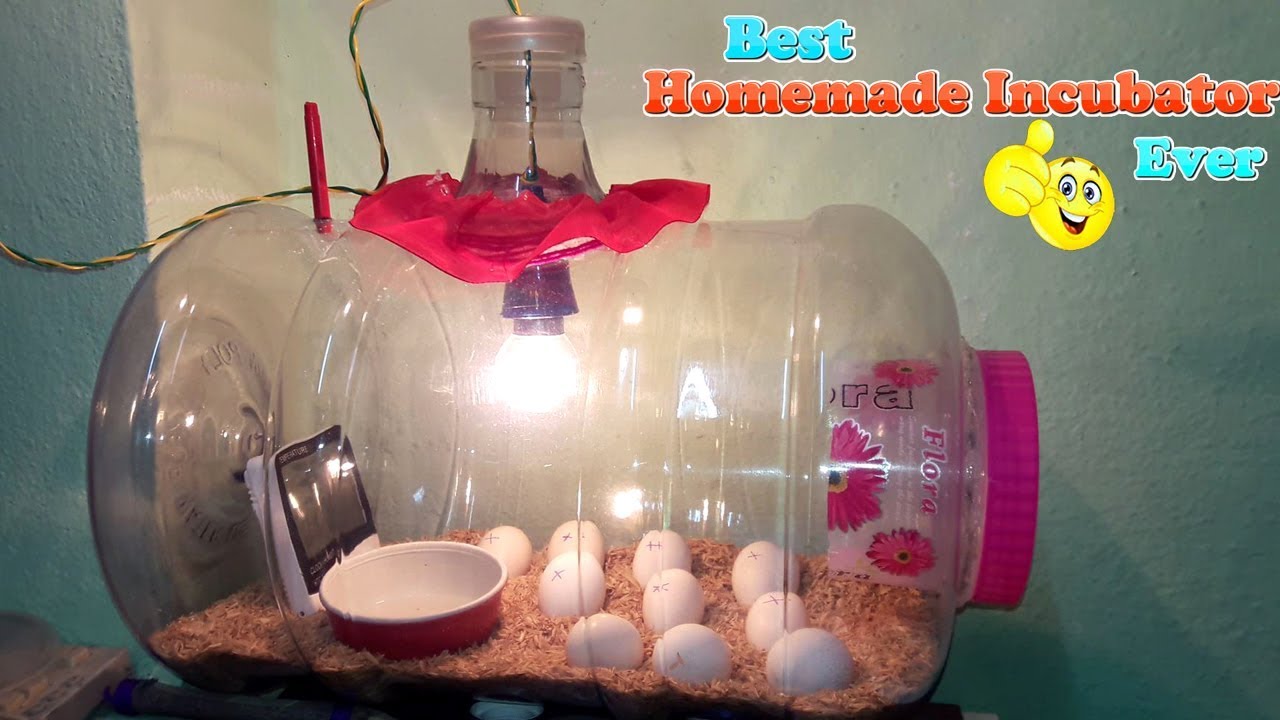
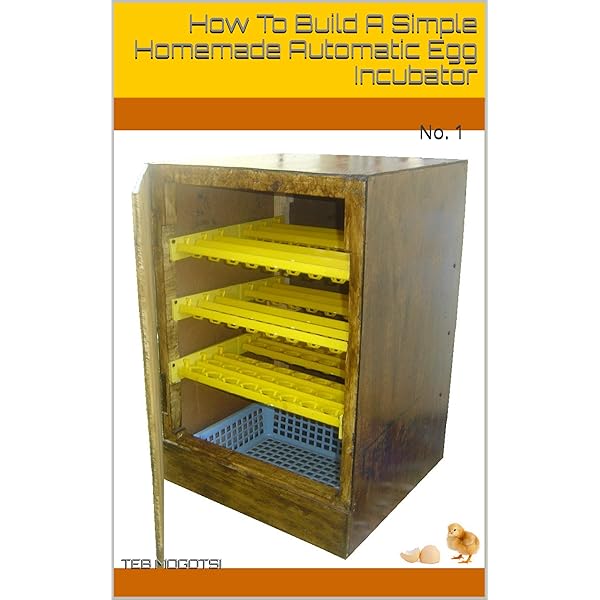
In this guide we will be building an electric incubator that can hold 50 quail or 25 chickens. The construction of this incubator is very simple and requires very little tools. You can always add on to this design if you want more capacity or make changes depending on what species of bird you are hatching.
One of the most important things that you need to know about building a backyard chicken coop is that it should be easy and inexpensive. If you are a beginner, then it’s better to use an existing design rather than trying to create something from scratch. It also helps if you have some experience with tools, but if not, then don’t worry because we will guide you through every step of the way.
The first thing that you need to do is decide on the size and type of incubator that you want to build. For example, if you want to hatch eggs for commercial purposes, then it would be best if you built an incubator with at least 12 trays. However, if all that you want is something small for personal use, then all you really need is one tray. To make things easier for yourself and save money on electricity bills as well as on heaters, we recommend using an old refrigerator as a base instead of buying one from a store. This way, not only will your project be cheaper but also more eco-friendly!
How much will it cost?
1. Build the frame:
You can use any materials you have at hand, but I prefer using a frame made of wood and chicken wire. Make sure the frame is sturdy enough to support the weight of the eggs.
2. Cover with fabric:
I used some old curtains that I found in my closet, but you can also buy some at a thrift store or online for just a few dollars.
3. Fill with vermiculite:
Vermiculite is an absorbent material that will help keep your eggs warm and moist until they hatch. The easiest way to fill it is by using an old bucket with holes drilled into it (see picture). Just pour water into the bucket until it’s full, then add vermiculite until the water comes out through the holes again (about 1/3 water/2/3 vermiculite).
The best way to get started is to buy an incubator from a store or online. They’re pretty cheap and you don’t have to spend a lot of time building one.
The next best option is to build your own incubator. It’s not hard, but it does take some time and effort, so don’t expect it to be done in a couple hours.
It will take about 20 minutes to read this guide and another hour or two for each egg you want to hatch, so if you’re going to do it at all, now is the time!
Here are some things to consider when building your own incubator.
You can build a DIY incubator for as little as $100 if you’re resourceful. But unless you’re willing to cut corners on safety and quality, expect to spend at least $200 on materials.
What do I need?
There are no special tools or skills required for building a DIY incubator. You’ll need basic carpentry skills, but even if you don’t have them, you can learn them quickly with a few books and YouTube videos. If you have access to power tools, that’s great — but it isn’t necessary.