Have you begun building the gate for your driveway? The fence is coming along nicely, but now it’s time to build the gate. Here are all the steps in a simple and easy to follow infographic.
How to build a gate for driveway/entranceway: Step 1. Determine material and frame type. What kind of conditions will your fence need to be able to withstand? The main factors that determine the longevity of your fence are the materials used, “how to build a 12 foot wooden gate” deck gate kit the stress points, and more importantly the climate that it will face.
How to build a gate for driveway
Building a gate for your driveway is not only an opportunity to add style and beauty, but also an opportunity to make the most of the space in front of your home. This article will tell you how to build a 12 foot wooden gate that will be functional and beautiful.
Step 1: Plan Your Project
Before you begin, it’s important to plan out exactly what type of gate you want and how big it needs to be. You’ll also need to decide if this is something you want to do yourself or if you want to hire a professional contractor. If you’re going to do it yourself, then you should make sure that you have all the tools and materials needed before starting.
A good-looking gate can add curb appeal to your home, or provide security for your property. If you have a driveway or other opening in your fence, you can build a wooden gate that fits in well with the rest of the structure. You can even make a gate for a deck or pool area.
This simple guide will walk you through the steps of building a 12-foot gate for your property. The process is fairly straightforward, but requires basic carpentry skills and tools.
A wood gate is a great addition to any yard and home. If you are looking to build a gate for your driveway or other area of your property, it is important to choose the right measurements and design. Choosing the right materials is also important when building a wooden gate.
A basic wooden gate can be made with simple tools and materials that you can find at your local hardware store or lumberyard. A wooden gate can be made using cedar wood or pine wood. Pine wood is cheaper than cedar wood but will not last as long as cedar. Cedar wood is much more expensive but will last longer than pine and has its own natural insect repellant properties that help keep pests away from the wood.
Assemble Your Gate Frame
The first step in building your own wooden gate is to assemble the frame of the gate itself. To do this, lay out all of your boards on the ground in their proper order so that they form a square shape with no gaps between them. Then use nails or screws to attach them together tightly so there are no spaces between them when you are finished assembling them into one frame
If you need to build a gate for your driveway, this article will show you how to do it. You need to be able to get the materials and tools that are needed for this project. They include:
1) A sturdy wooden frame
2) Two hinges that are strong enough
3) A latch that will keep the gate closed when necessary
4) A lock that can be used on the latch so people cannot open the gate without your permission
5) A bolt cutter (this is optional but it is good to have one in case someone tries to break into your home or yard).
We have a large deck with a very steep driveway. We want to make sure that our dogs can’t jump the fence, but we also want it to be nice looking. So we decided to build a gate for the driveway.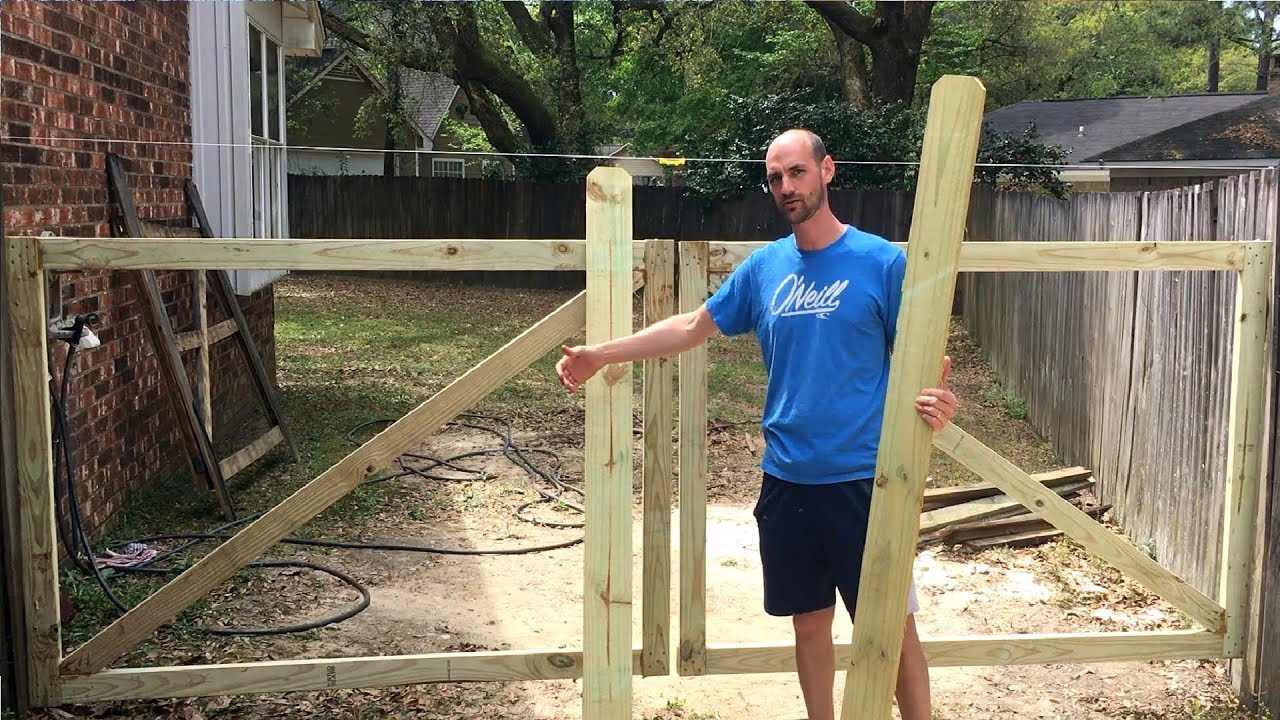
Here’s how we did it:
1) We bought two 4×4 posts and two 2x4s at Home Depot. Then we cut the 2x4s into three equal pieces so that they would fit between the posts (you can see what I mean in the picture). The idea is that when you put everything together, it should look like two 4×4 posts and two 2x2s (which is what we had). You’ll notice that there are holes in the bottom of each piece of wood. These are where bolts will go through to hold everything together.
2) I didn’t take any pictures of this step because it wasn’t very interesting, but after we had everything cut out and drilled holes through all four pieces of wood, my husband screwed them together with 3 inch screws and nuts on both ends so that they were secure when he put pressure on them. He also drilled holes through both ends of each piece of wood so that he could attach them to either side of the deck