Building your own freestanding pantry is a great idea for saving money. There is so much about building furniture that you can learn from it and apply to future projects.
You may have just moved into a new house, or redecorated your kitchen and noticed you don’t have enough room for some of the bigger appliances or items. You may also have found that there isn’t much storage space, diy pantry cabinet, diy pantry cabinet with drawers, pantry cabinet ikea and you don’t want to put up shelves. —– This is where a freestanding pantry comes in. Freestanding pantries are perfect for people who have limited storage space in their kitchen. The are also good if you have a lot of items that need to be kept hidden from sight, like food and cleaning products.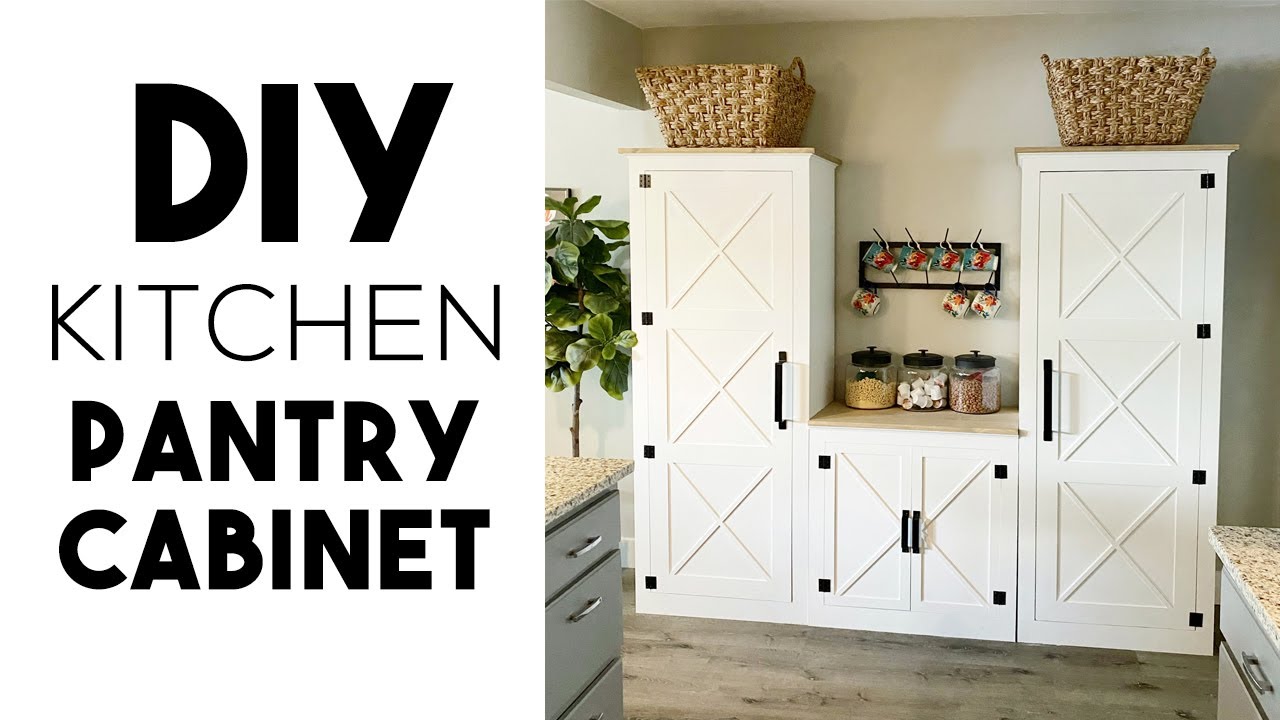
how to build a freestanding pantry
Pantry cabinet is a great way to add storage and organization to your kitchen. Not only is it functional, but it also adds an extra design element to your home. Since you may be using it as a focal point in your kitchen, it’s important that you choose the right one.
The best pantry cabinet will fit well into your existing space and provide the storage options that you need for everyday use. It should also be durable enough to hold up against daily use and cleaning.
There are many different kinds of pantry cabinets available on the market today, each with its own unique characteristics that make them stand out from the rest. This guide will help you learn about the different styles, sizes and materials that are available so that you can find one that fits your needs perfectly!
This DIY pantry cabinet is a great way to add extra storage space in the kitchen. It can be built for around $200 and it can easily be customized to fit your space.
This sturdy cabinet has seven shelves, one of which is adjustable, to hold all your dry goods. The top shelf is large enough to store canned goods, while the bottom shelf offers extra storage for small items like spices and coffee beans.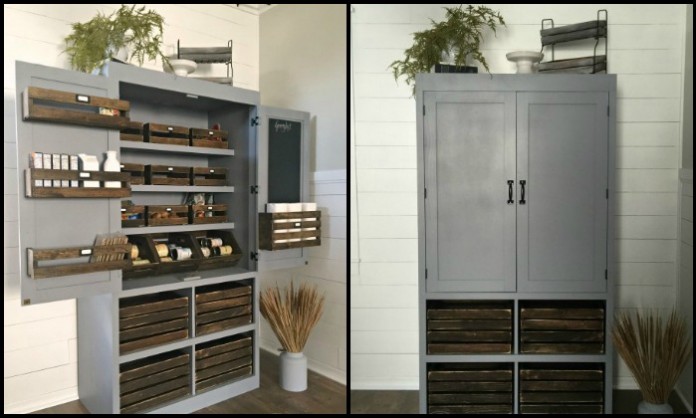
Materials list:
2 – 2x10x8′ pine boards (or similar)
1 – 1x8x8′ pine board
1 – 1x6x8′ pine board
1 – 1x4x8′ pine board
2 – 6″ hinges with screws (or similar)
1 – 3/4″ plywood sheet for the back panel (optional)
If you’re looking for a way to add more storage in your kitchen, consider building a freestanding pantry. The best part about this project is that if you don’t like the way it turns out, you can always tear it down and start over. This guide will show you how to build a freestanding pantry that suits your needs and style.
The first thing you need to do is determine what size pantry cabinet you’re going to build. You’ll want to measure the space where you want it to go and then subtract 2 inches from each side of that measurement. This will allow some room for insulation and also provide clearance around the edges so the doors can open fully without hitting the wall or another piece of furniture.
Once you’ve decided on the final dimensions for your cabinet, cut two pieces of plywood that are 38 inches wide by 72 inches long (this will give you an extra half inch on each side). Then cut three more pieces that are 36 inches wide by 61 inches long (again leaving an extra half inch on each side). These pieces should be placed together as shown in the diagram below:
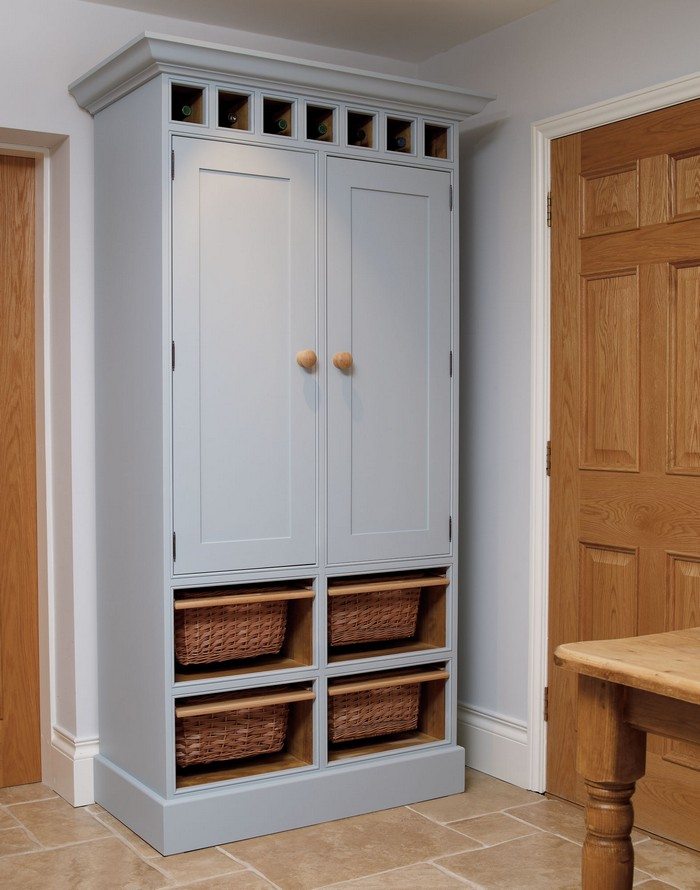
How to Build a Free-Standing Pantry Cabinet
With the right plans and materials, you can build your own free-standing pantry cabinet. This DIY project is much easier to complete than you might think and the end result is a stylish way to store food, pots and pans and other kitchen items.
It’s also a great addition to any home. The following steps will help you build your own custom pantry:
Step 1: Choose Your Materials
Choose wood that is easy to work with and wear-resistant. Pine or fir are good choices but others will work as well. You’ll need at least two sheets of plywood cut into 2x4s for the sides, top and bottom of your pantry cabinet. Cut one sheet into 4×8 pieces so that you have enough material for both sides of your pantry cabinet. If you have access to a table saw or circular saw, use it; otherwise use a handsaw or jigsaw to cut the plywood sheets into smaller pieces. You’ll also need at least one sheet of 3/4-inch plywood cut into 1x4s for the shelves inside the pantry cabinet (the number depends on how many shelves you want inside).
A freestanding pantry cabinet is a great way to store your kitchen items. It can be built in any size and shape that you wish. This article will show you how to build a freestanding pantry cabinet with easy step-by-step instructions.
Materials:
You will need the following materials to build a freestanding pantry cabinet:
1x2s (for the sides)
1x6s (for the back and bottom)
1/4″ plywood sheeting (for the back, bottom and shelf)
1/8″ plywood sheeting (for the door)
diy pantry cabinet with drawers
DIY Pantry Cabinet
This is a great way to create a pantry cabinet with drawers. There are many different ways to do this and the best way is to use what you have on hand. The beauty of this project is that it can be done with just a few tools and materials. You can use any type of wood for this project but make sure it’s thick enough not to crack when you screw it together.
The first thing you need to do is measure your space where you want the cabinet to be placed. Measure from the wall all the way around and make sure that there is at least an inch between each side so that the door will open properly. Once you have these measurements, cut two pieces of plywood that are exactly the same size as your measurements, but add 1/8″ extra on each side just in case there are any imperfections in your cuts or errors in measuring.

After cutting both pieces of plywood, lay them down flat on top of each other so that they form a rectangle shape when looking from above (this will be your door). Make sure that all edges line up perfectly before screwing or nailing them together using 2″ nails or screws depending on what type of