
Today, my childlike imagination got the best of me. I was out by a creek when the thought of building a fort in the woods came to me. Curious to see if it could be done, I decided to build one. After all, there were only three things standing in my way: materials, information and my lack of knowledge. I pondered where I could find the tools needed for such a feat and luckily remembered that I have a hammer in my shed. As for materials, there are plenty of trees here at this beautiful property in the mountains where I have lived for years now, so that certainly was not a problem.
With school letting out for the summer, parents are looking for fun and educational activities for their children. This is why I decided to create this guide on how to build a fort in the woods, how to build a good fort in the woods and how to build a cool fort in the woods, The pictures and steps are super easy! Treat your kids they deserve it!
How to build a fort in the woods for school
We’ve all heard of the fort-building tradition of summer camp, but have you ever thought to build a fort in the woods? It’s an idea that’s been around for years and it’s time to bring it back. Whether you’re camping or just out in nature, why not build a fort out of sticks? It’s easy, fun and something anyone can do.
If you have some time and a few friends, here are some tips on how to build a fort in the woods!
Step 1: Find the right spot
You’ll want to find a place where there are lots of trees and bushes for cover. This way no one will see you building your secret hideaway! Look for areas that aren’t too far from your campsite so you don’t get lost or get caught by surprise by other campers who are coming back from fishing or hiking.
Step 2: Pick up lots of sticks
As many as possible! Try collecting them from different places — from under bushes or along the edges of streams and lakes — so they look natural in your fort. If there aren’t enough sticks lying around for your liking, maybe ask some friends if they can help by picking up some extra ones while they’re hiking around or riding their bikes
How to build a fort in the woods.
You can build a simple fort with sticks.Here is how.
1) Go out into the woods and find some sticks that are about 4 feet long and about 1 inch wide.
2) Find some twigs about 1-2 inches long and about as big around as your finger.
3) Find some leaves (preferably green, but if you have brown ones that will work too).
4) Now you’re ready to start building your fort! First, gather all of your materials together in one spot so they’re all together and easy to find when you need them later on (but not so close together that they get all mixed up).
5) Now start by laying down two sticks parallel with each other on the ground (make sure they’re not touching anything). Put them about 2 feet apart so there is room for someone to walk inside between them without hitting their head on either stick or having their feet go off the edge of either stick (if there is another person building a fort next to yours, make sure you keep at least 6 inches between each pair of parallel poles). Then place another stick perpendicular across the
When the temperatures start to drop and the leaves start to fall, it’s time to think about getting out of the house. You could go on a hike, or you could build a fort.
Build a Fort in the Woods
There are many ways to build a fort, but here are some simple steps:
1. Pick a spot. The best spots are under trees with low-hanging branches and away from any trails or campsites. If there is no good spot nearby, consider taking your kids on an adventure to find one!
2. Gather sticks and branches for support beams. Make sure they’re not too big or heavy so they can be handled easily by kids and adults alike. Find these materials in the woods or search for deadfall near your home (make sure it’s okay with whoever owns the property).
3. Start building! Lay down two parallel logs side by side and then cross them with smaller sticks laid across them at an angle (this will create an X-shape). Then add more supports until you have built something resembling an A-frame tent made out of sticks — this is your first layer of support beams for your fort’s walls.
4. Add another layer of
How to build a fort in the woods
When I was a kid, my friends and I would spend all day in the woods building forts. We had a small arsenal of tools that we always brought with us — hatchets, saws and hammers — but sometimes we just used our hands too. We’d always try to make our forts as elaborate as possible, but they were never quite as good as the ones we saw on TV. Here are some tips on how to build a fort in your backyard or local park:
1. Pick out a good location
You want to find somewhere that’s away from roads or paths so that you don’t have people walking by all the time. It should be near water so that you can have cool things like waterfalls and ponds, which also help keep bugs away!
2. Bring plenty of wood with you
You don’t want to run into problems halfway through building your fort because you’re out of wood! Bring enough so that you can finish without having to go back home at any point during construction.
The best way to make a fort is to build one out of sticks. Sticks are cheap, easy to find and can be used in many different ways.
How to make a simple stick fort:
First you will need some sticks, they should be around the same size as your arm length, but if they are not don’t worry because you can use them anyway. After you have collected your sticks you need to find some trees that are low enough for you to climb up but high enough so no one will see you building your fort. You then need to find a few long branches and tie them together with some rope or string (maybe even old clothes) so that it forms a circle around the tree trunk at about chest height (this will be your doorway). Then go around the tree trunk again and again until it is completely covered in rope/string and look like a dome or cone shape. Next put all the small branches on top of each other and lay them out evenly in a circle shape around the top of the dome/cone shape, this will be your roofing material and also help stop light from coming through! Finally place some old clothes or blankets over the entire dome/
How to build a good fort in the woods
If you want to build a fort in the woods, there are some things that you need to consider first. The first thing that you need to do is to find a good location for your fort. The best places are usually near streams or lakes so that you can get water easily. You also need enough room so that none of your friends will run into each other when they are running around in your fort.
The next thing that you should do is gather all of your supplies and tools together. You can make this easier by starting early and gathering everything up before you go into the woods so that all you have to do is pick up where you left off when it comes time to start building.
The last thing that you’ll want to do is clear away any brush from the area where you’re going to build your fort. This will help keep fire from spreading as well as keep bugs out of your fort during the summer months when insects are most active in the woods.
How to build a simple fort in the woods
1. Find a good location. Try to find an area that is close to water and has some kind of shelter nearby, such as a large tree or boulder. You might also want to consider how easy it is to get back home by looking at a map of your neighborhood, or using Google Maps on your phone.
2. Gather materials. The main material you’ll need for building this type of fort is sticks and branches from trees or shrubs in your yard or the forest. If you don’t have any available, try asking an adult if they can spare some from their yard. You may want to bring along some rope too, so that you can use it to lash together the sticks into larger pieces of wood that will form the walls of your fort.
3. Build the walls first. Lay out your sticks near where you want them to fit into place on the ground and start building up from there! Once you’ve got three walls up (two sides plus one back), lash those together with rope to make sure they stay put even when kids climb all over them!
4. Build an opening for entry into
The best way to build a fort is to use wood. Wood is the most versatile material, and it’s also lightweight and easy to transport. There are many different types of wood that can be used for building a fort, but here are some of the best:
Wood Types:
1. Pine – Pine is one of the most common types of wood around, so it’s easy to find in any forest or park. It isn’t very strong, but it’s still better than sticks. It’s also fairly inexpensive if you want to buy it at a hardware store instead of collecting it from nature.
2. Cedar – Cedar is another common type of wood that can be used for building forts. Cedar easily splits into planks, which makes it easier to build structures with than other types of woods like pine or oak (which have harder bark). It also smells nice when you burn it in fireplaces, which makes it good for cooking food over campfires too! If you’re going camping with your friends or family members this summer, consider bringing along some cedar logs so that everyone can build their own personal “cabin” instead of sharing just one tent
How to Build A Fort
How to Build a Fort. If you’ve ever had the urge to build a fort in your backyard, you’re not alone. Fort building is a popular childhood pastime, and kids of all ages enjoy it. Building a fort can be done on your own or with friends, so you don’t need to rely on having siblings or cousins around to have fun with.
Step 1 – Choose Your Location
First, decide where you want your fort to be located. If there are trees in your yard, they’ll make fantastic support beams for your fort. If there aren’t any trees available, try using bricks or rocks instead. You can also use cardboard boxes if you don’t have any other materials at hand!
Step 2 – Build Your Walls
Now that you’ve chosen where to build your fort, it’s time to start putting up walls! Use whatever materials are available — cardboard boxes work great as long as they’re sturdy enough not to collapse when someone leans against them (you may want to reinforce them with duct tape). Make sure each wall is at least three feet high; anything shorter won’t provide enough cover from enemy fire!
How to Build a Fort in the Woods
How to build a fort in the woods, how to build a good fort in the woods, how to build a cool fort in the woods, how to build a simple fort in the woods.
It’s easy to make your own fort for kids out of sticks and branches. You don’t have to go far into the forest either — all you need is some kindling, twigs and leaves and you can create your own little hideaway right in your backyard.
This article will give you step-by-step instructions on how to build a simple shelter using sticks and branches found around your home or yard:
Building a fort is a great way to spend some time with your kids. It can also be a great way to get them away from their screens and outside for some fresh air and exercise. If you have kids, then you know that they love forts. This article will show you how to build a fort out of sticks in the woods.
Building A Good Fort In The Woods
There are many different ways that you can build a good fort in the woods. The first thing that you need to do is find a good location for your fort. You want to find an area that has plenty of trees or bushes so that you can hide behind them while hunting or playing games with your friends.
Once you have found a good location, then it is time to start gathering supplies. You will need some heavy duty rope or parachute cord along with plenty of wooden dowels or branches in order to build your fort properly.
The next step is finding an area where there are several trees close together so that they form an enclosed space around them. In order to do this, simply tie one end of the rope around one tree and then tie the other end around another tree until all of them are connected together by rope forming an enclosed space between them
How to build a good fort in the woods

How to build a good fort in the woods is an art. It takes time and patience to do it correctly. You need to have some experience in building forts before you start building one. The first thing that you should consider when you want to build a good fort, is how much money are you willing to spend on it? The more money you spend, the better quality of materials you will use. However, if you don’t want to spend any money at all then there are still ways that can help you out.
You can use trees, rocks and branches as your main building materials if you don’t have enough money or if they are available near your location. If they aren’t then try using sticks and twigs instead because they are very cheap and easy to find anywhere in the forest or even in your backyard!
How to Build a Fort in the Woods
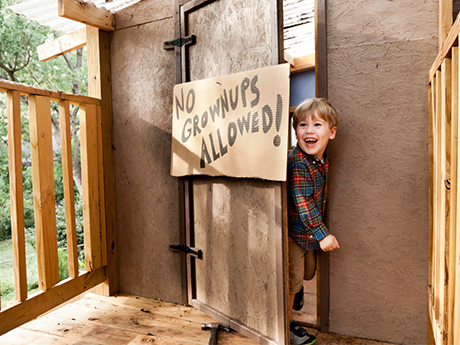
Building a fort is one of the easiest and most fun things you can do with your kids. It’s also a great way to get them outside and exploring nature.
Once you’ve built your fort, be sure to add some personal touches to make it unique. Maybe you can add some curtains or other decorations to make it feel more like home.
How To Build A Fort Out Of Sticks In The Woods
Materials Needed:
Sticks and branches (you’ll need a lot)
Hammer or rock (for pounding things into the ground)
When you’re in the woods, it’s important to know how to build a good fort. Building a fort can be challenging, but if you follow these tips, you’ll have an excellent fort in no time.
Choose Your Fort Location Wisely
The first thing that you need to do is choose an area where you want to build your fort. It should be away from the campsite and out of sight of other campers so that they don’t see what you’re doing or get in your way while building your fort. An ideal place would be near a stream or lake so that you can cool off on hot days when building the fort.

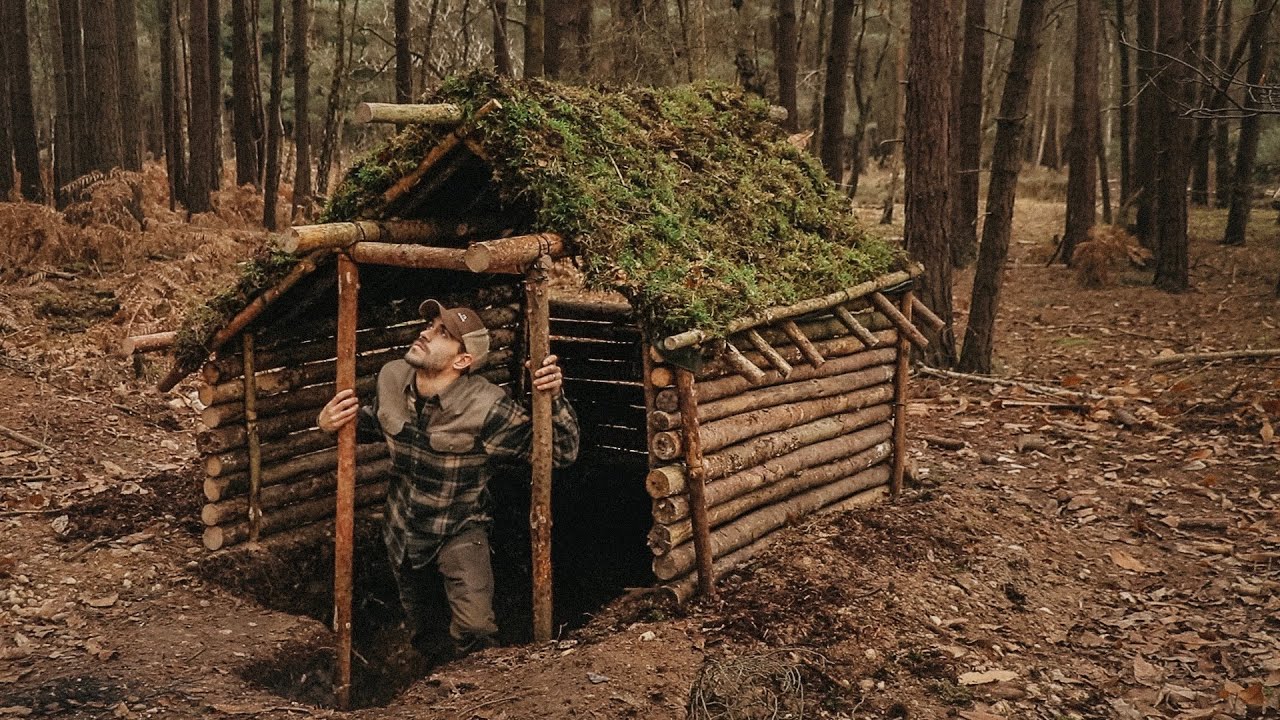
Build a Simple Foundation First
Before starting on your actual fort building project, make sure that you have a solid foundation laid out first and ready for use. You can do this by digging down into the ground with your hands or feet until there is enough room for at least one person inside of it comfortably. Make sure that this is wide enough so that multiple people can stand up straight inside without hitting their heads against the ceiling!
Use Your Imagination!
Once this foundation has been laid out,