Building a ramp for a deck is a terrific do-it-yourself woodworking project. Improve contact between any ramp and the ground by preparing your wood properly before building a ramp. You can build a simple or elaborate ramp from several different types of wood.
A deck ramp is an excellent solution for a variety of reasons. You can use a deck ramp for loading trailers and boats or for unloading heavy packages from your truck. Here you will find information to help you understand how to build a deck ramp and improve your home’s accessibility and usability.
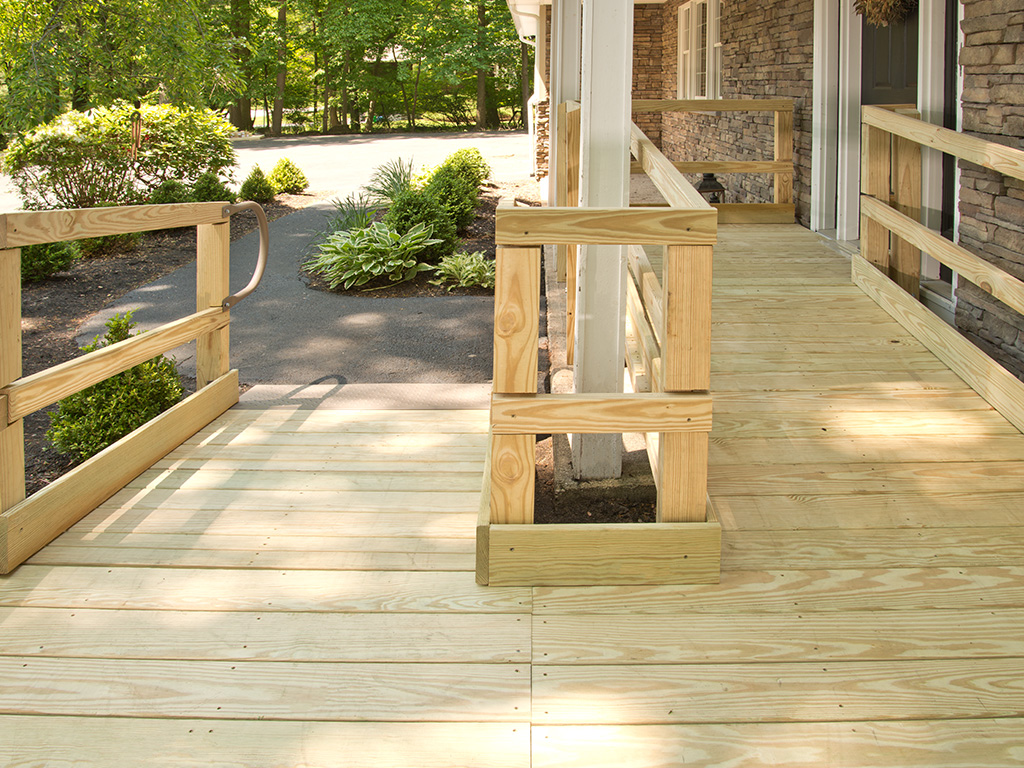
How to build a deck ramp
If you have a deck, you might want to consider building a simple ramp for your pet. It’s an easy way to make your pet feel more comfortable and secure on the deck.
Ramps are available in many different styles and materials. Here are some tips for making a simple wooden ramp for your deck:
Measure the distance from the edge of the deck to the ground below. The total length of the ramp will be twice this number.
Cut two lengths of 2×4 lumber that are as long as your measurement (or longer if you prefer).
Cut one piece of 1×6 lumber that is as long as your measurement plus several inches (3-5 inches) extra on each end (the extra length will be cut off later). This piece will act as a base for the ramp.
Assemble these pieces into a rectangle within which you will attach other pieces of wood later to form steps. Secure with screws at each joint.
Building a ramp for your deck is an easy-to-do project that can transform your backyard into a safe, fun playground. It’s also one of the most cost effective ways to add value to your home.
Most decks aren’t built with wheelchair access in mind, but it’s possible to create a ramp if you’re handy with tools and have a little imagination. If you’re planning to build your own deck ramps, here are some good ideas for making them safe and secure:
Build on level ground
Make sure the ground is level before you begin building your ramp. It’s better for both the structure and its users if the ramp is built on solid footing. A slight incline can make it difficult for people who use wheelchairs or walkers to get up and down safely.
Use treated lumber
Treated lumber is more durable than pressure-treated wood, so it will last longer outdoors without needing maintenance such as painting or staining every few years. Pressure-treated wood may also contain harmful chemicals that can cause health problems over time if they get into skin contact or are inhaled while using the ramp. Treated lumber is available at home centers or lumberyards in lengths of 8 feet (2 meters). You’ll need two pieces
The easiest way to build a ramp is to buy a prefabricated kit. These usually consist of two decks, one at ground level and one at the top of the ramp. You can also buy single-deck kits, but they are more expensive. The two-deck kits are made with pressure-treated wood and come with all the necessary hardware for installation. They also provide easy access to your deck for people who use wheelchairs or other mobility aids.
You can also build your own ramps from scratch using lumber and other materials available at any home center or lumberyard. The amount of lumber required depends on the length and width of your deck ramp and how steep it needs to be.
To prevent slips on wet surfaces, use a non-slip coating such as paint or sealer on the top surface of your ramp. This will also make it easier to clean off snow and ice during winter months
The first step is to build the frame for your ramp. It should be made from 2x4s, so that it’s strong enough to support your weight and the weight of whatever you’re loading up on it. The frame can be as long or short as you want (depending on how steep of an angle you want), but it should be at least 5 feet long, so it’s stable on its own.
Once you have your frame built, attach a sheet of plywood to the top of it with wood screws. If you’re using a saw, cut off any pieces that stick out over the edge of the plywood so they don’t interfere with moving around on the ramp. Then secure another sheet of plywood to the bottom of your ramp (if you want).
A deck ramp is a simple structure that can be built with wood or other materials. It is used to provide access from the ground to a deck or patio. A ramp can be constructed in a few basic steps.
Build the frame for the ramp using pressure-treated lumber and nails or screws. The frame will need to be strong enough to support the weight of anyone who uses it.
Cover the frame with plywood, which can be attached with nails or screws.
:max_bytes(150000):strip_icc()/WheelchairRamp-7b7f6d11e6a74f9684bc03d4e019e4b8.jpg)
This article is about how to build a wooden ramp. In this case, I am going to show you how I make my own ramps. These ramps are very easy to make and they work really well.
This is what you will need:
* 4x4s (I use 6)
* 2x6s (I use 2)
* 1x6s (I use 1)
* Plywood (I use 1/2″)
* Wood screws (1 1/4″)
If you want to build a simple ramp, we recommend that you use 2×6 lumber. A 2×6 piece of lumber is 1.5 inches thick and 3.5 inches wide. If you are using a circular saw and it has a right tilt option, then this is the perfect tool for this job.
First, cut two pieces of your 2×6 lumber at 8 feet long. Then, cut one piece at 5 feet long and another one at 7 feet long. Next, take the 7 foot long piece of lumber and attach it to the bottom of the 8 foot long piece by using two 2 inch screws on each side of the joint (one on each side). Make sure that these screws are placed about 8 inches from each end so that they will be invisible once the ramp is completed (you can also use pressure treated wood for this step if desired). Then take your 5 foot long piece and attach it to the top of each side of your 8 foot long ramp with 2 inch screws every 4 inches or so until you reach the end of each side (again make sure these screws are hidden when done). Then take your remaining 6 foot long piece and place it flat on top of everything else so that it rests on top of both sides of
As you can see, I am no expert on ramps, but they are a fairly simple project. My girlfriend and I built this one in about 2 hours. It took us longer because we were learning as we went along. If you have any questions about building one, just leave a comment below and I’ll try to help you out!
One thing that might be helpful is that there are some plans available online that people have shared with others who want to build ramps for their pets. There’s one here: http://www.petrabbitinfo.com/images/Ramps2.pdf
Another option is to buy a ramp from somewhere like Home Depot or Lowes and use that as your guide for building your own. They aren’t too expensive (under $50) and will give you an idea of what size and shape you want for your pet’s needs.
How to build a wooden ramp.
This video will show you how to build a wooden ramp for your motorcycle or ATV. This is a very easy project and all you need is some 2x4s, plywood, and screws.
If you have any questions feel free to ask!
* 2x4s (10) – cut into 3ft pieces
* 4×8 sheet of plywood
* 20 screws (1 1/2″) – pre-drill the holes
* Screwdriver
A ramp can be the perfect solution for getting your pet up into a car, or down from a bed. If you’ve ever tried to lift an arthritic pet, you know how easily they can get hurt.
A ramp is also great for older pets that have trouble jumping onto furniture or into vehicles.
Ramps are also helpful if you happen to have a pet who’s not spry anymore (like my 14-year-old cat, who’s still healthy but whose hips don’t work so well anymore).
I’ve built several ramps over the years, but this one was by far the most popular and widely used one. It’s made of pressure-treated 1×12 boards with 2×4 cleats underneath to hold them together. The boards are about 6 feet long and about 16 inches high at their tallest point.