
Have you ever seen a curved wall and thought “I want one of those!”? You’re not alone. Though some people choose to divide a space into two with a curve partition wall, it can be a surprisingly handy way to divide a room in multiple configurations. I’ll show you how to build round a curved wall, even if you’ve never built anything before!
Curved walls are very beautiful and they give such a unique look to the house. There are many different ways to build curved walls. In this article, you will find some of the best ways with which you can build curved walls in your homes and make them look more unique.

How to build a curved wall
Building a curved wall is not as complicated as it may seem. The first thing to consider is the shape of the curve. It can be circular, elliptical or even a more complex form. To determine the shape of your wall, use graph paper or a CAD program to create the desired shape and then scale it up to the size you want.
The next step is to decide how high you want your wall to be. This will depend on how much room there is in your garage and how tall you are. Once you have decided on a height, measure down from that point and mark where each block should go. Then mark where each corner block will go so you know where they need to be placed in relation to the main blocks.
Once all this has been done it’s time to start building! You can use any type of mortar for this; just make sure that it dries quickly so that it doesn’t crack when you put pressure on it during construction. To build a curved wall using concrete blocks:

1) Start by laying out all of your blocks on top of each other so that they are in place and ready for use when needed. This saves time later!
Building a curved wall is not as hard as it sounds. If you want to build a round wall, all you need is the right tools and some patience. With the right materials and a little bit of know-how, you can build almost any type of curved wall that you want.
Step 1: Plan Your Project
Before getting started on your project, it’s important to plan ahead. This will help you avoid any problems later on down the line. For example, if you’re building an outdoor patio, make sure that you take into account the weather conditions in your area so that your project will last longer than expected. The same applies for indoor projects such as building a curved fireplace or adding built-in shelving around a fireplace or TV area.
Step 2: Prepare Your Site
Now that you’ve got your plans laid out, it’s time to start preparing your site by removing any existing structures or obstructions in the way of where you want to build your curved wall(s). Once this has been done, it’s time to start digging!
How to Build a Curved Wall with Blocks
A curved brick wall can add a lot of character to your home, but it can also be difficult to build. To build a curved brick wall, start by laying out the blocks in an arc shape and then filling in the gaps with mortar.
You’ll need:
Mortar mix
Bricklayer’s trowel
Level
Corner block (optional)
Brick spacers (optional)
The first step to building a curved wall is to determine how big you want it. You can either build a curved wall that wraps around an existing corner, or you can build one that runs straight for some distance, then curves.
The second step is to determine whether you want to use blocks or concrete blocks for your project. Concrete blocks are more expensive but stronger than regular cinder blocks.
The third step is to make sure that you have all of the necessary tools and materials before starting the project. For example, if your curved wall will be made out of concrete blocks, you’ll need a masonry drill bit and a hammer drill. If not, consider renting these tools from Home Depot or Lowe’s instead of investing in them yourself.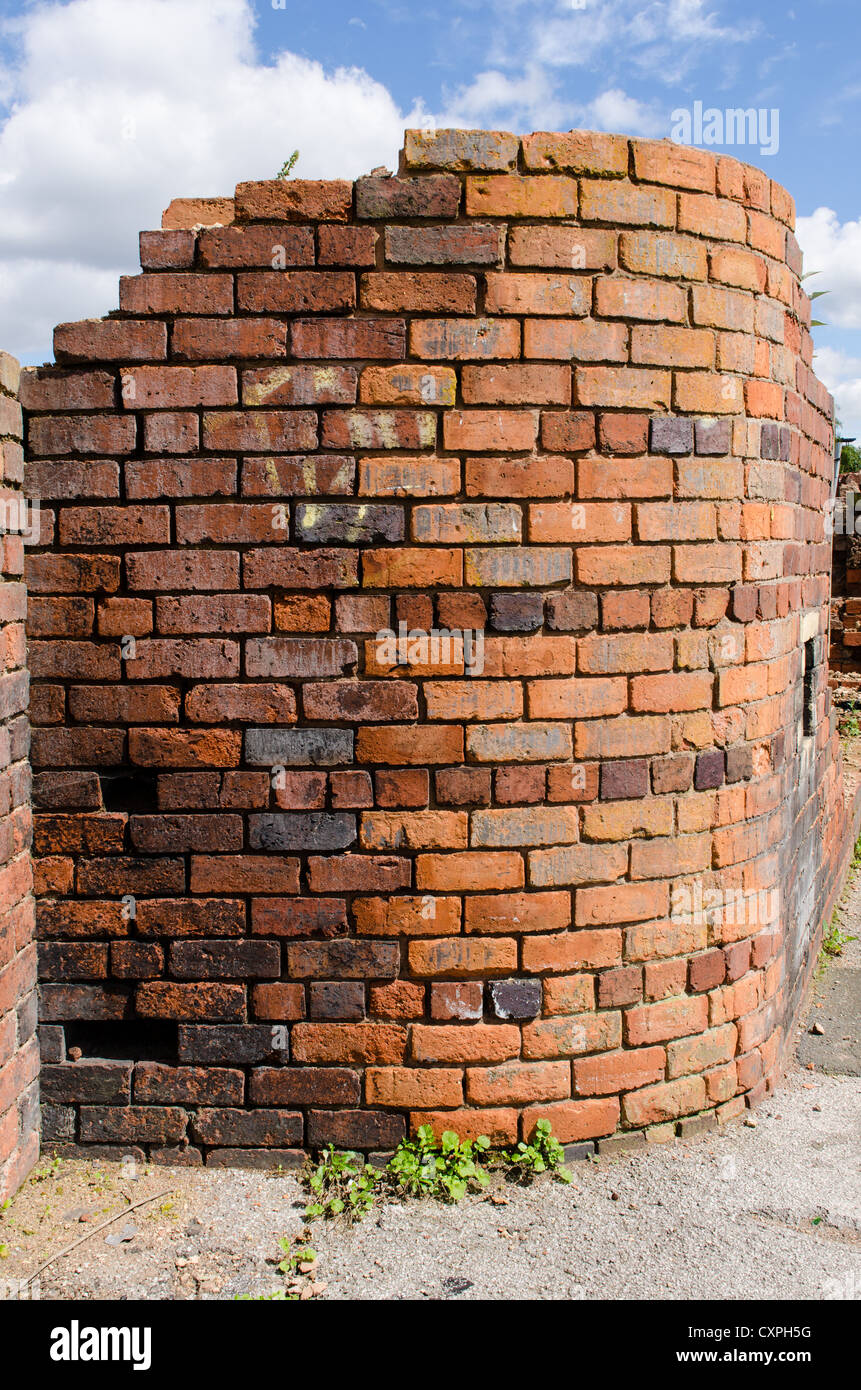
The fourth step is to plan out where each block will go on the wall so that they’re evenly spaced apart from one another and look good once they’re finished being built. This process takes some time and patience, but it’s worth it in the end!
A curved wall is a unique design feature that can add visual interest to any room. If you’re building a new home, it’s possible to have an entire curved wall or just a curved section of drywall. You can also build a curved wall in an existing home by adding drywall or other types of wall covering.
If you’re planning on adding an entire curved wall, the first step is to determine where you want it positioned in your home and how much space you need. Then, take measurements to determine how much drywall will be needed for the project. If you’re working with blocks, measure and cut each block based on its size and shape so they fit together properly.
You’ll also need to purchase additional materials such as nails or screws if you’re using blocks or screws if you’re using pre-made panels with grooves for nails or screws.
how to build a curved wall,how to build round a curved wall,how to build curved walls,how to build round arched walls,how to build arched walls with blocks
how to build arches in blocks
In this video I show you how to build a curved wall with blocks. The project is easy and fun. You can use the same technique for building an arch or any other curved shape in your garden.
Here are the links for the products I used in this video:
– Concrete Block (32x32x16cm) https://goo.gl/J5DzC1 (I used this one)
– Concrete Block (40x40x16cm) https://goo.gl/4gcsnf (My second choice)
– Concrete Block (48x48x16cm) https://goo.gl/GLzM4B (My third choice)
There are several ways to build a curved wall, but the most common method is to use concrete blocks. This method is also used for constructing archways and other types of curved walls. The blocks come in many sizes, and you can easily buy them at any home improvement store. They are made from cement, sand and water, and they will not crack or chip over time.
Step 1: Measure Your Wall
The first thing you need to do when building a curved wall is measure the distance between each support beam on your project. The supports should be spaced about 2 feet apart from each other so that there is enough room for the blocks to fit between them. If your project has multiple people working on it at once, make sure they all use the same measuring device so that everything comes out even.
Step 2: Make Blocks
To make blocks for your round wall, simply fill up a bucket with cement mix (according to package directions), then add some water until it reaches the desired consistency. Then place this mixture into molds that have been lined with plastic bags or newspapers so that air bubbles don’t get trapped inside of them when they dry out completely (this will help prevent cracks later). Then
How to build a curved wall with blocks
If you want to build a curved wall, here are the steps you need to follow.
Step 1 – Select the block size and type
The first step is to select the right block size and type. This will depend on your budget, but generally speaking, 8″ (20cm) blocks are ideal for most applications. For curved walls, use 12″ (30cm) blocks. If your project requires it, you can also use smaller or larger blocks.
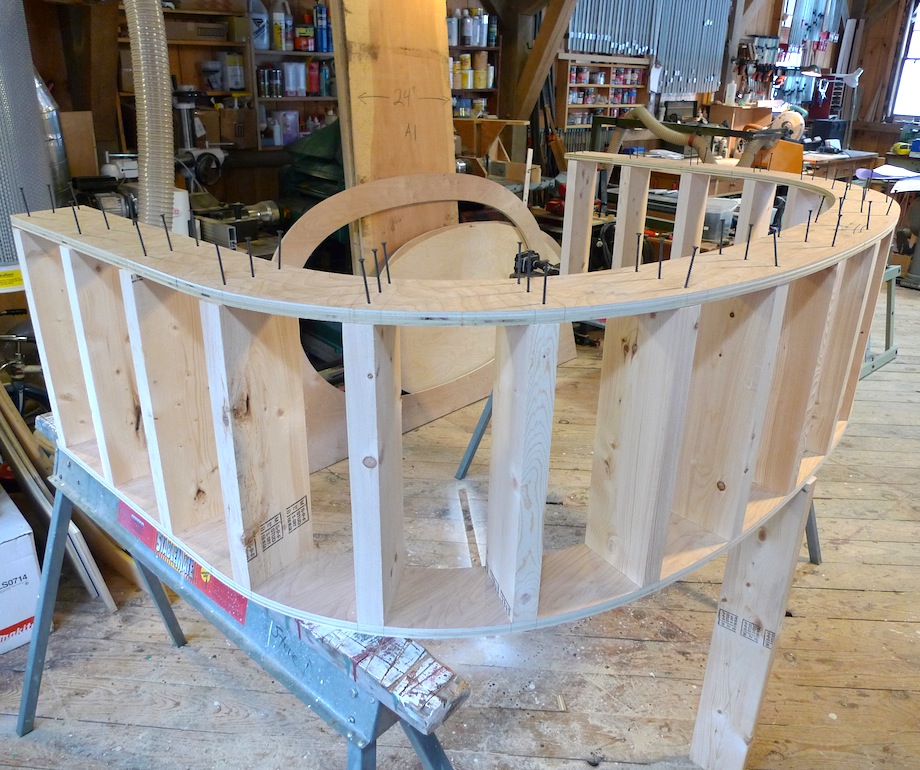
Step 2 – Lay out the frame
Now that you’ve decided on the type and size of your block material, lay out a frame using 2x4s as guides. The frame should be square and its dimensions should equal those of the blocks you’ve chosen. In other words, if you’re using 8″ (20cm) blocks then your frame should be 8″x8″ (20cmx20cm).
Step 3 – Add mortar between each row of blocks
Add mortar between each row of blocks before placing them in place; this will help hold them together later on and make sure that no gaps appear between them during construction. Use a trowel to spread mortar onto all surfaces that will come into contact with other pieces
Building a curved wall is not as hard as you might think. There are several ways to do it, but I will show you how to build a curved wall using blocks. This method of building a curved wall has been used for centuries by many cultures. It is one of the easiest ways to build a curved structure and also can be used for both interior and exterior walls.
Step 1
Choose where you want your curved wall to go. Do not place it directly in the center of your building because this will make it look unnatural and awkward. You can choose the location of your curve depending on where you want it placed inside or outside of your home or building. For example, if you have an outdoor patio area and want a curved wall around it, simply find somewhere along one side of this area where it would look best placed, then mark out its position with chalk or string so that it will not be disturbed later on when construction begins (make sure that there are no obstacles between this point and where you actually want the finished curve). Note: You should make sure that there is enough space around this area for people walking past or through it without bumping into any part
Curved walls are a great way to add interest and style to your home. They can be used for dividers between rooms, as accent walls or even for creating a feature wall in the living room. If you’re looking for a way to build curved walls that won’t cost too much, consider using foam board or cardboard.
The first step is to cut foam board or cardboard into strips that are at least 2 inches wide. You’ll need at least one piece of each type of board per foot of wall you intend to create, so if you have a 10-foot curved wall, you’ll need at least 10 pieces of each type of board.
Start by cutting one piece of foam board or cardboard into 3-inch strips. Then glue the strips together until they form a complete circle around the room perimeter. Use long nails with large heads if possible so they don’t interfere with your finished product.
Once all the strips have been glued together and nailed in place, start adding on more pieces of foam board or cardboard until you’ve covered all sides of the room with a continuous surface. Don’t worry about making it perfect yet — we’ll deal with that later on!