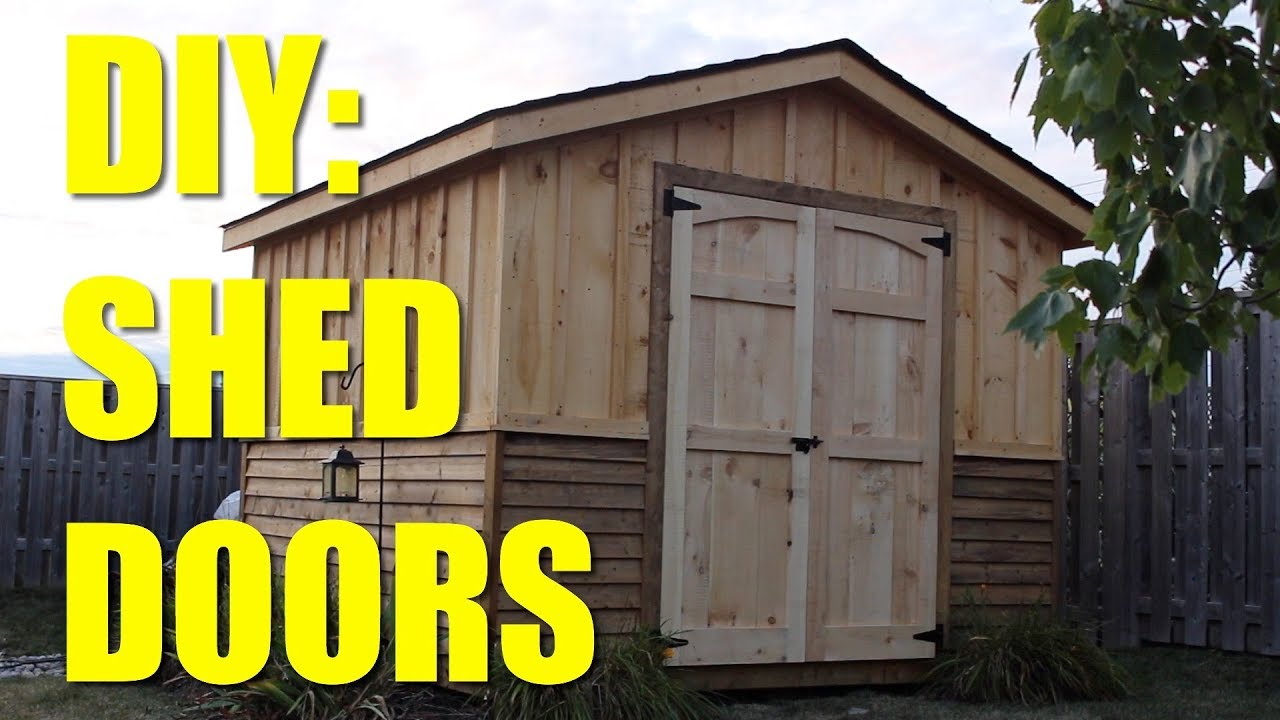
We’re building a barn door for a shed in this video. In the first section we’ll talk about how to design and build the frame, and then later in the article I’ll go over how we put the finishing touches on it (the sliding mechanism).
Building a barn door for your shed is harder than you think. I never thought it would be so hard either. However, once I set out to build one, it seemed like it got harder and harder. So, if you’ve already started or plan to start building a barn door for your shed.

How to build a barn door for a shed
Building a barn door for a shed is a project that can be completed in less than two hours. It requires only a few tools and materials, and you will have a new shed door that will last for years. This guide will show you how to build a shed door from scratch, so you can customize your shed with the ideal size, style and color.
How to Build Shed Doors That Won’t Warp
The first step in building a shed door is choosing the right materials. Most people use plywood for their shed doors because it’s inexpensive and easy to work with. Plywood comes in many colors, allowing you to customize the look of your shed door. Another option is using hardboard or MDF (medium-density fiberboard) instead of plywood as this material is more durable and less prone to warping over time.
Step 1: Measure Your Door Opening
The first step in building your own barn door involves measuring your opening accurately with a tape measure or ruler. Make sure you take measurements from all four sides of the opening so you know exactly how much wood to buy at the lumber yard or home improvement store when it comes time to purchase materials for this project! If
Building a barn door for your shed is a great way to add a touch of class and style to your outdoor space. A lot of people think it’s difficult or expensive to build their own shed doors, but it’s actually quite simple. Here’s how you can build a shed door in just a few hours for less than $100.
Build Your Own Shed Doors: The Basics
There are a few things you’ll need before you begin building your shed door:
Saw (circular or table saw)
Nails and hammer
Plywood sheets (2x4s will work but not be optimal)
Screws and screwdriver (for hanging)
I’ve been looking at the cost of a custom shed door to replace the warped and broken one on my shed. The cheapest I’ve found is $350, which is more than I want to spend right now. So I decided to build my own.
[1] First, I measured out some rough dimensions for the door from what I could see in the picture above. Then I added an inch or so to each side for thickness and cut out two pieces of plywood using a jigsaw.
[2] Next, I cut out some pieces for the threshold and braces (aka “runners”). This is where it gets tricky because there’s no room inside my shed for these pieces when they’re installed—I have to install them first!
[3] Once I had everything together and fit well into place, it was time to screw everything down! Most of these screws were 1-1/2″ long decking screws (not shown), but there were a few 2″ screws as well.
A barn door is a type of sliding door used on horse-drawn vehicles, such as chariots and carriages, in the 18th century. The term “barn door” is thought to have been coined by then-presidential candidate James Garfield, who was known for his wooden stump speeches.
It’s also used as a metaphor for the way something opens or closes, often abruptly and without warning. For example: “He was hiding behind that tall hedge when he saw her coming — he knew she would be angry so he just pretended not to see her until it was too late.”
A barn door is a type of swinging door, normally made of wood and mounted on the outside of a building. A barn door is designed to open and close like the sliding doors which are used in garages and other buildings. The difference between a barn door and sliding garage door, however, is that the former has horizontal tracks attached to its bottom edge, which allows it to slide up or down along those tracks.
Steps to Building Your Own Barn Door
1) Plan out your design with measurements and measurements
2) Get all your supplies together before you begin building
3) Build the outer frame using 2x4s or 2x6s as needed for size
4) Attach your hinges to each side panel and install them on top of the outer frame so they are even with one another on both sides of the opening
5) Attach your track brackets onto the bottom edge of each panel around where the wheels will be attached
6) Attach wheels to each end of your panels by drilling holes in them next to each other on each side panel
If you’re looking for a shed door that won’t warp, then the best option is to build the door using a single sheet of plywood. This method will give you a door that’s both strong and durable.

If you want to do it yourself, then follow these steps:
1. Measure the height and width of your shed opening. Then cut two pieces of plywood to size with a circular saw or table saw. Use a mitre box if your saw doesn’t have an adjustable angle guide.
2. Cut two more pieces of plywood so that they’re slightly smaller than the measurements from step 1. These will form the bottom rails on either side of the door frame
3. Fasten one long piece of plywood to either side of one short piece using wood screws or nails (if using nails, pre-drill holes for them). Make sure that this piece runs from one end to the other, forming an upside down T shape with no gap between it and its partner piece
Shed doors can be built with plywood for a very sturdy, durable product. The door is made from 1x4s and the header from 2x4s. This project uses sliding door hardware and hinges.
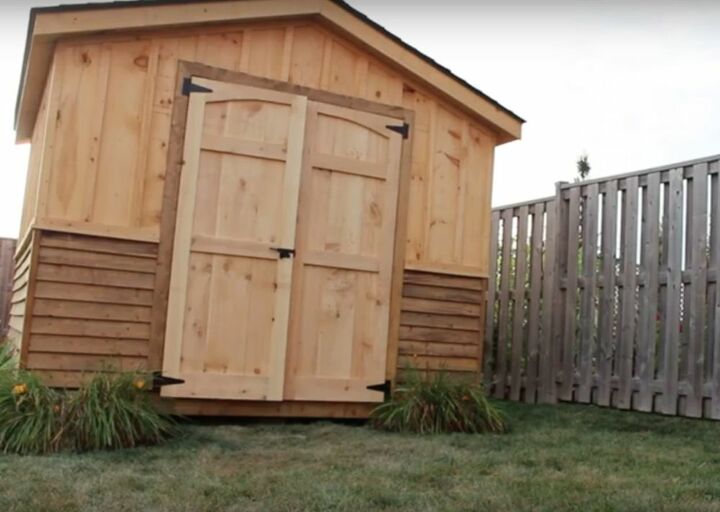
Completed Shed Door With Hardware Attached
The first step in making a sliding shed door is to determine the height and width of your shed opening so that you know how wide and how tall each panel should be. You’ll also need to know what type of door you want: single or double or even an accordion style folding door. You can make your own accordion door with some square tubing, hinges, and a few pieces of plywood.
You’ll also need to decide whether or not you want glass inserts in your panels, if they are single doors then usually it’s best to leave them out because they will create more work for yourself by having to keep them clean and preventing dirt from getting inside of your shed, where it might damage your belongings inside. If you do choose to add glass inserts, then consider keeping them on one side only rather than both sides so that they’re easier to clean out of there properly before shutting them up again in the future.
This is a sliding shed door kit, which is perfect for sheds. The panels are made of a non-warping material, so they won’t bend or warp over time. This makes them last longer than other models on the market.
The panels have an aluminum frame and glass panel in between the two panels. When you slide the door open and closed, it’s very smooth and easy to operate. The aluminum frame inside makes sure that your glass does not get damaged in any way.
This door kit comes with everything that you need to install it into your shed or garage. It includes all of the screws and anchors that you need to install this into any wood surface that you want to use it on.
This is a great option for anyone who wants to be able to keep their tools safe in their garage or shed but also wants something that looks good as well as keeps them safe from weather conditions such as rain or snow that may happen throughout the year here in New Hampshire.
How to Build a Shed Door
Building a shed door is not hard if you have the right tools and materials. The hardest part is getting the measurements right, so take your time and don’t cut anything until you are sure it’s correct.
Plywood, which comes in 4×8 sheets for about $20 each, is the easiest material to work with. It’s strong enough for most uses, can be painted or stained easily and is less expensive than more exotic woods but more expensive than particle board, which isn’t really wood at all but made from sawdust, glue and formaldehyde adhesives.
The first step in building any door is laying out the parts on paper. Use graph paper or just draw a grid on regular paper: one square equals 1 inch (or 2 cm) across or down. Measure twice and cut once!
Use 1/4-inch plywood for the stiles (vertical pieces) of your door because they need to support weight from above; 3/4-inch plywood works well for all other parts of your door because they don’t bear weight from above (unless you’re building some sort of crazy swingset). The 1/4-inch thickness of stiles makes them easy to cut accurately with
Make sure the door is level, then drive four screws through each jamb into the header. Attach the top and bottom rails with your Kreg pocket hole jig.
Now it’s time to add the handles and hinges. A shed door will be very heavy, so choose a sturdy handle that can take some abuse. I used these simple lever handles from Home Depot, but you could also use something fancier like this modern design from Amazon.
Use a Kreg pocket hole jig to cut holes in both sides of each piece of trim and mount them with screws on either side of the door opening.
Attach the first door panel to one side of your shed with 1-1/4″ screws (or whatever size you used for your jamb). The second panel will overlap this one by 1/8″. Repeat on other side of opening and attach second panel with screws into existing holes in trim pieces.