
How to build a 1 acre pond (that you can swim in)? Now that’s a popular question! Today we’ll be digging around the depths of DIY pond building, looking at plants, animals, pond filtration systems, log ponds, and more!
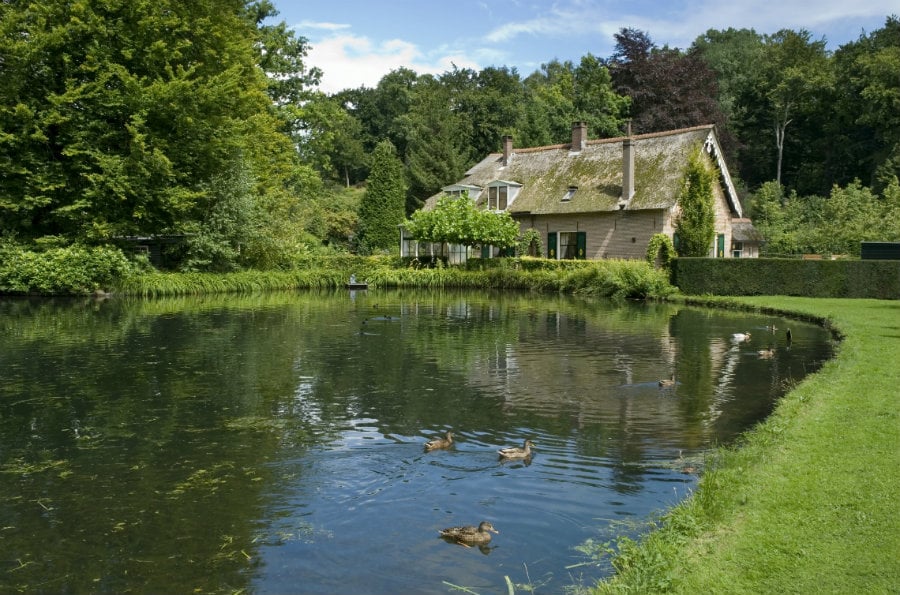
If you have a small to medium-sized water feature, ponds are great year round low maintenance additions to your landscape. Whether you have a steep slope on your property or a centrally located flat area, a pond can be constructed for you without the need for heavy machinery. A wildlife pond can be very attractive in the landscape and a humane method of rodent and reptile control, as well as being an educational and aesthetic addition to your outdoor living spaces.
How to build a 1 acre pond
7 steps to building a farm pond:
1. Determine your location
2. Select your materials
3. Dig the hole and shape the edges
4. Install the liner and anchor it in place
5. Build the walls and top of your pond
6. Install the plumbing for water inlets and outfalls
7. Install a filter or pump
Step 1: Find a Location
A pond is a great addition to any property, but before you start building, you need to choose the best location for your new water feature. Ideally, you will want to build your pond in a place where it will be easy for you to access and maintain. If possible, avoid building it on hillsides or steep slopes — these areas can be difficult to navigate around and may require a lot of extra work whenever you have to clean or repair the pond.
Step 2: Mark Out Your Site
Once you’ve chosen a good location for your new pond, mark out its boundaries by driving stakes into the ground at the corners of your proposed pond and then connecting them with string or rope. Use stakes that are at least 8 feet tall so that they won’t get covered up by grass when they’re placed in the soil. This step isn’t necessary if you’re working with pre-constructed liners as opposed to excavating an entire hole yourself (see Step 4).
Step 3: Excavate Your Pond Bed
If you’re planning on digging out an entire hole for your pond yourself, you’ll need some heavy equipment like a tractor or backhoe — along with some other supplies
Step 1: Make sure the site is level
If your pond will be above ground, a slight slope is desirable. This allows water to flow from the inlet (where the water enters) to the outlet (where it leaves). If you have a flat site, it is possible to build a slope into it by excavating dirt from one side and putting it on the other side of your dam.
A 2% slope will work for most ponds. The higher the percentage, the easier it will be for your pond to drain when you want to drain it.
Step 2: Find out what kind of soil you have
Soil can be sandy, clay-like or rocky depending on where you live, so make sure you know what kind of soil type you have before building your pond. This will help determine how much concrete or other materials are needed to create a solid foundation for your pond.
Step 3: Dig out the area where you want your pond
Dig down at least two feet below ground level and remove all rocks, roots, etc., that might interfere with construction plans. It’s best if these materials are removed before digging begins because they can be very difficult to move once they’re in place.
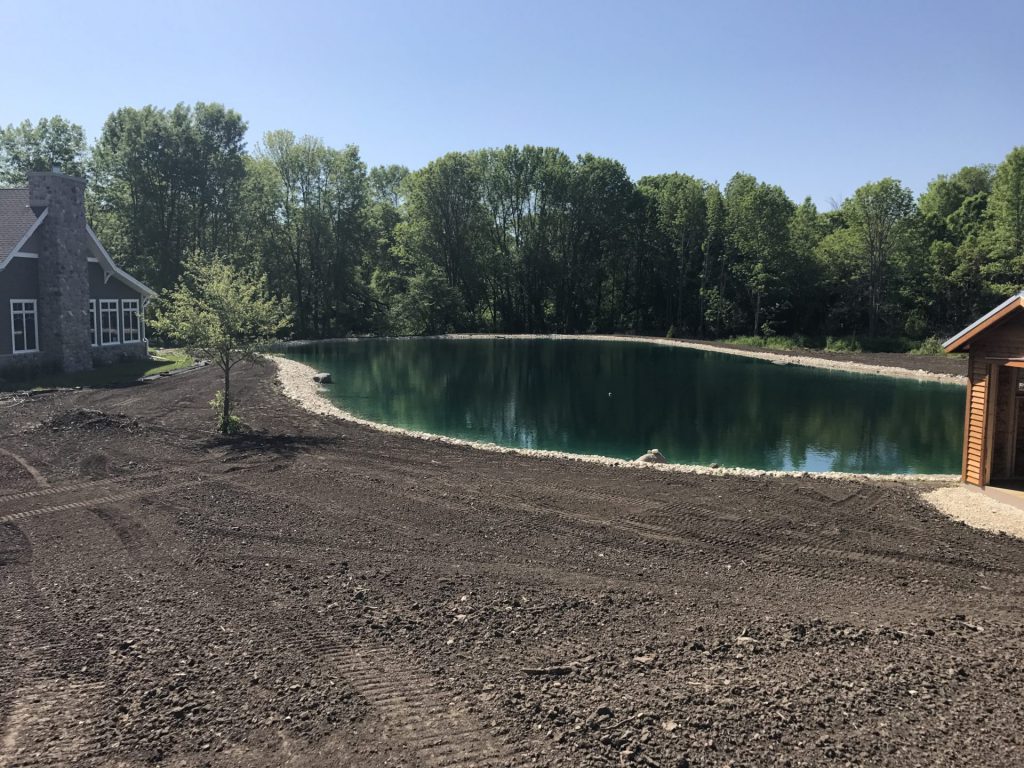
When building a pond, you will need to take into account the size of your land and how much water you want to store. The size and shape of your pond will depend on how much water you want to store and how much space is available.
If you have only a small amount of land available, it would be best to build an oval-shaped or rectangular pond. However, if there is plenty of room for a large pond then you could build one in any shape that suits your needs.
Step 1: Mark out the area where your pond will be built
Step 2: Dig out the ground in this area with a post hole digger or spade until it is level with the surrounding land
Step 3: Fill in the holes with gravel or sand as required
Step 4: Lay down plastic sheeting over the ground and bury it in order to create a solid base for your new pond
Step 5: Build a frame around your new base using timber, concrete blocks or bricks (depending on what type of material you are using)
Step 6: Place filter netting over this frame so that it extends above ground level by at least 30cm (12 inches). This netting should be placed under pressure
1. Be sure that you have the right land for your pond.
2. Decide what type of water feature you want to build.
3. Choose a site for your pond, based on the size and shape of the property, your budget, and the type of environment you’re looking for.
4. Excavate the area where your pond will be located. This is also where you will place your pump house, waterfalls and other features as part of your landscaping design plan.
5. Install a liner to hold back the water in place and protect it from leaching through into the soil below. A strong liner will last longer than weaker ones and help keep water clean for fish and other creatures who live in the pond.
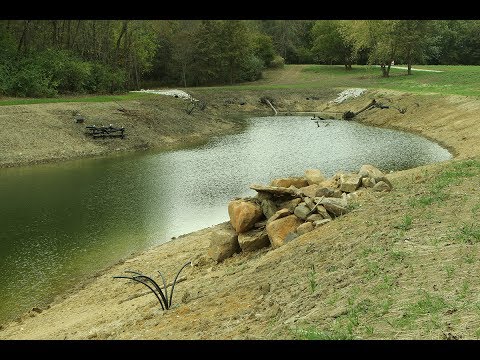
The pond dam is the most important part of your pond. It holds the water in place, and it keeps the fish from escaping.
When building a farm pond, you have to ask yourself a few questions first. Do you want a small 2-3 acre farm pond or do you want something much bigger? How deep do you want the water level to be? What kind of fish do you want to keep in your pond? And how much will all of this cost?
If you can answer these questions and come up with a plan then you are ready for construction.
Here are some tips on how to build a farm pond dam:
1) Make sure that the ground is flat where you want to put your dam. If there are any hills or holes then fill them with dirt so that everything is level and flat so that it will be easier for construction later on.
2) Dig out a ditch from one side of the dam to another side of it so that when we put our dirt back into place it will form a mound which will become our dam. This ditch should be about 6 inches deep and wide enough so that when we fill it back up with dirt it becomes level with
If you’re thinking of building a farm pond, you want to make sure it’s built right. Building a dam can be challenging but it doesn’t have to be difficult.
Here are seven steps for building a farm pond dam:
1. Take measurements and get your materials
2. Lay out the dam
3. Dig out the trench
4. Set up your forms and fasten them together
5. Pour your concrete and check for deficiencies in the wall
6. Clean up any excess concrete from inside the wall once it has set overnight
7. Fill in the backfill
How to Build a Pond Dam: 7 Steps to Success
A pond dam is a key component of any pond or lake. The dam helps control water flow, provide a barrier against erosion, and prevent unwanted materials from entering the pond. It also provides an attractive focal point for your landscape.

If you’re planning to build your own pond and want to learn how to build a dam, start by familiarizing yourself with the different types of dams available. Then, follow these simple steps:
1. Choose the best location for your dam.
2. Calculate how much concrete you’ll need and purchase it before starting construction.
3. Excavate the area where you plan to build your dam using a shovel or other digging tool. Be sure to remove all vegetation (including roots), rocks, and any other debris that may impede construction or block drainage pipes later on in the process.
4. Lay out masonry blocks in two rows along each side of your future pond’s perimeter at least 24 inches apart from each other and attach them together with mortar in between them so they form a solid wall across the entire length of your desired site; then fill in any gaps between
1. Choose the location of your pond. A pond should be located away from houses and trees, at least 20 feet away from the house and at least 50 feet away from trees.
2. Excavate the area to be used for your dam. Use a backhoe or other heavy equipment to dig out the material that will be used for the bottom of your dam.
3. Lay out the rocks in a pattern that will best suit your needs. Check with local building codes to ensure that what you’re building is structurally sound and safe for use as a farm pond dam.
4. Cut holes into the rock using a pick ax, making sure that each hole is large enough for a rock to fit through it easily so that you can tie them together later on in step 5 of this process (see below).
5. Tie together all of your rocks using steel cables and wire ties at every hole on both sides of each rock (there should be two holes per rock). This will allow water to flow through your new farm pond dam without causing any damage to it or allowing debris such as leaves, branches or other debris to get trapped in between layers of rocks, which could weaken them or cause them to collapse over time if enough weight was
Step 1: Dig out the pond
Dig out the pond and make sure it is level. To do this, use a measuring tape and a level to mark off where you want your pond to go. Then dig out the soil with a shovel or pickaxe.
Step 2: Lay down stones
Lay down stones along the bottom of your pond to keep it from getting muddy when you are working on it. This will also help anchor your dam down so that it won’t move around in bad weather.
Step 3: Put in an overflow pipe
Put in an overflow pipe so that if there is too much water in your farm pond, some of it can drain out into a nearby ditch or stream instead of overflowing onto land and causing damage. The overflow pipe should be about 8 inches above the surface of your pond or slightly lower than the height of your tallest rock pile on top of your dam wall (so that there isn’t any risk of flooding). It should be at least 8 inches wide, but wider is better.