
All you have to do is a little planning, basic carpentry and some old pieces of wood and you can create your own cooler box. Today we’ll show you how to build a cooler box.
Here I explain How to build a cooler box. After reading these instructions, you will get lots of ideas about how to create for yourself a perfect storage form for the items that you do not want to freeze. The project is easier than it looks, so if you think that money should not be left without a cooler and therefore needs to be improved by your own hands — go right ahead!

Cooler box
A cooler box is a great way to take your food with you while camping, fishing or other outdoor activities. It can also be used to keep drinks cold at the beach or at pool parties. If you want to build a cooler box yourself, it can be done by following these simple steps:
Step 1 – Plan Out Your Cooler Box
The first thing that you will need to do is plan out your cooler box. This means that you will need to decide what size it will be and how many compartments it will have. In addition, you should consider if you would like lights in the cooler so that you can see inside of it at night. You may also want an extra compartment for storing utensils or other things that are needed for cooking food on the grill or over open flames.
Step 2 – Buy Materials for Building Your Own Cooler
Once you have decided on all of these things, then you will need to go ahead and buy all of your materials for building your own cooler box. This includes plywood and insulation foam as well as any other materials that are needed for making this type of project work properly. You may also want to purchase some paints as well as waterproofing spray if

A cooler box is a useful tool for taking food and drinks on picnics and camping trips. It allows you to keep food cold without using ice, which is not practical when you are away from home or have no access to electricity. To make your own cooler box, you will need:
Plastic bin with lid. You can use any type of plastic container that has a lid and isn’t too deep. The deeper it is the more insulation it will provide, but also the bigger it will be and heavier to carry around.
Insulation fabric – foam or bubble wrap works well as insulating material. If you want it to be waterproof then use foam rubber instead of bubble wrap.
Duct tape – this can be used to seal up any gaps in the seams between the lid and sides of your cooler box so that air cannot escape from inside the insulation layer (this would cause condensation).
Step 1: Cut out two pieces of insulation that fit inside your bin on all sides except for one side where there should be enough room for an opening for food storage. Leave about half an inch space between these two pieces so that there is plenty of room for air circulation inside the bin (don’t overfill your
What you will need:
– A large cardboard box (about 20x20x20cm)
– Two pieces of wood (about 15x15cm)
– Four clasps or clips
– Velcro tape (at least 5cm wide)
– Scissors
– Pencil and ruler
Step 1: First, cut off the top part of the box. Then, measure and mark the width of your cooler on the bottom part of the box. Cut it out with scissors. Next, add some holes in several places along the sides of your cooler – at least 7 cm from each corner and every 10 cm apart. These holes will be used for drainage when we water our plants from inside the cooler. Finally, cut some holes in front of your cooler where you want to place handles so that we can carry it around easily!
The cooler box is the perfect addition to any outdoor event. This simple, inexpensive project can help you keep your food, drinks and more cool for hours. The best part? It can be built in just a few hours with common tools and materials you may have around your home.
Materials Needed:
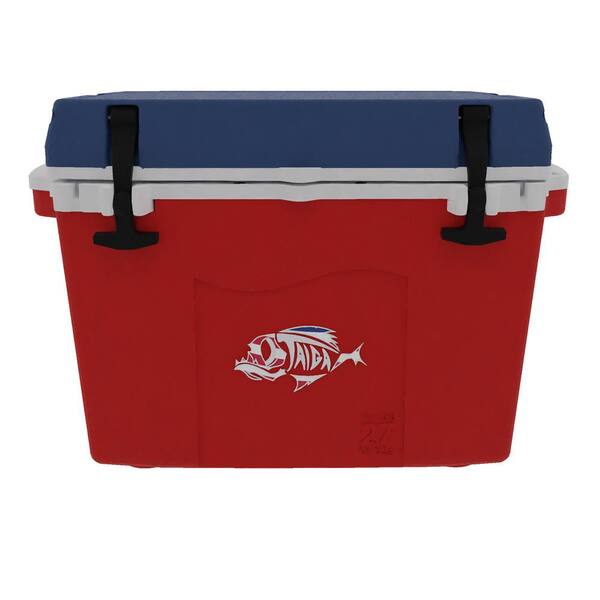
Cooler of your choice (the bigger the better)
Drill
Hacksaw or band saw (a jig saw will also work)
Paint brush and/or roller
How to build a cooler box:
Step 1: Materials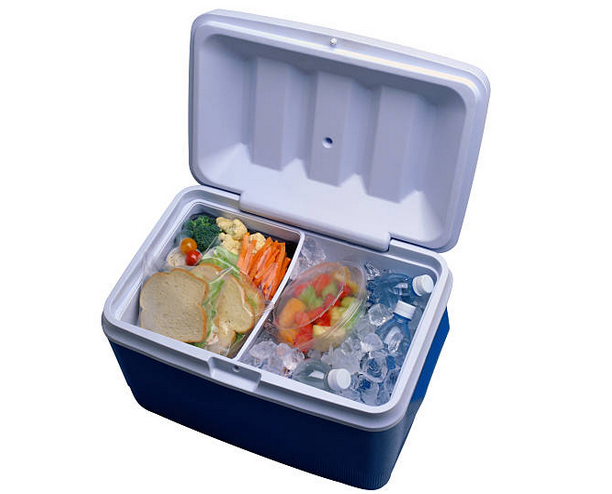
-A cooler, preferably one with wheels and a handle. I bought mine at Walmart for $40 and it’s made of polyethylene plastic.
-A power drill with multiple bits, including a 5/16″ bit and a 7/8″ bit. You’ll also need a hammer and some clamps (if your drill doesn’t have them built in).
-Some sheet metal screws, at least four per side panel (you’ll use more for the top and bottom panels).
-Some grommets, the kind that go over bolts or screws to protect them from rusting. These can be found at any hardware store or online retailer like McMaster-Carr.
How to Build a Cooler Box
A cooler is a great way to keep food and drinks cold while camping, but it can be hard to find the right size. You will also need something to put in your cooler. So, here is how to build a cooler box.
Materials Needed
To build your own cooler box:
Cooler (buy or make)
Wooden pallets (free)
Gorilla Glue (available at hardware stores)
Screws (to attach wooden pallets)
How to build a cooler box
In this tutorial, we will show you how to build a portable cooler box. This is a simple project that can be done in a weekend.
Materials needed:
Wooden planks (1x4s)
Nails (size depends on your preference)
Paint or stain (optional)
Tarp/plastic sheeting (optional)
Tools needed:
Jigsaw or circular saw with metal cutting blade
The cooler box is the perfect way to keep your food and drinks cold while you’re away from home. If you’re looking for a simple and cost-effective way to build a cooler, then this project is for you.
The only thing that’s needed is a few sheets of plywood, glue and some screws. Here’s how:
1. Get the right materials
You’ll need four sheets of 3/4-inch (19mm) plywood. The first two will be used as the sides of your cooler box, while the other two will be used as the base. Make sure they all have relatively smooth edges so they fit together neatly when assembled. You’ll also need some foam insulation to line the inside of your cooler box — this will help insulate the contents from heat transfer through the walls of your cooler box. Foam insulation can be bought at hardware stores or home improvement stores like Lowe’s or Home Depot in sheets that are about 4 feet by 8 feet (122cm by 244cm). A piece about 2 feet by 4 feet (61cm by 122cm) should be enough for one project; however, if you have extra space available then buy more than one sheet so you have some left over for future projects
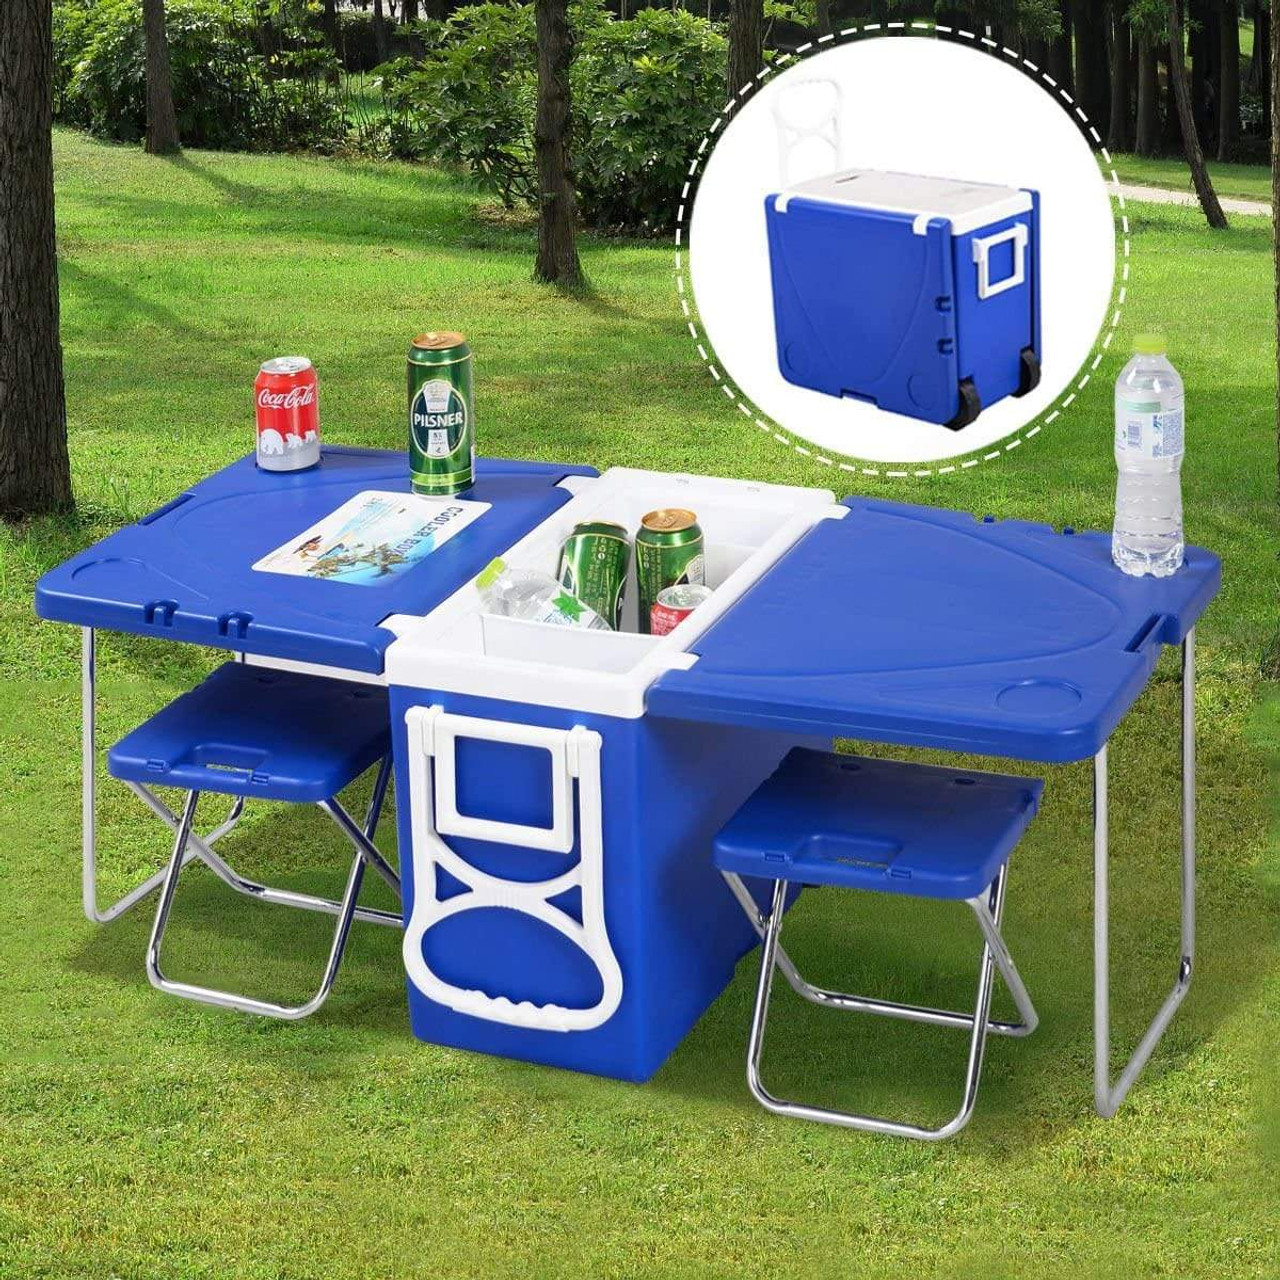
A cooler is a box or container used to keep food and drinks cold. Coolers are often used for transporting food, drinks and other items to picnics, parties, sporting events or on outdoor activities where the ambient temperature is high. They are also used for keeping perishables cold on grocery store shelves. There are many types of coolers available but they can be broadly categorized into two types: soft-sided coolers and hard-sided ones. The first one is more portable while the second one can withstand more abuse and has more insulation properties than the former one. Hard-sided coolers are also known as ice chests which are usually made of plastic or metal with lids that seal tightly shut to prevent heat from entering inside them. Soft-sided coolers come in different shapes and sizes depending on their intended uses, such as backpacks for hiking or hunting trips, lunch bags for school children or beach bags for vacations; these bags have handles which make them easy to carry around by hand or shoulder straps so they can be worn like backpacks when not in use
1. Cut the box to size. Measure the length, width and height of your cooler box, and cut the plywood to match with a jigsaw. For example, if your cooler is 16 by 16 by 20 inches (40 cm x 40 cm x 51 cm), cut a piece of plywood that’s 16 inches (40 cm) square.
2. Attach the bottom pieces of wood to the sides. Set the plywood sheet on top of one side piece so that it extends beyond both edges by 1 inch (2.5 cm). Drill pilot holes through each corner of both pieces and secure them together with wood screws. Then flip over your workbench or table so that it is lying flat on its side and place another side piece on top of the other end of your plywood sheet so that it also extends beyond both edges by 1 inch (2.5 cm). Drill pilot holes through each corner again and secure them together using more wood screws.